While going down a hill,
the front brake wire suddenly snapped.
I was traveling slowly down a hill, so I got away without incident.
It’s really dangerous.
The brake wires should be replaced immediately.
Purchase brake wire
I will order the parts.
Even if I order it, what is the model number of the JA07 brake wire?
Of course, you could go to a bike shop and ask them to do it for you, but I’d like to do it myself if possible.
Super Cubs are almost the same shape, so wouldn’t any Super Cub parts be fine? That’s what I thought.
But,
when I was looking into the parts, I found this warning.
Even if the car model has the same name, there are multiple types of compatible parts and it is not possible to identify them.
There are some vehicles with NTB products that do not have compatible parts.
Do not judge compatible parts only based on reference compatible vehicle models.
Please check the part number and carefully determine which parts are compatible.
I see・・・
It might not be a problem if you modify it so that it can be installed, but I was a little worried, so I looked for a genuine product.
I found!!
JA07・Genuine brake wire
Product number:KWV-003 8128
Note: Please double check before purchasing.
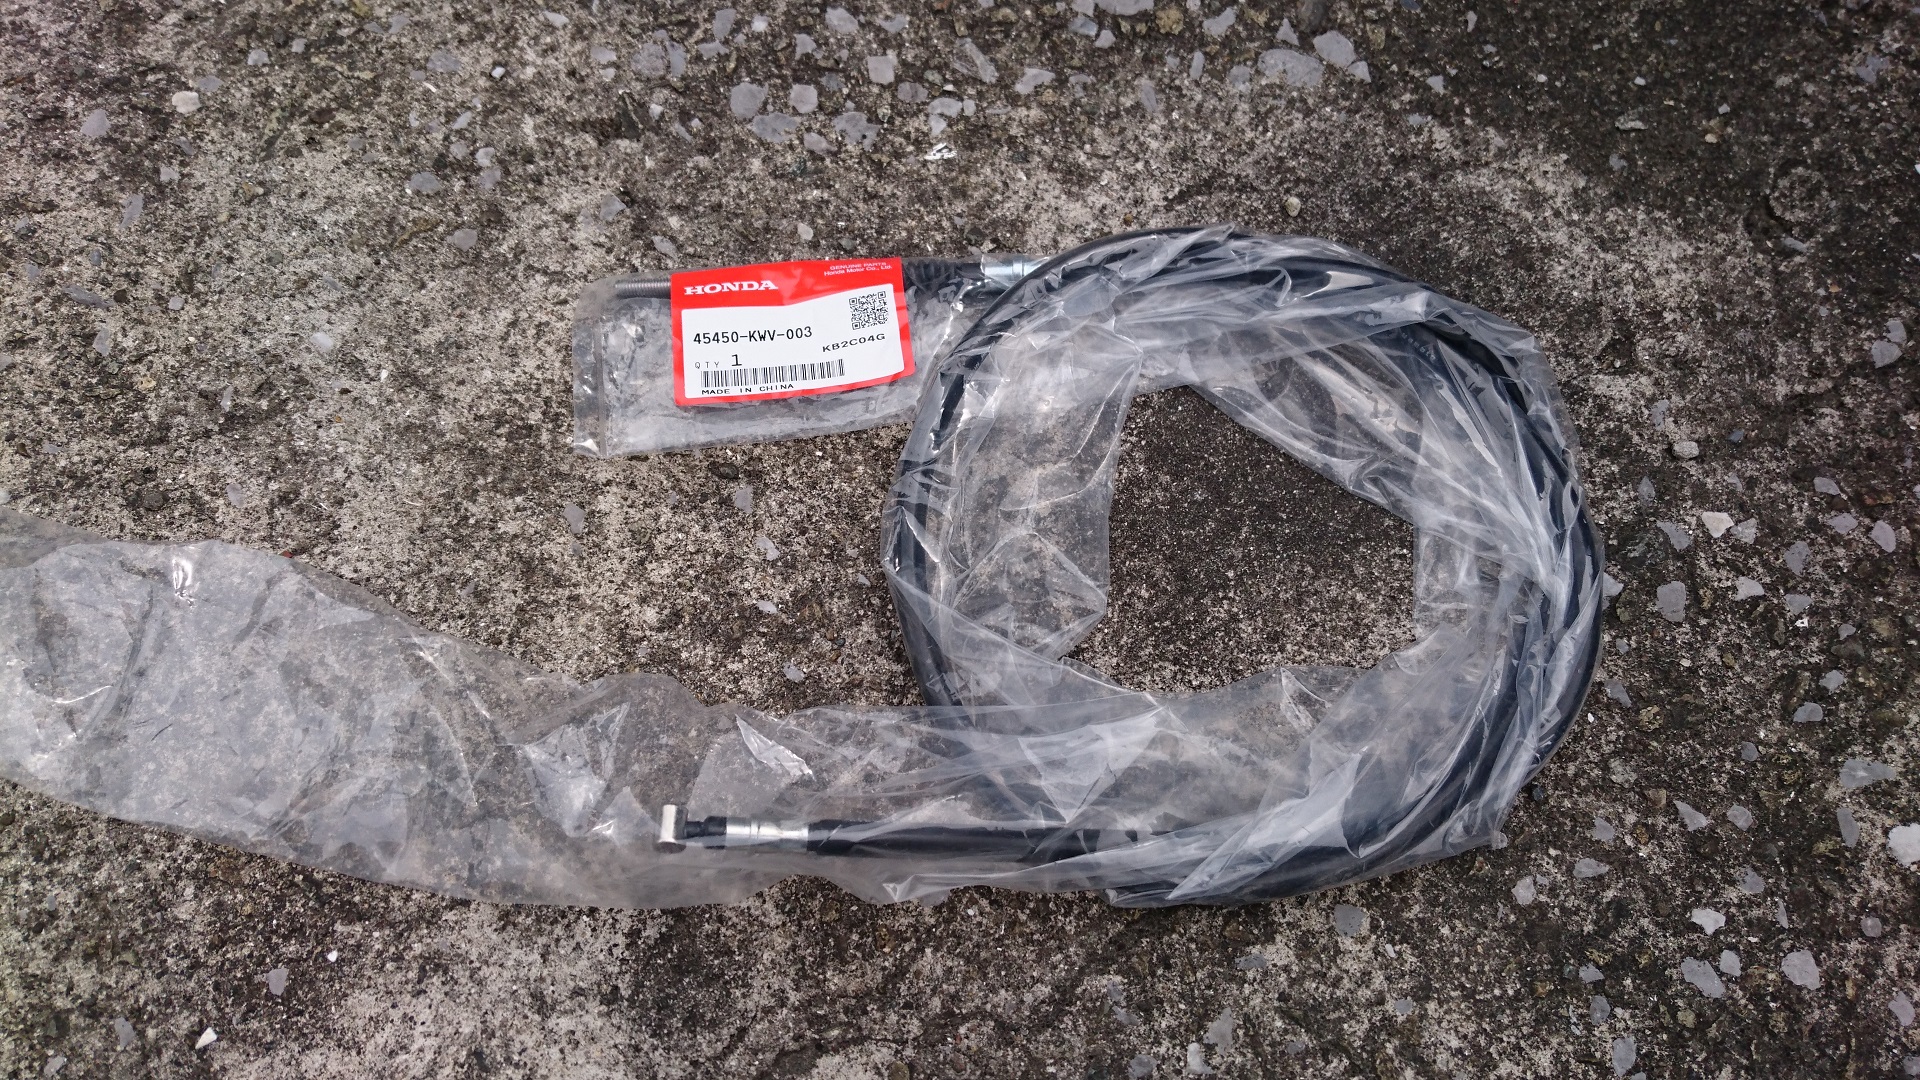
↑I bought it on Rakuten Market.
Let’s install it right away!
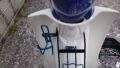
Removing broken brake wire
Remove the broken brake wire.
Before that
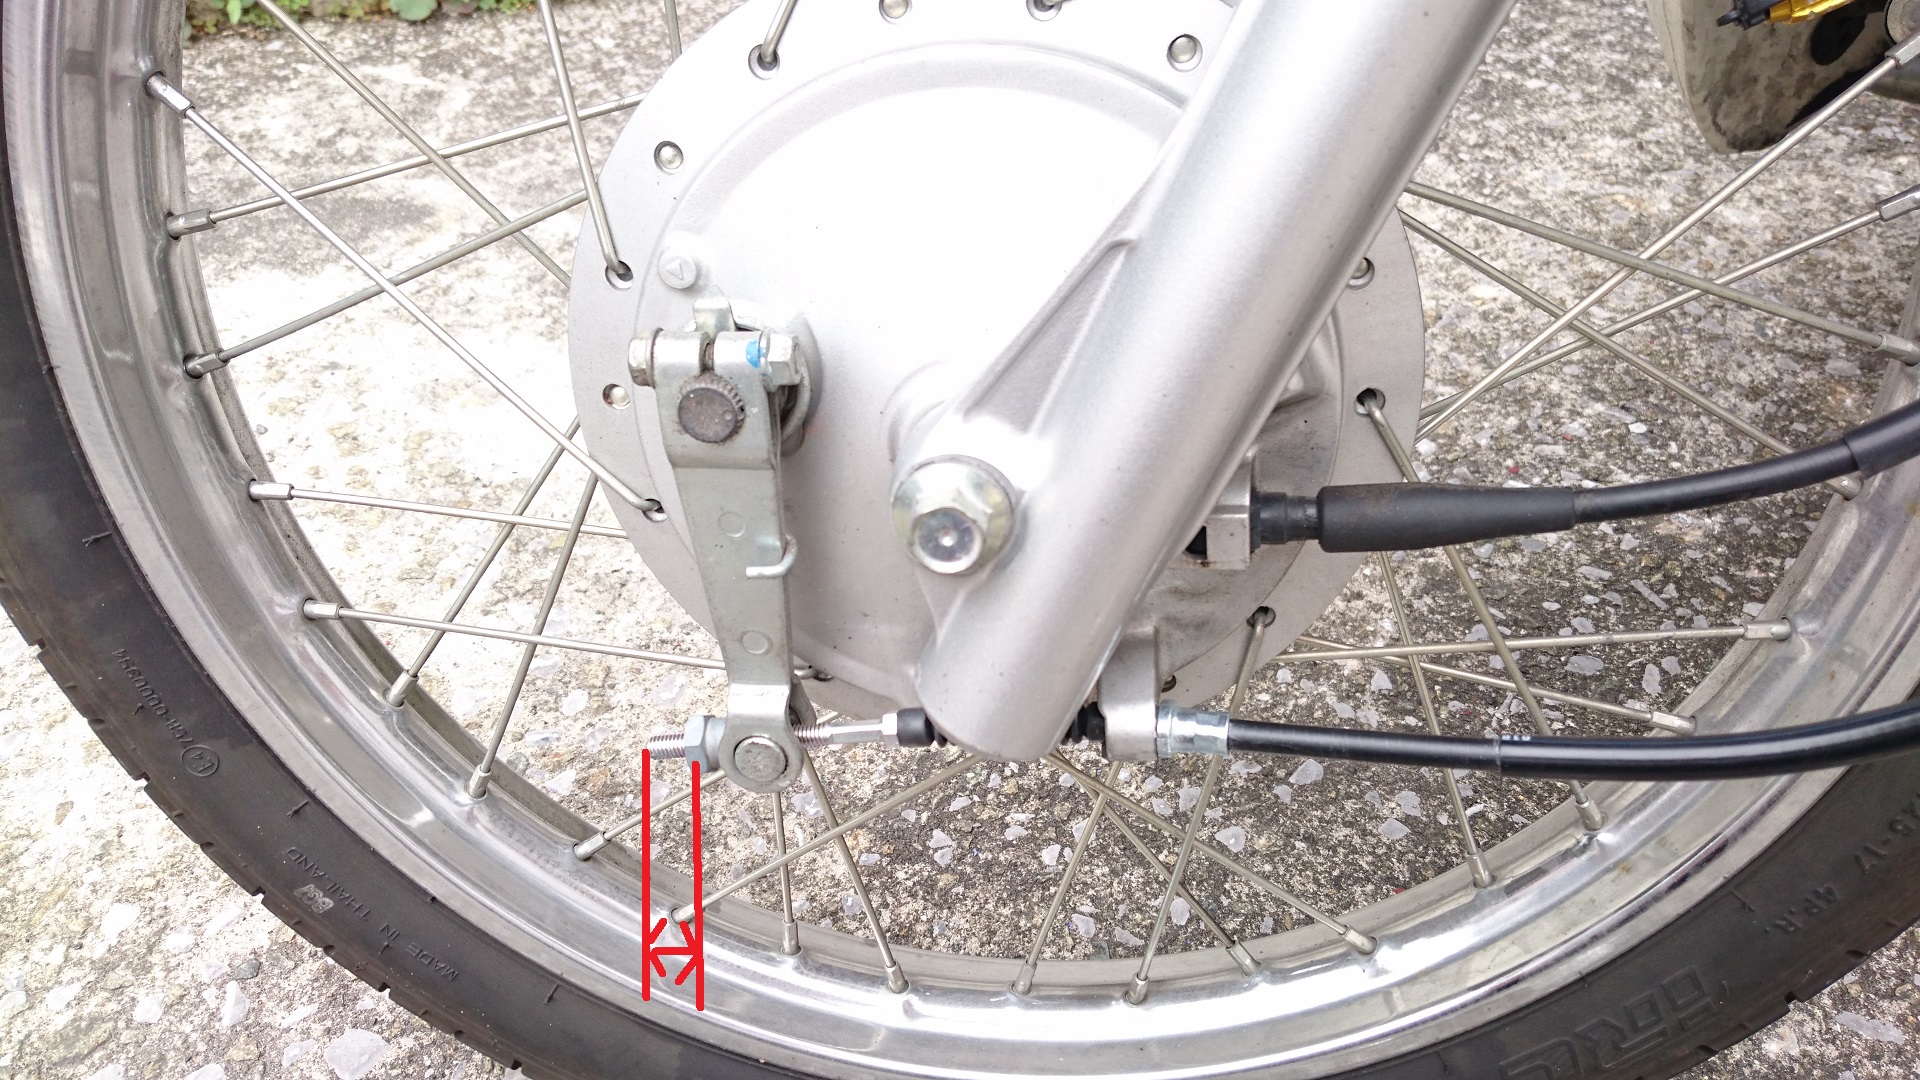
It’s a good idea to remember how hard you tighten your brakes.
This is the length.↓
Of course, even if you don’t measure the length, there is no problem as long as you adjust it later.
I’m doing this to save you some of that trouble.
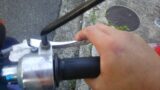
Let’s start disassembling the parts around the wire.
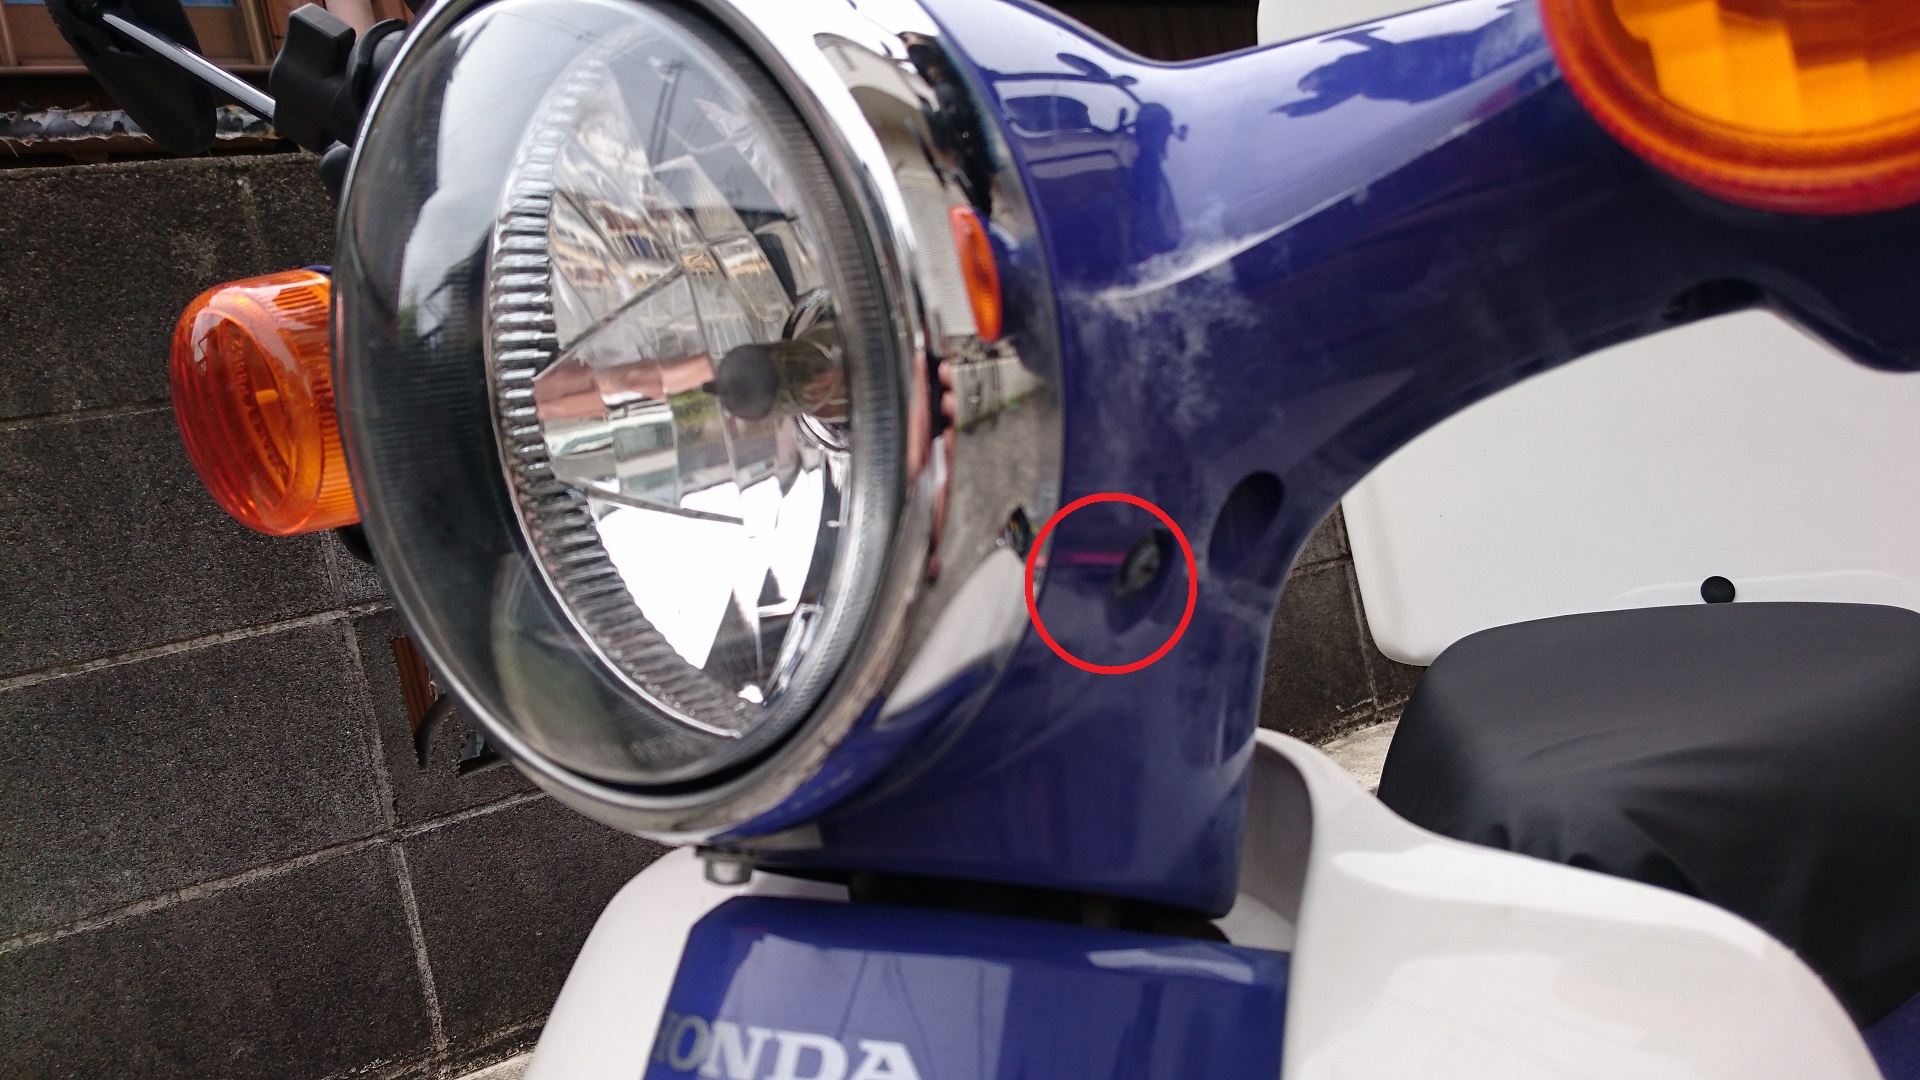
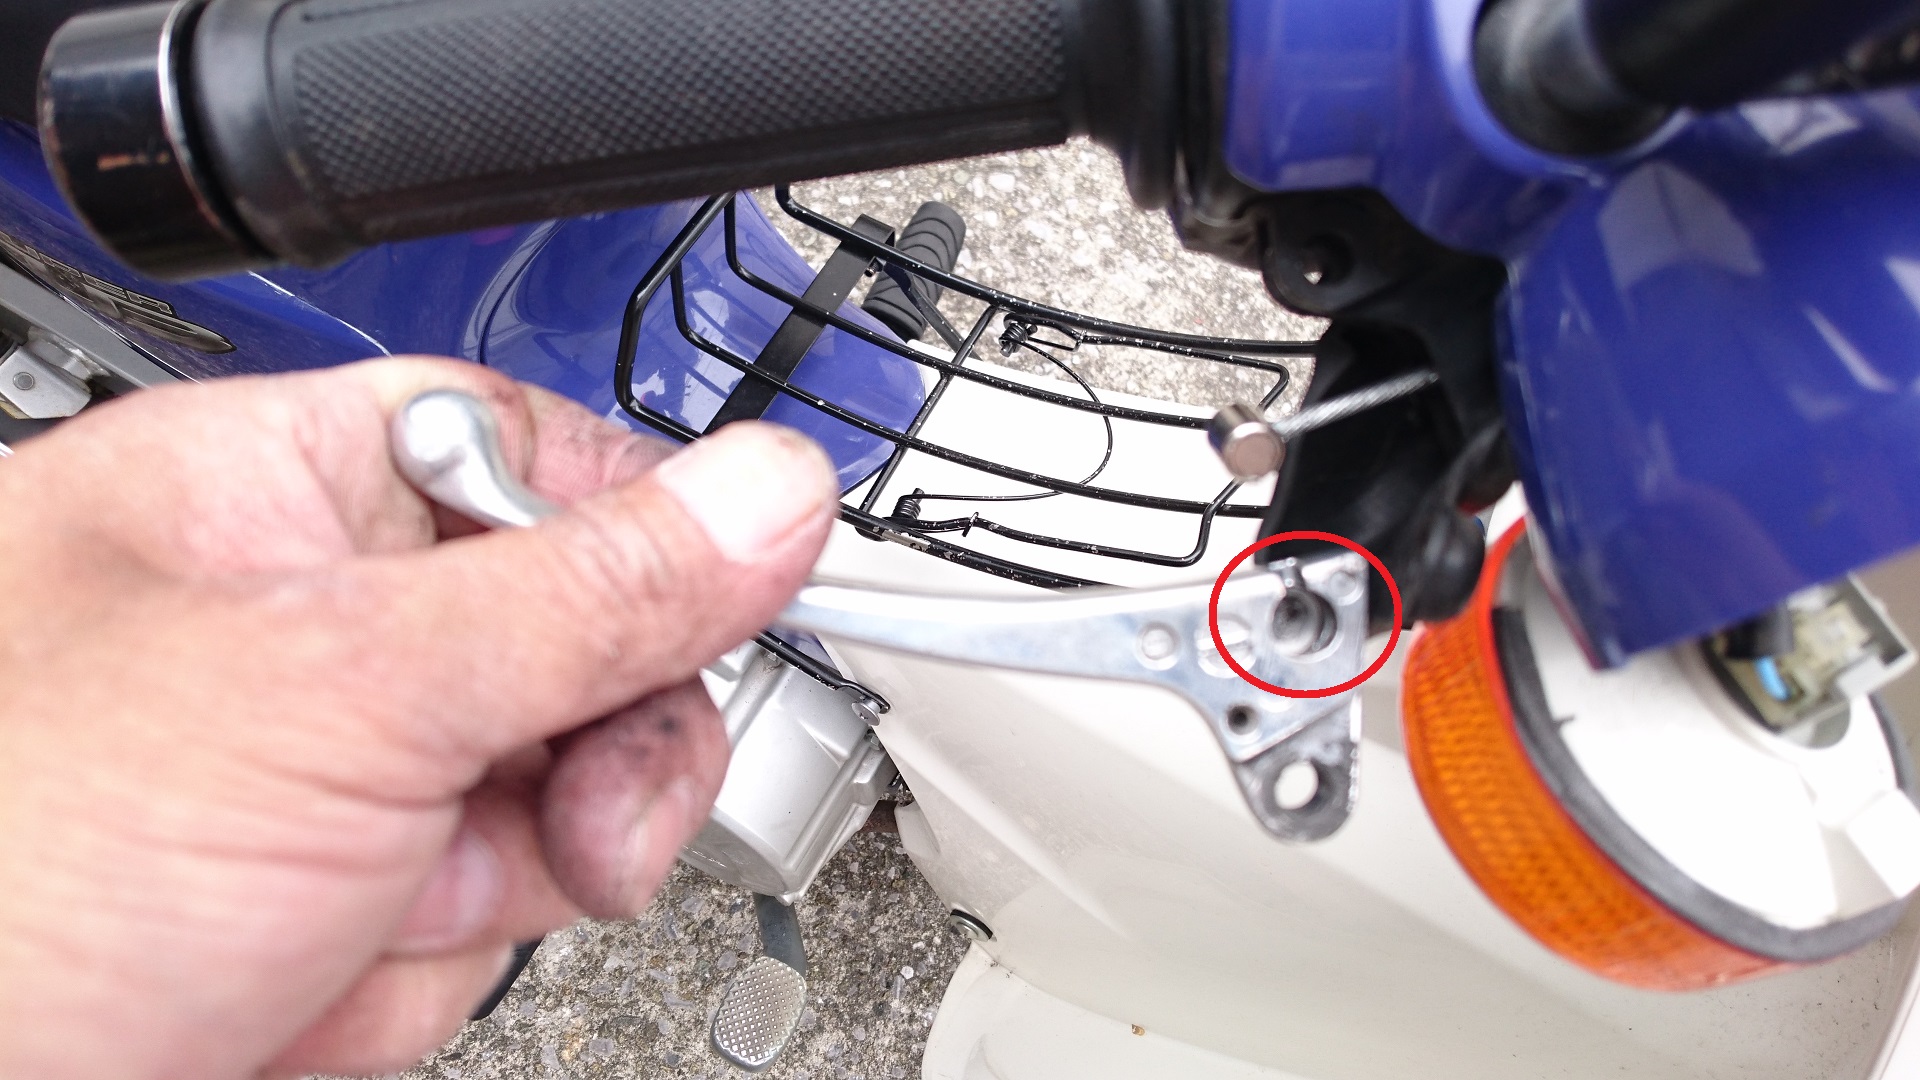
Remove the adjuster.
Twist the brake wire adjuster indicated by the arrow with your fingers and remove it to remove the part circled.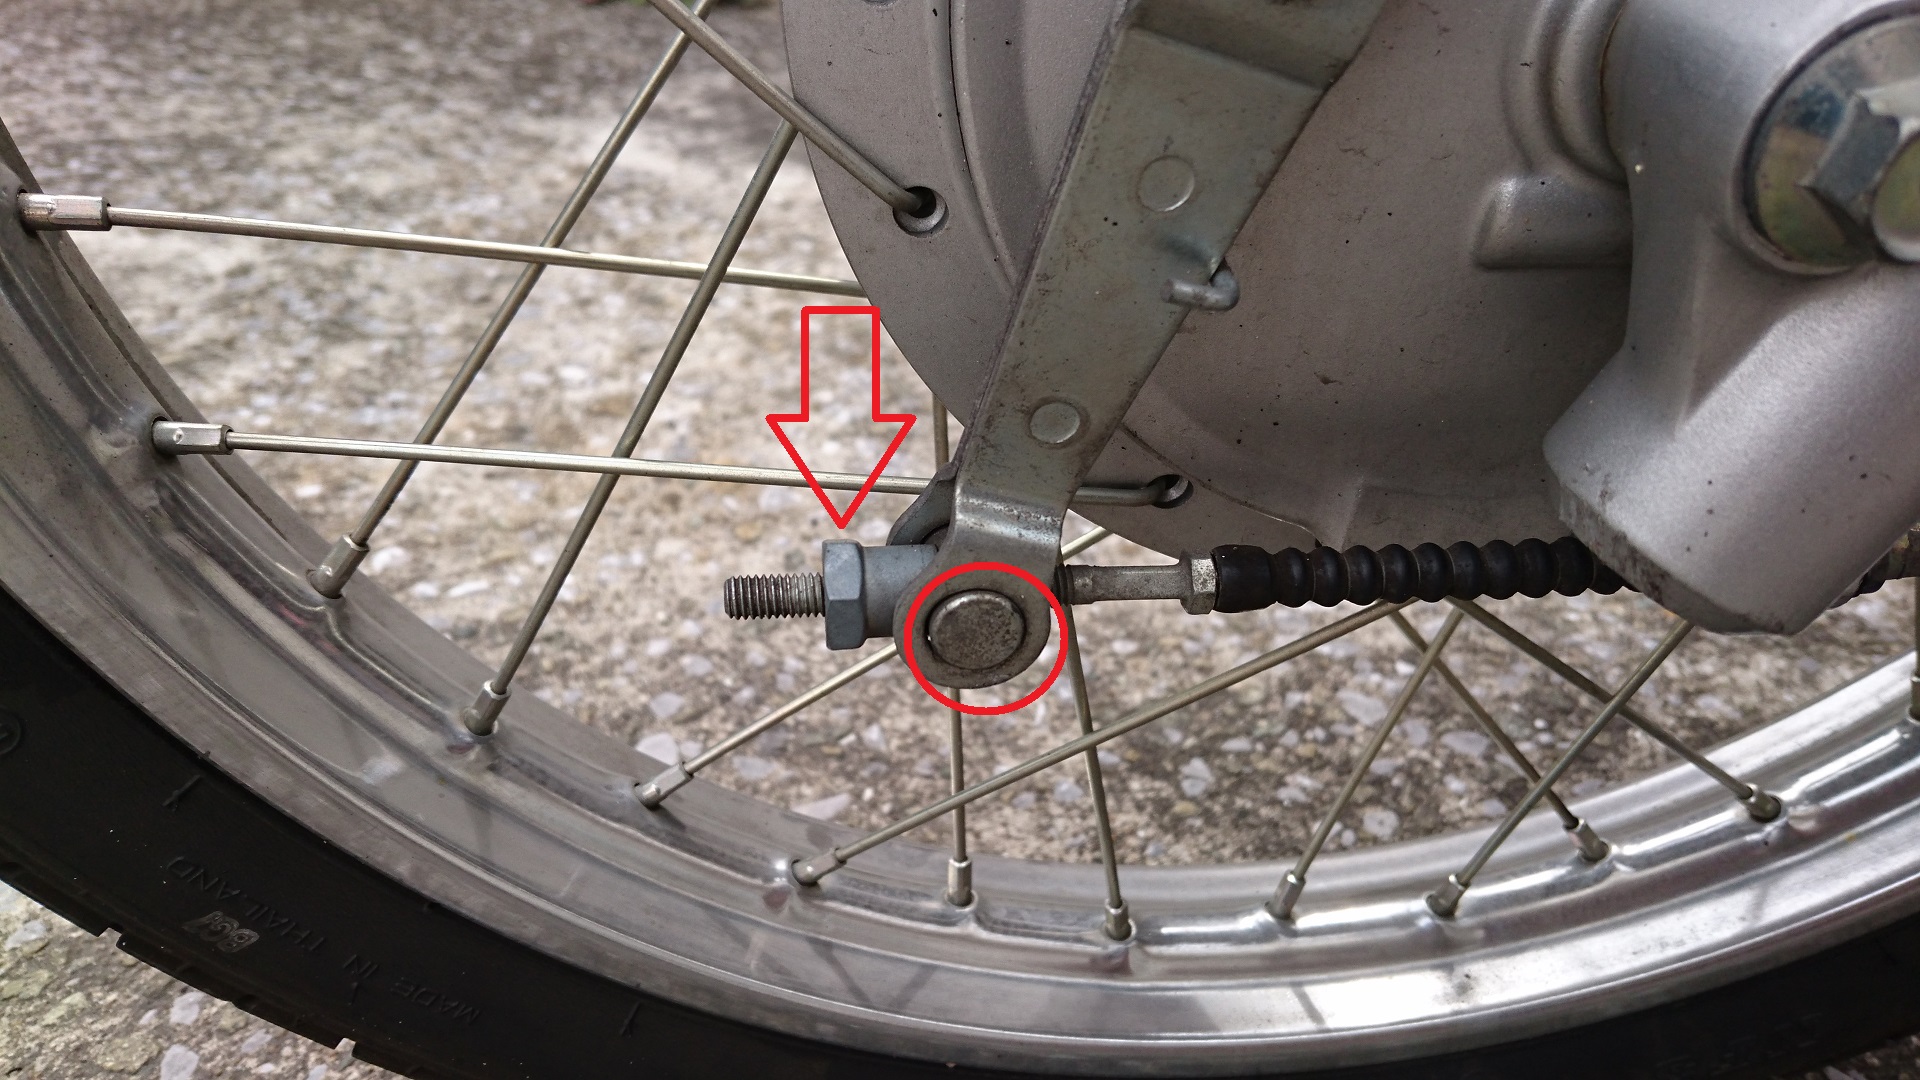
Now one side of the wire has been removed.
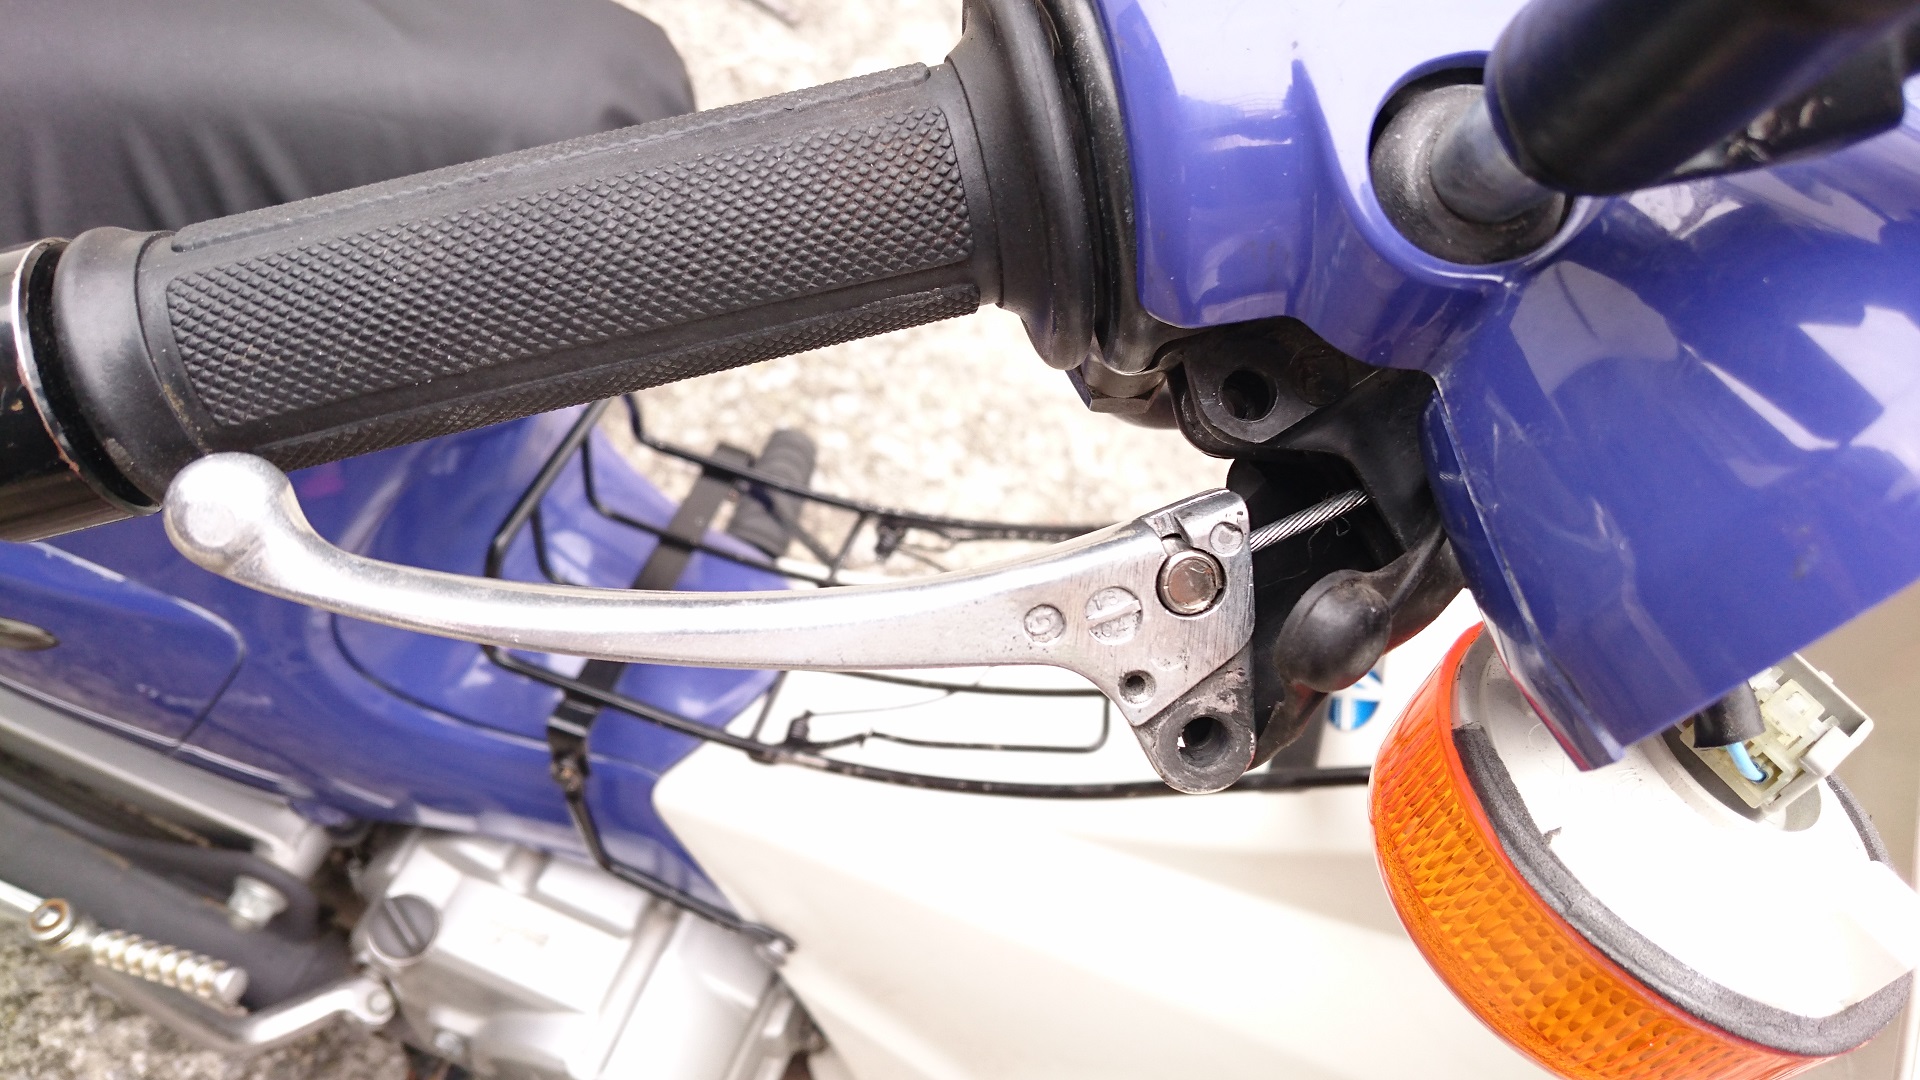
Remove the brake lever.
It can be easily removed by turning this Phillips screw.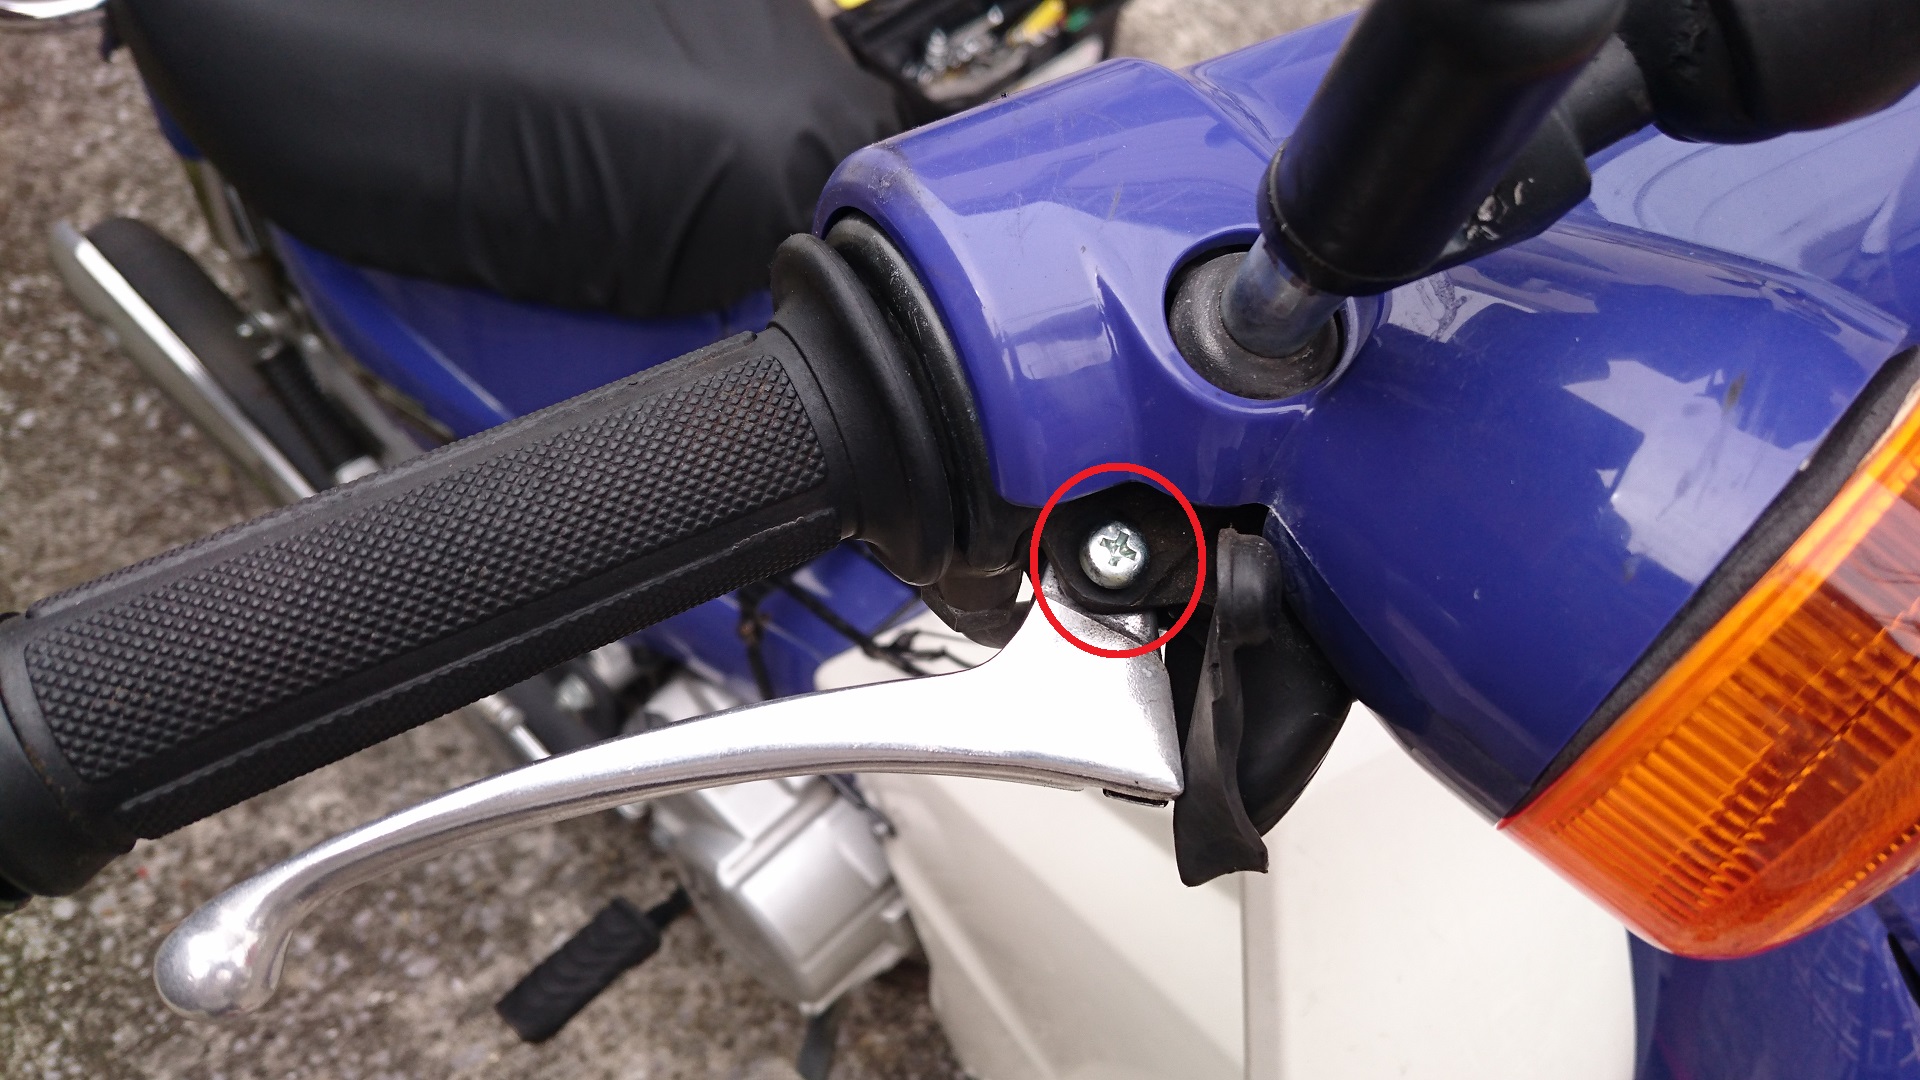
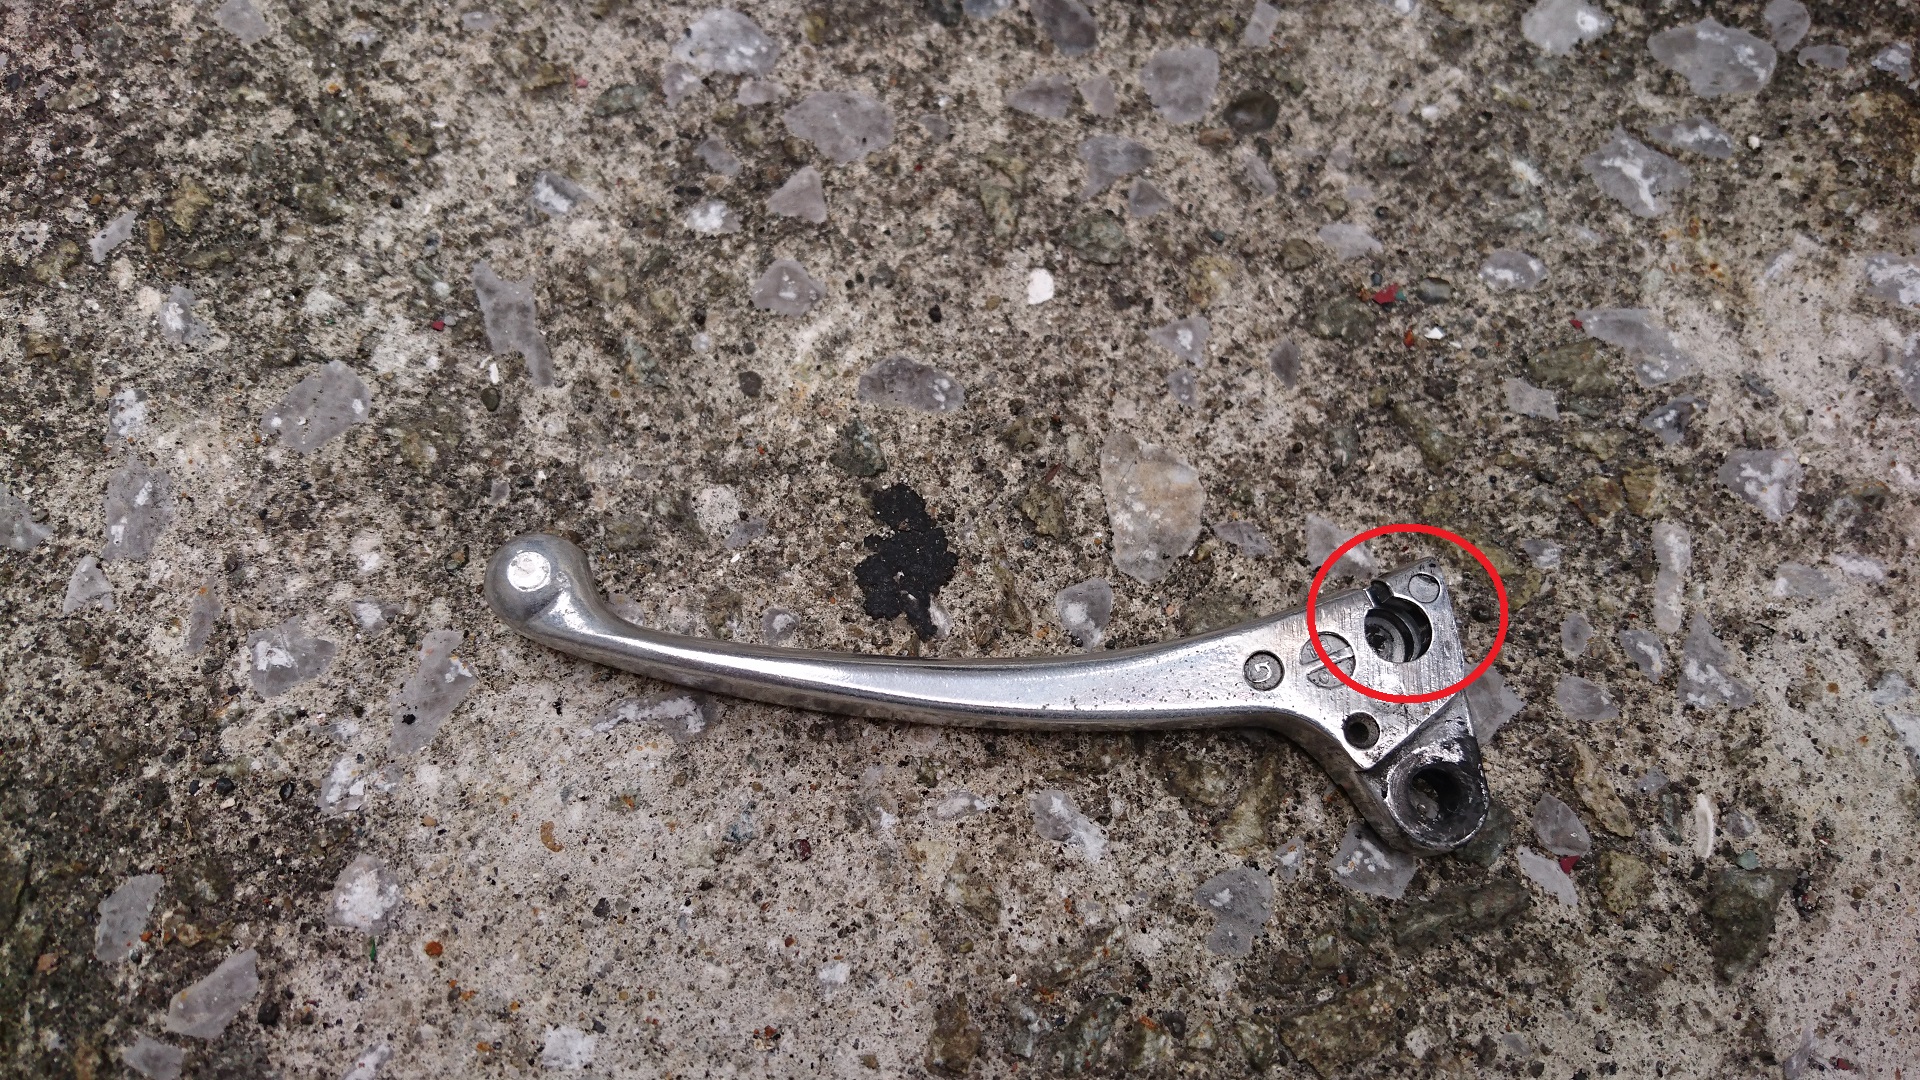
I got it!
Originally, the brake wire was caught in the red circle, but since it was cut from the base, I don’t have a picture of it in that condition.
I will post a picture of the condition when it is installed.
Both ends of the wire have been removed.
All that’s left to do is pull it out.
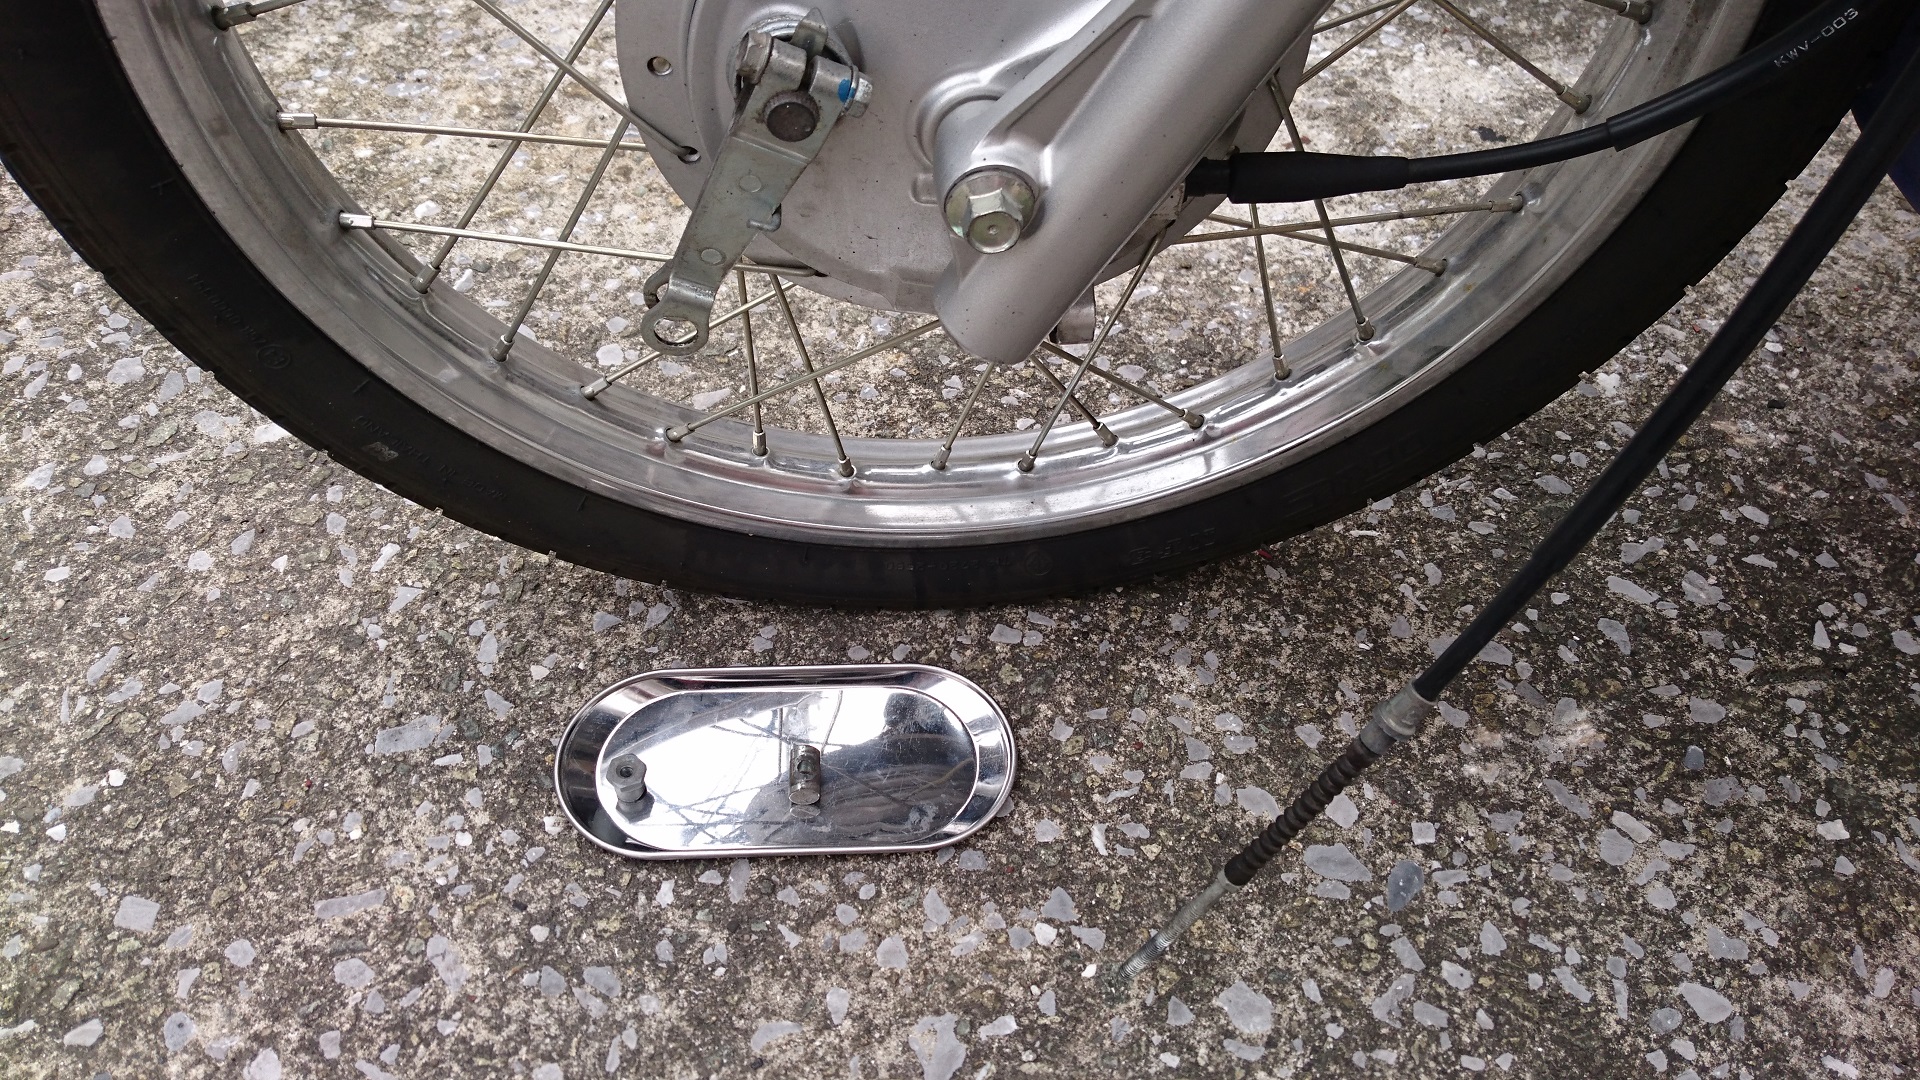
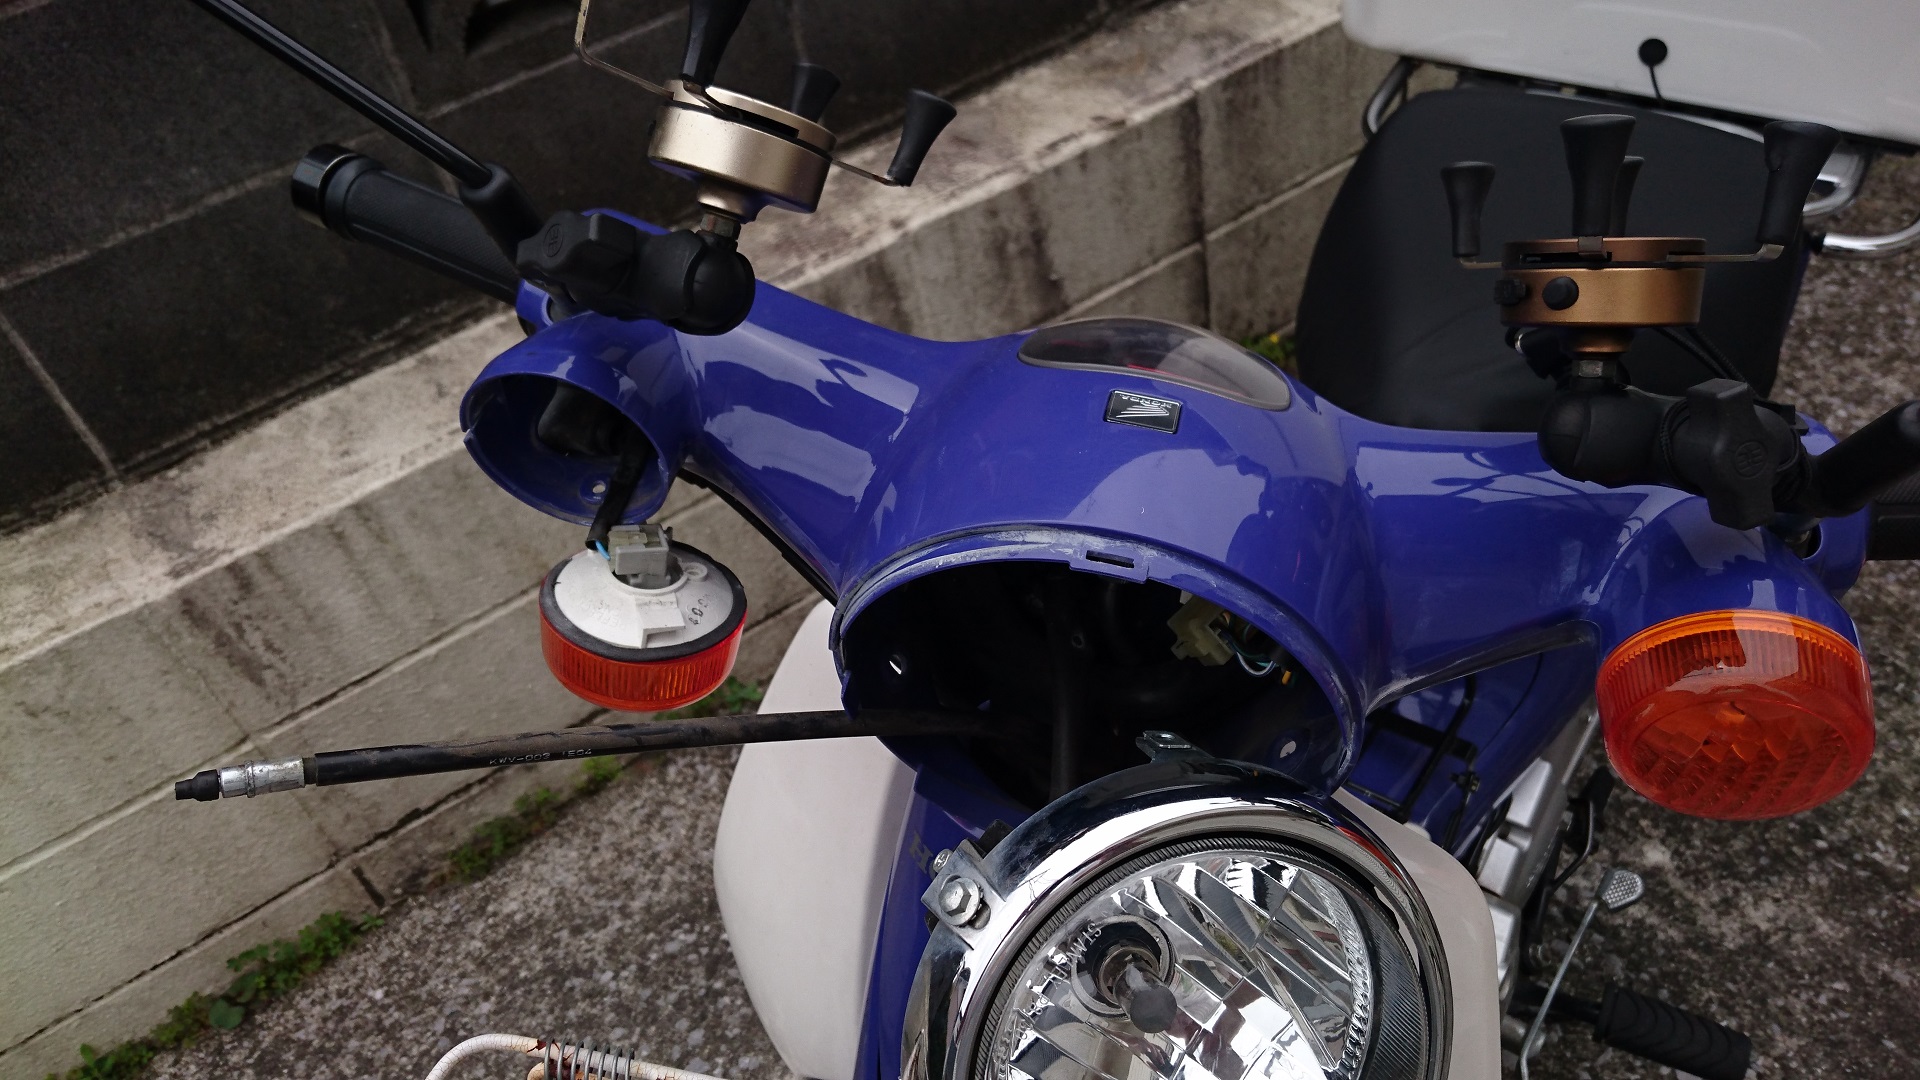
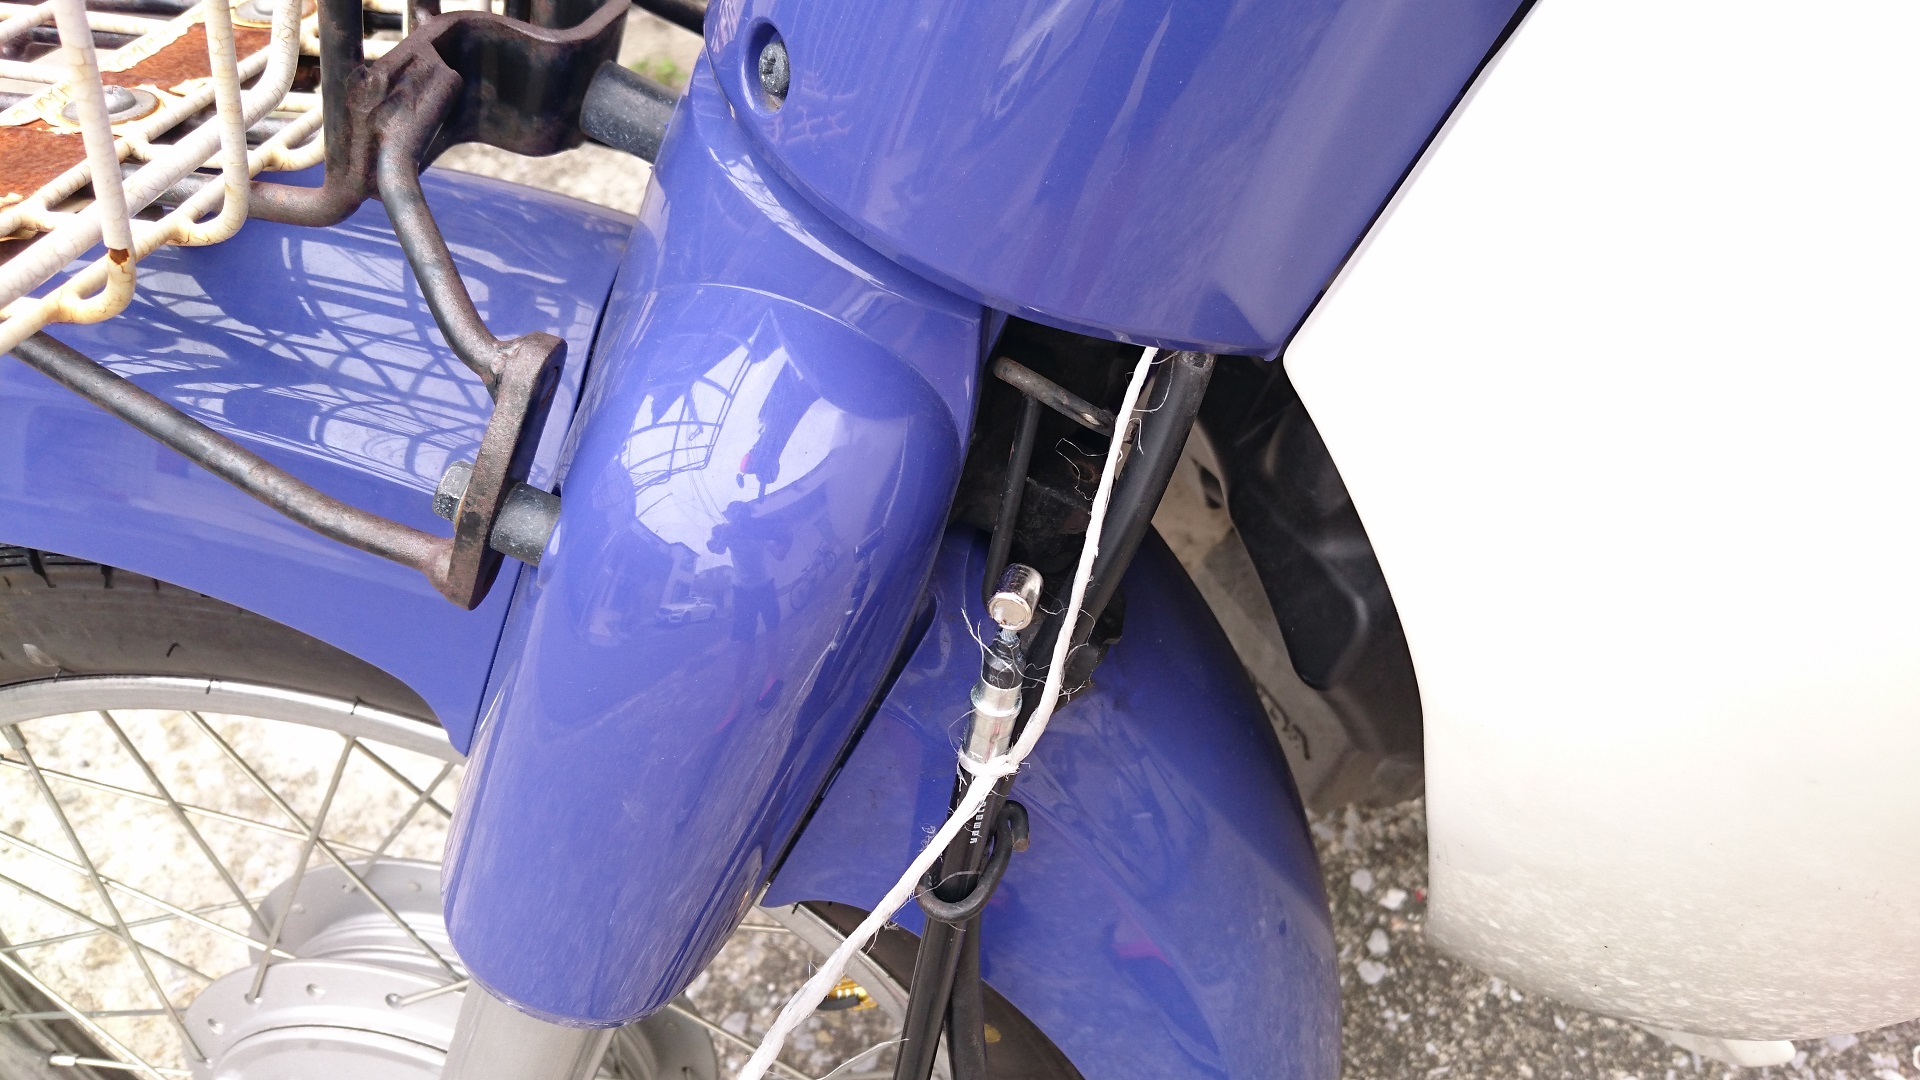
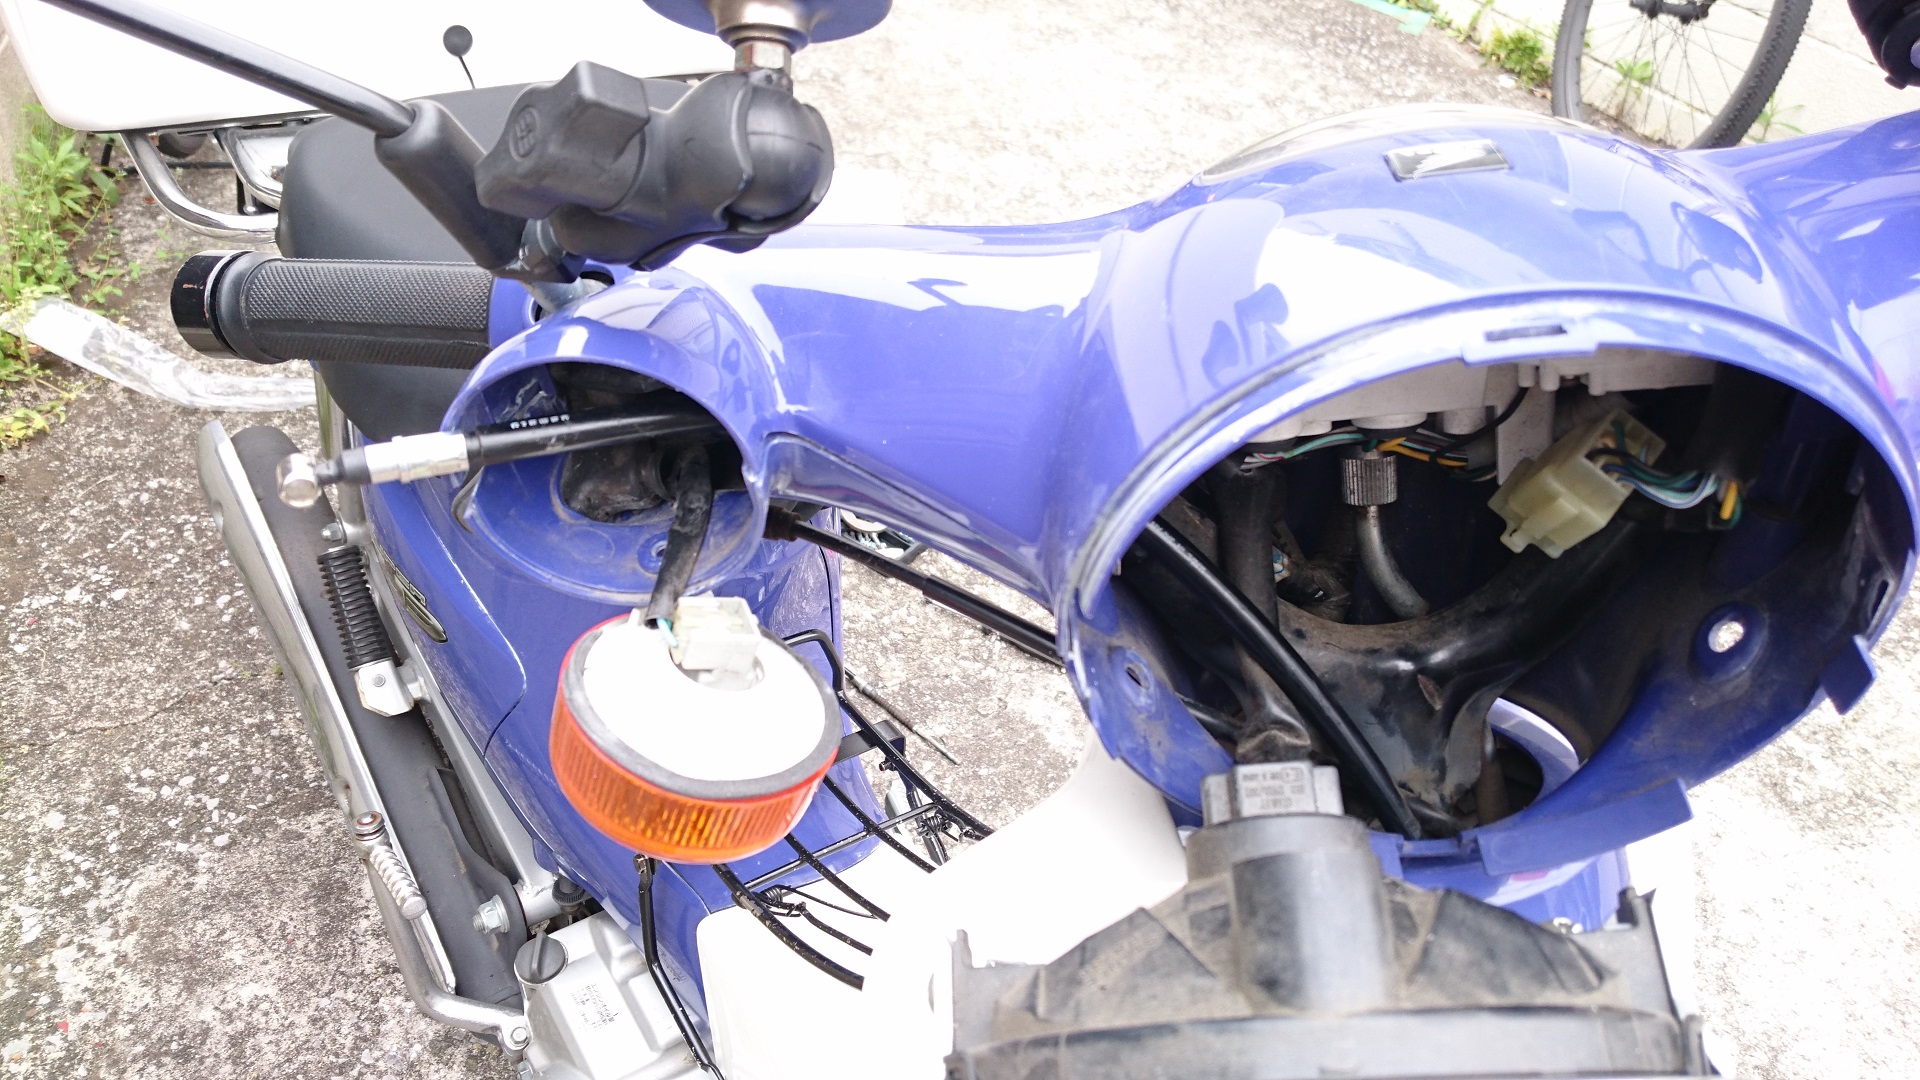
Remove headlights and turn signals.
Normally, it would be easier to install a new product if all covers were removed.
But
I want to save as much time and effort as possible.
「Attach a guide string to the wire and attach the new one based on that.」
I would like to install it in this way.
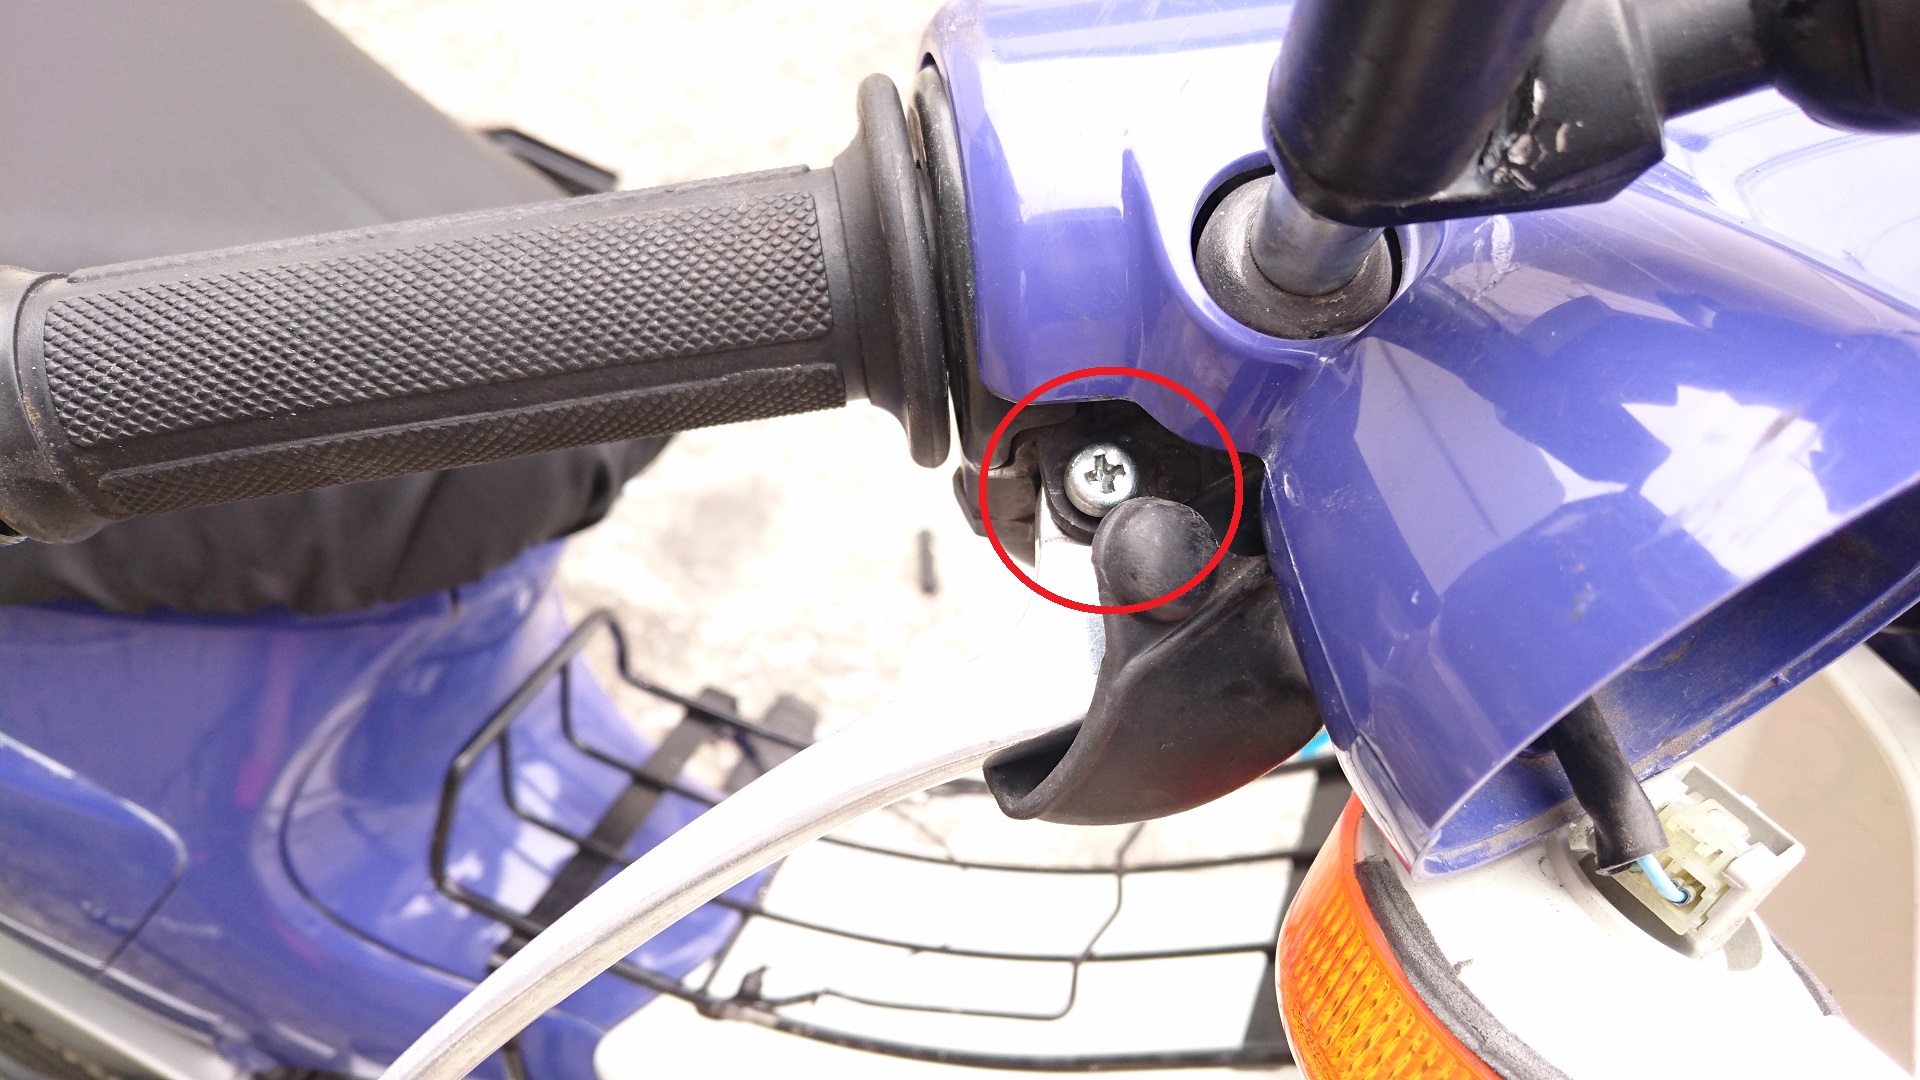
The headlight can be removed by removing the Phillips screws (red circles↓) on the left and right sides.
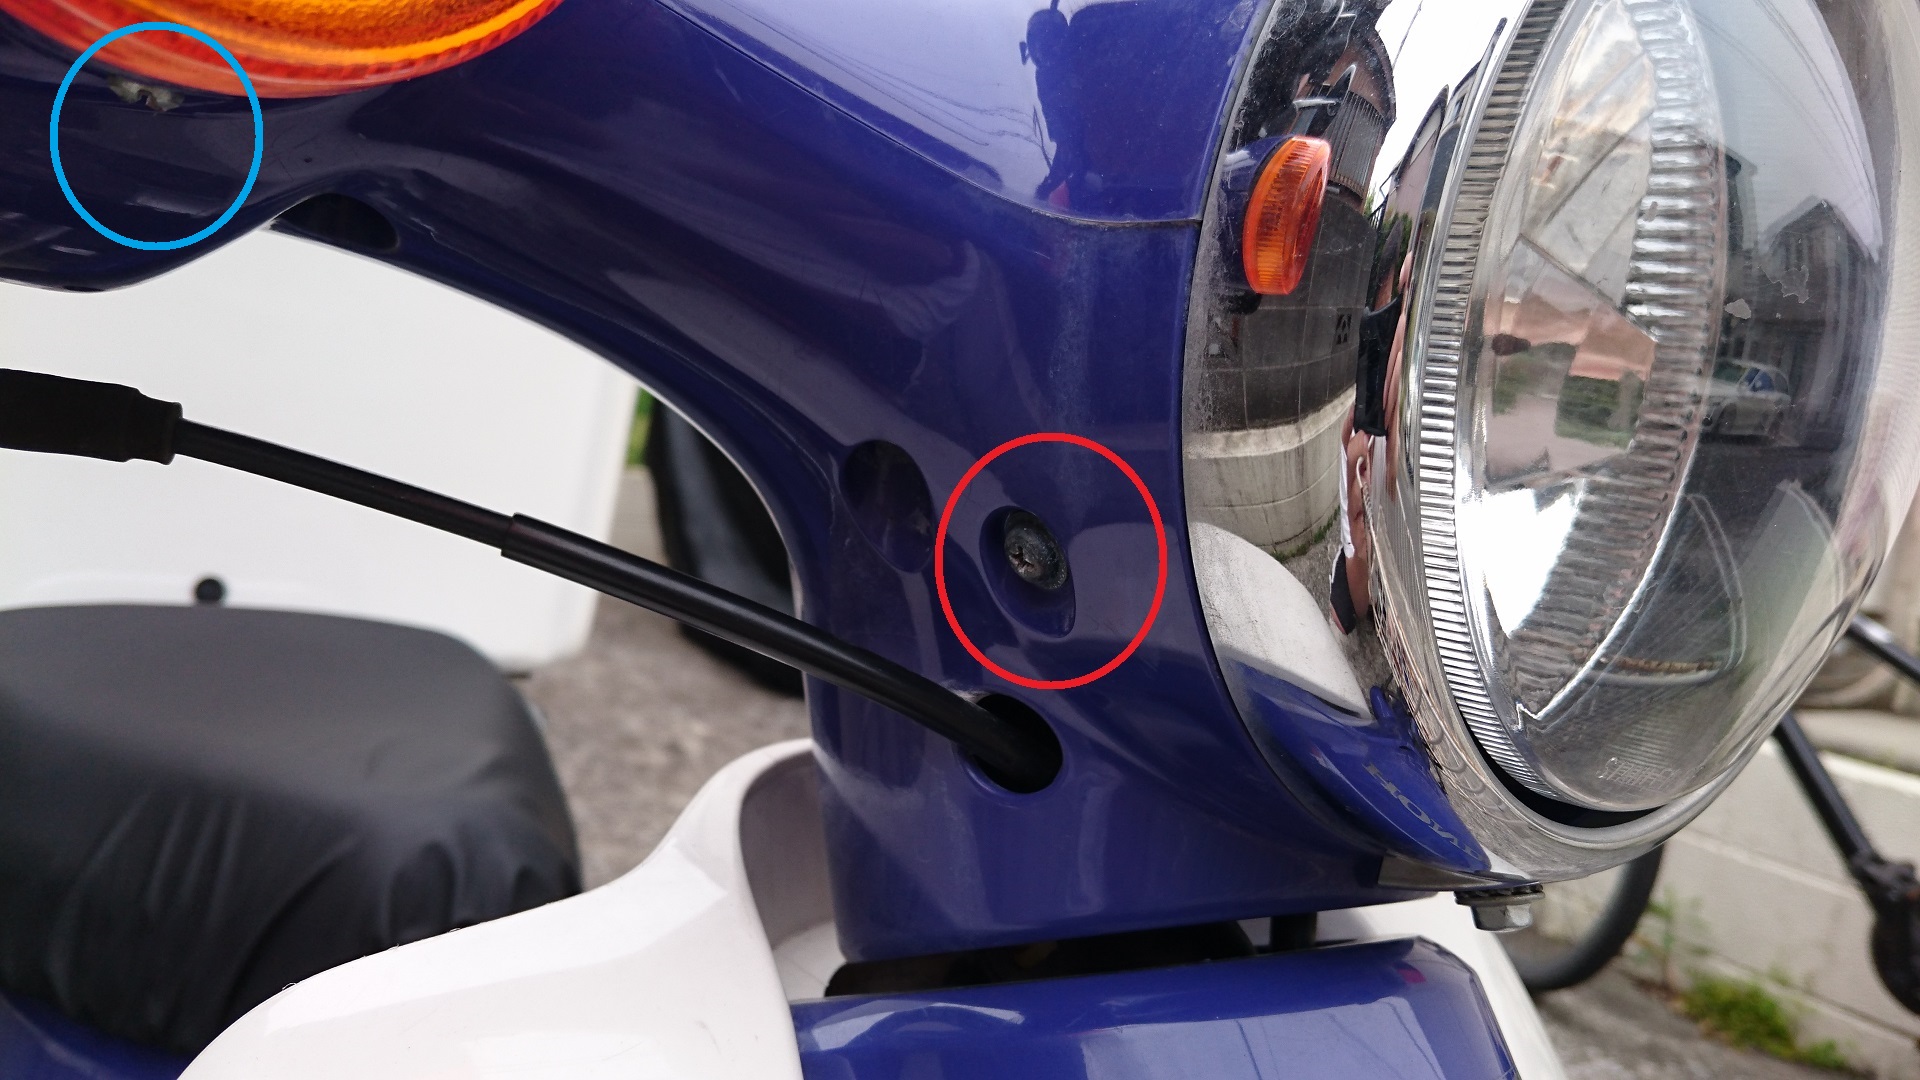
Let’s also take the blinker (right side).
There is one Phillips screw on the underside of the turn signal (blue circle).
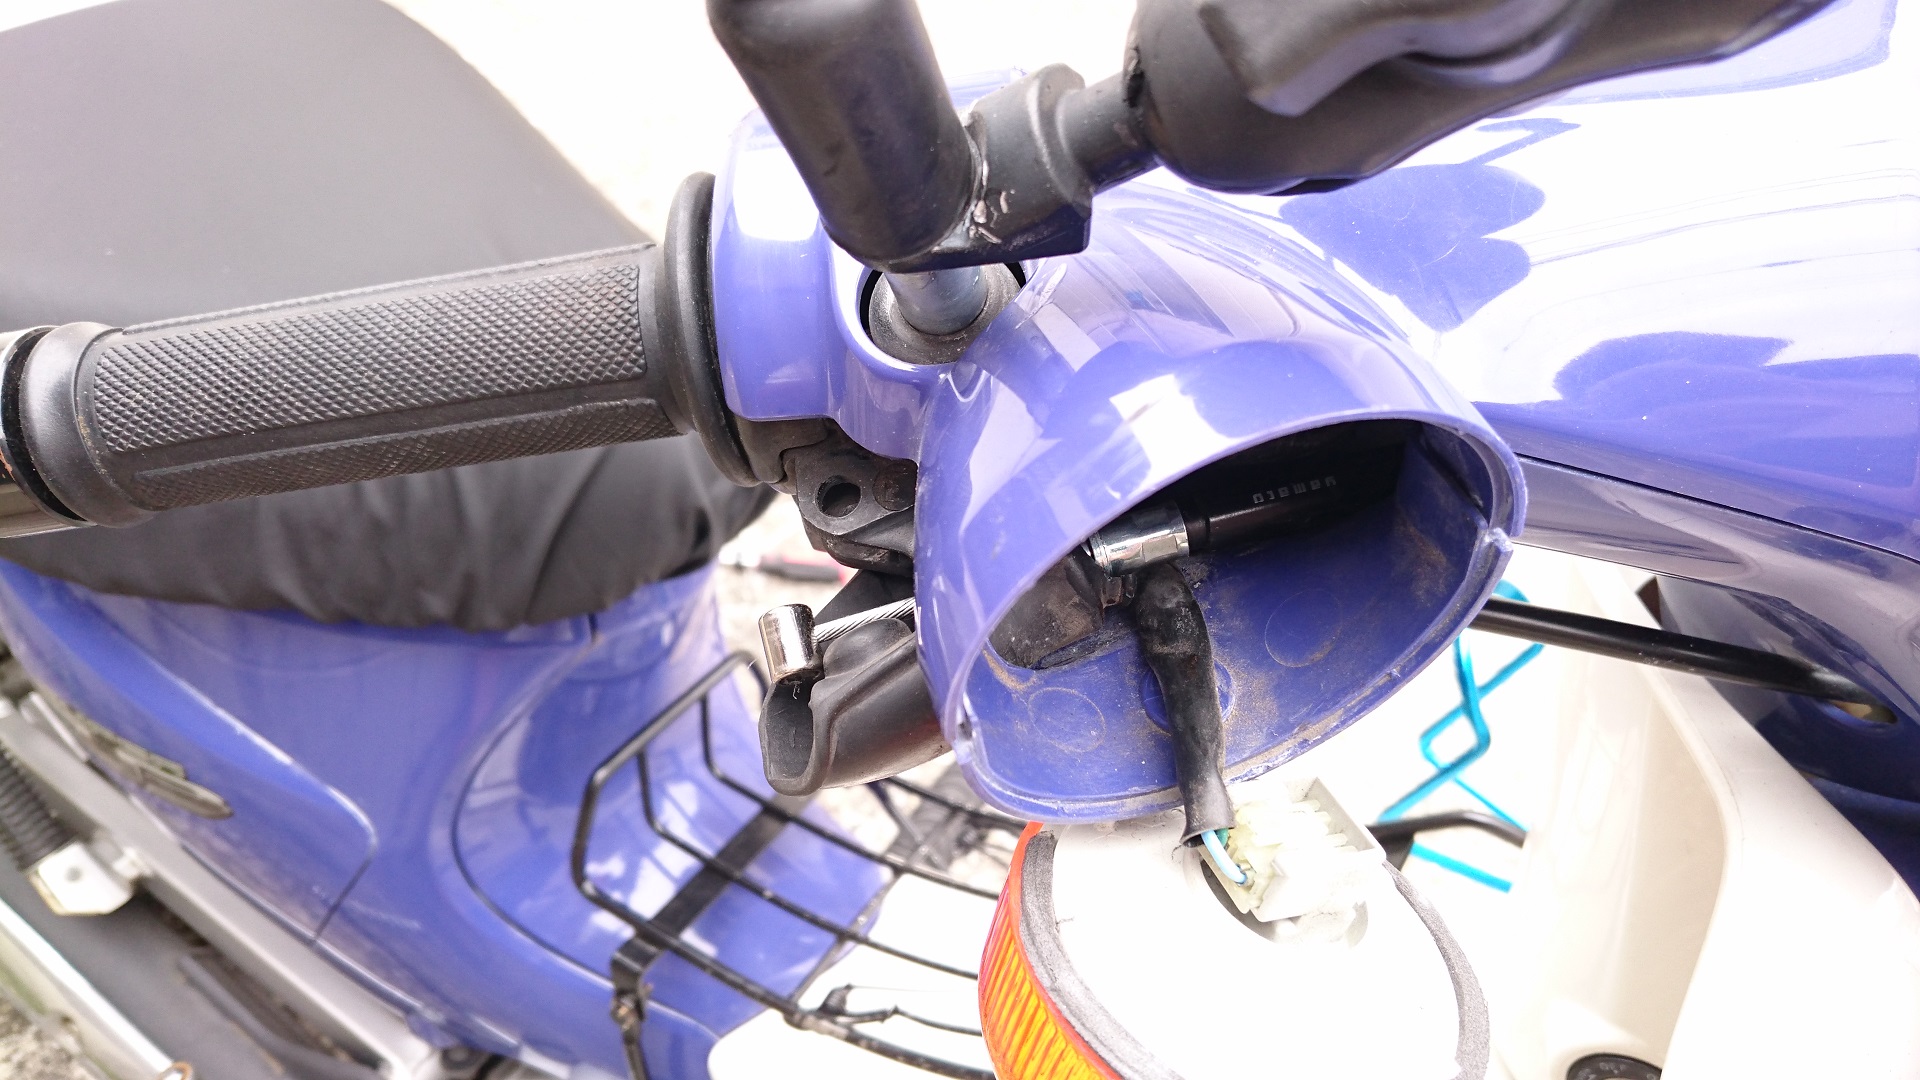
Pull out the wire.
Let’s pull out the wire.
For now, I’ll pull it out to the headlight.
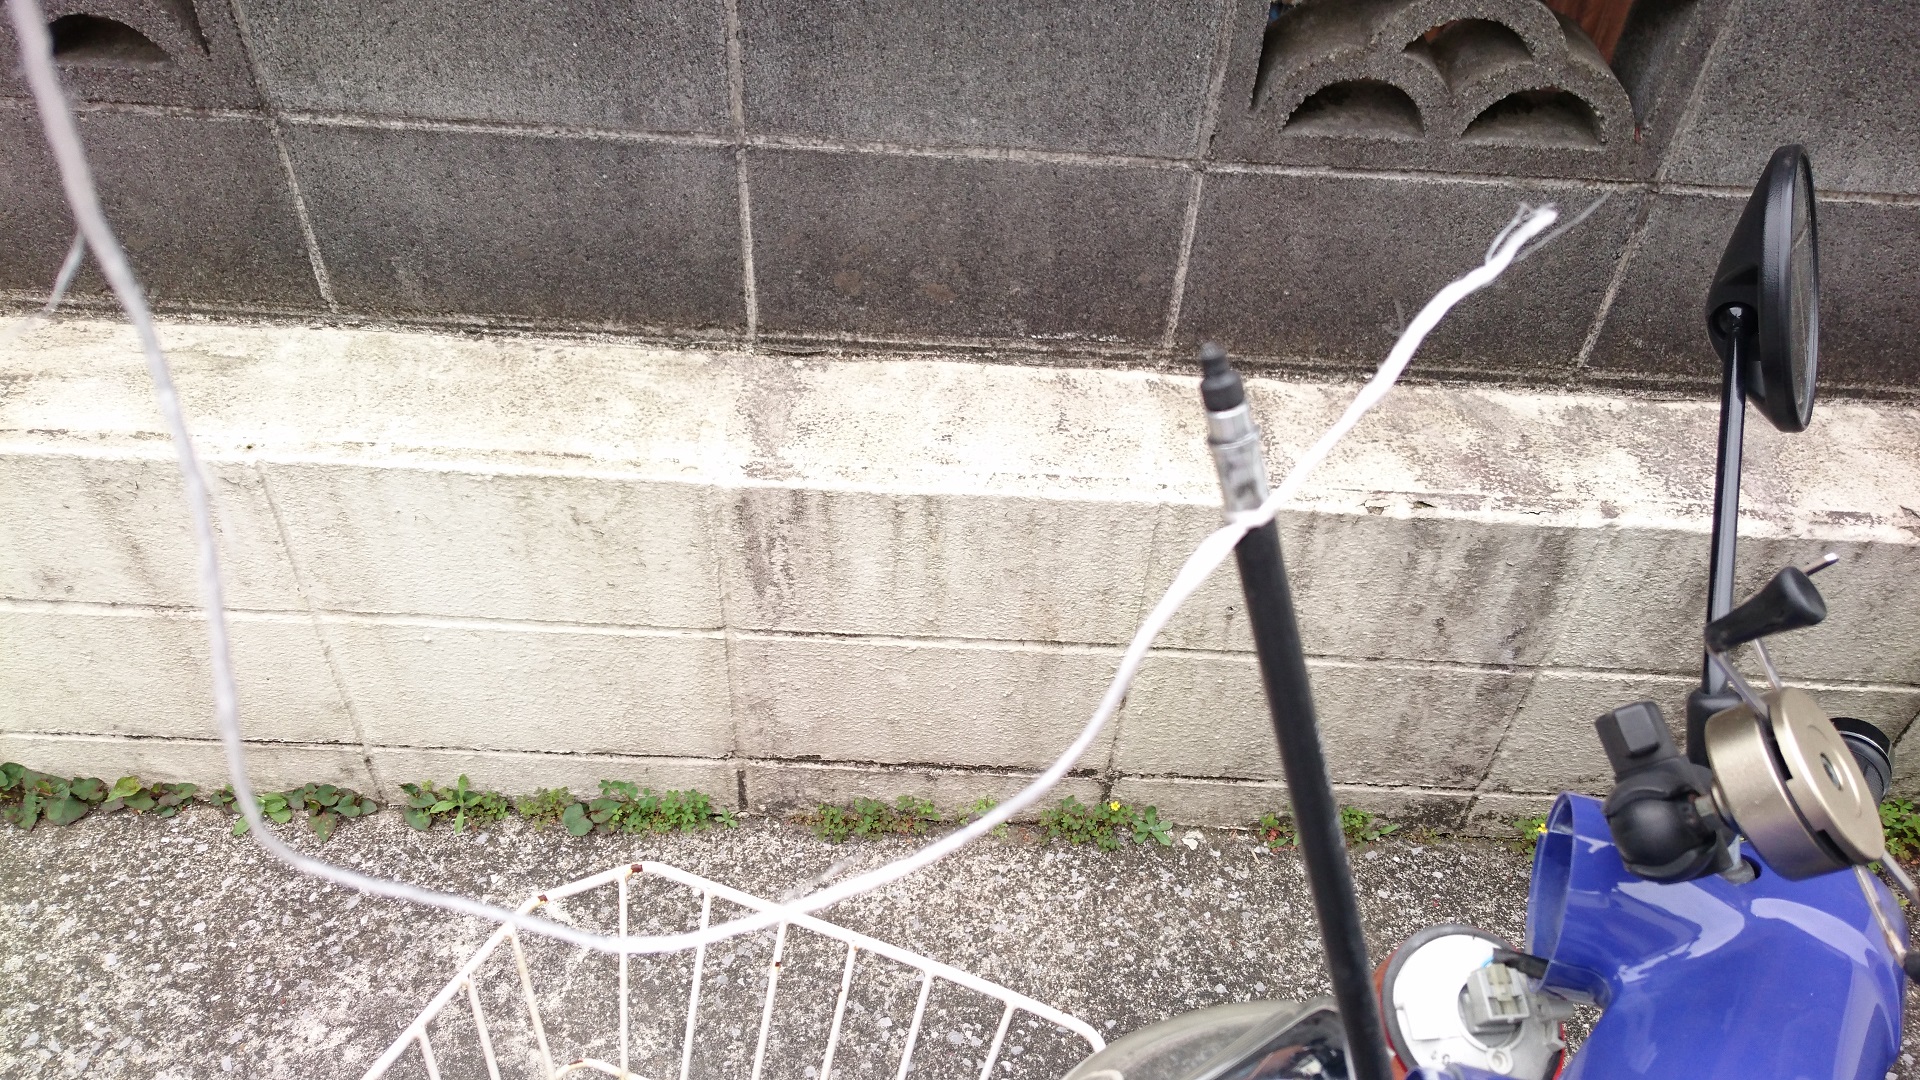
It is easier to remove the wire from the bottom.
When I tried to pull it out from the top, it got stuck in the middle.
So the string is tied at the top.
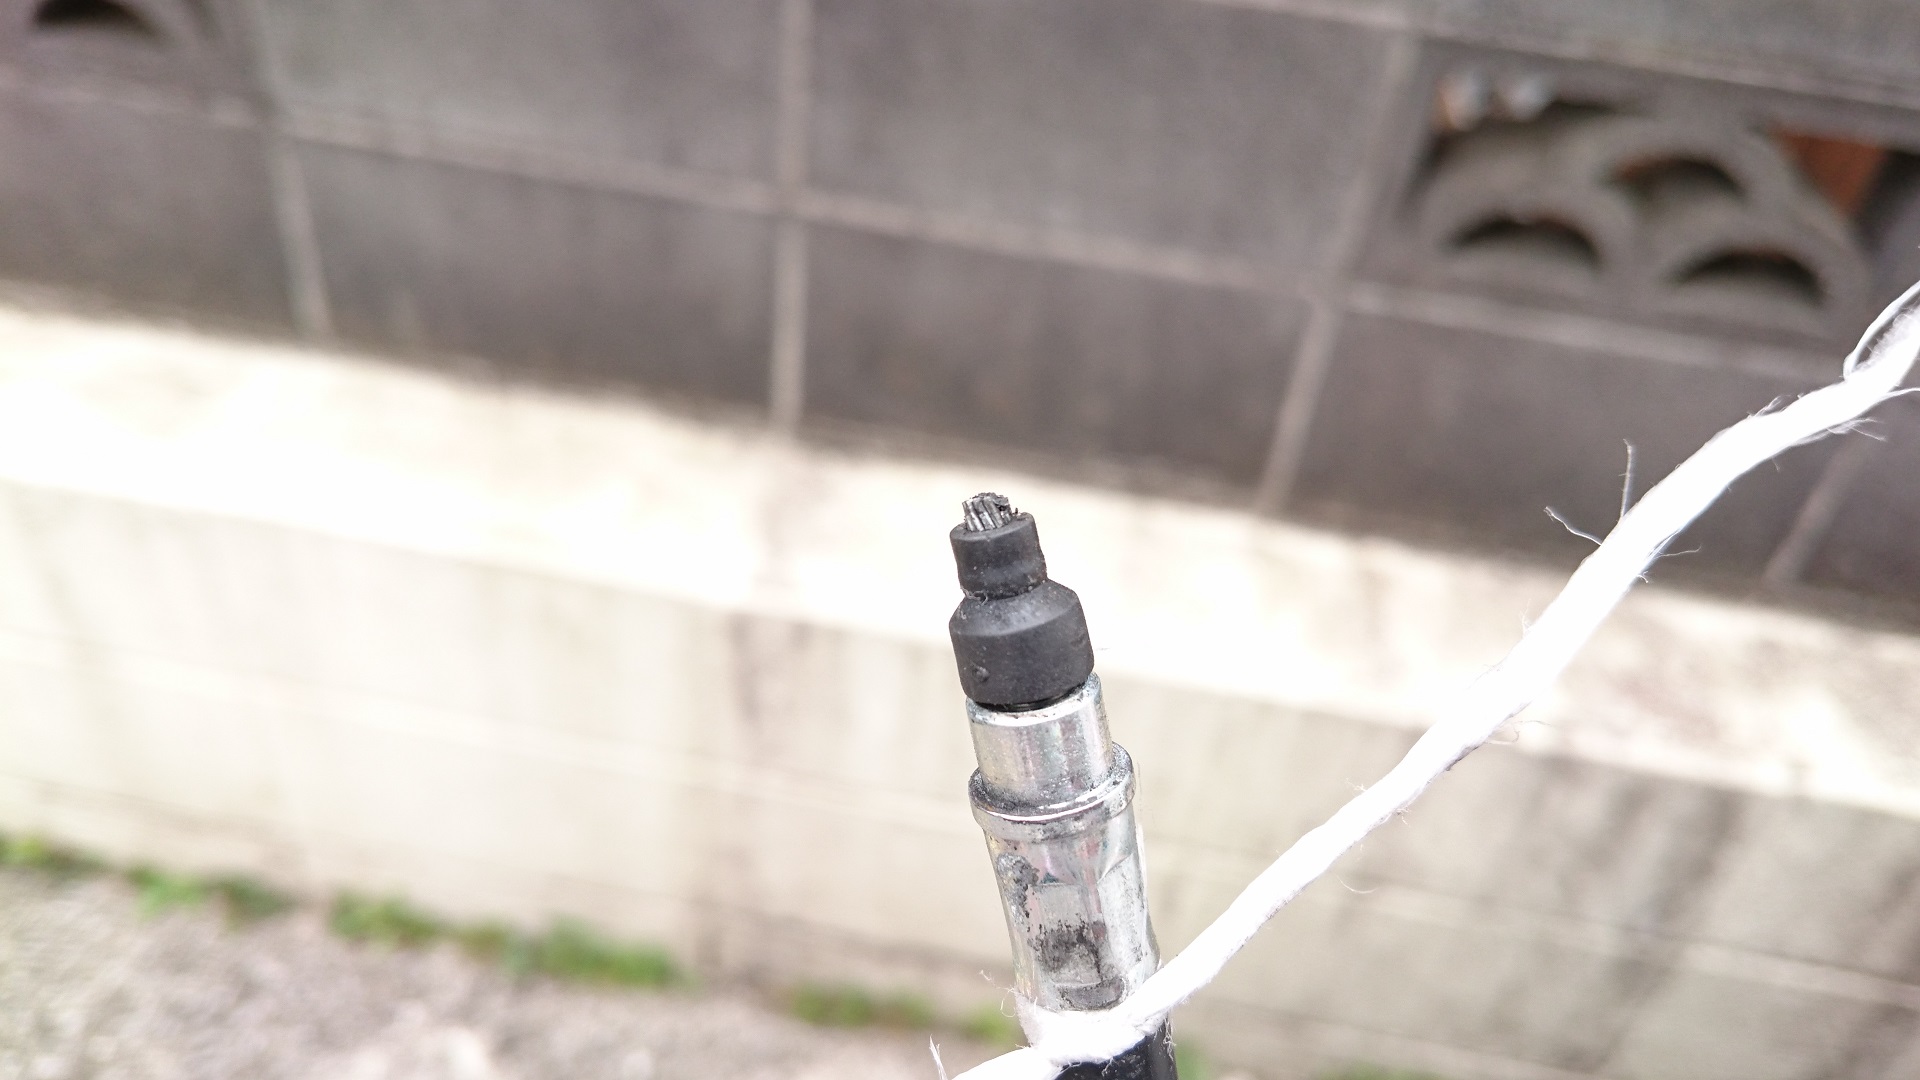
I got out!
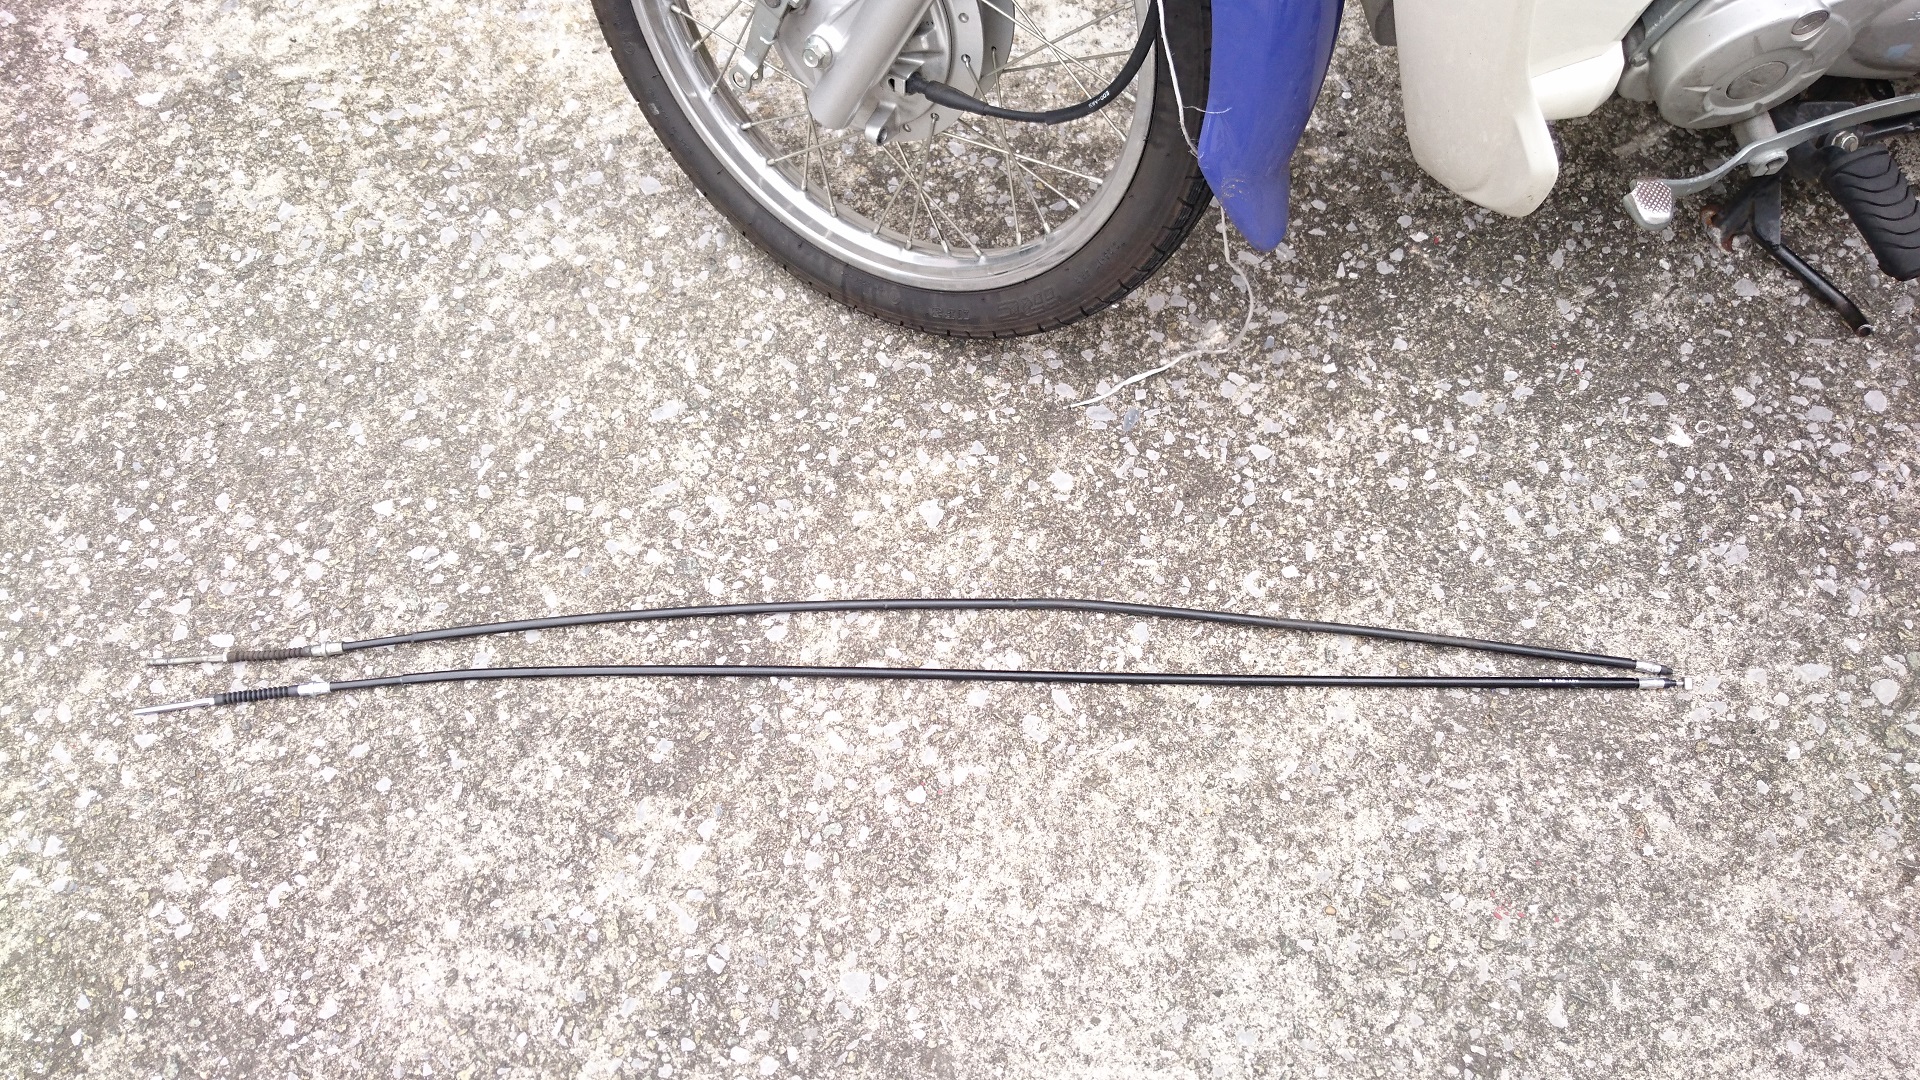
It’s the same length as the original one.
This is the model number of the wire that was originally attached.

New installation.
Let’s install the new one.
Simply do the reverse procedure of removing it.
Insert the wire.
Untie the string tied to the previous wire and tie it to the new end (the side that will come to the brake lever).

Pull the string.
It will get caught in the middle, but screw it in.

I managed to get it this far.
Now pull out only the wire part at the tip.
Pass it through the rubber cover at the base of the brake.
Hook it onto this part of the lever.
Turn the lever. (↑This is the back side of the lever for the photo)
It’s OK if you attach the Phillips screws.
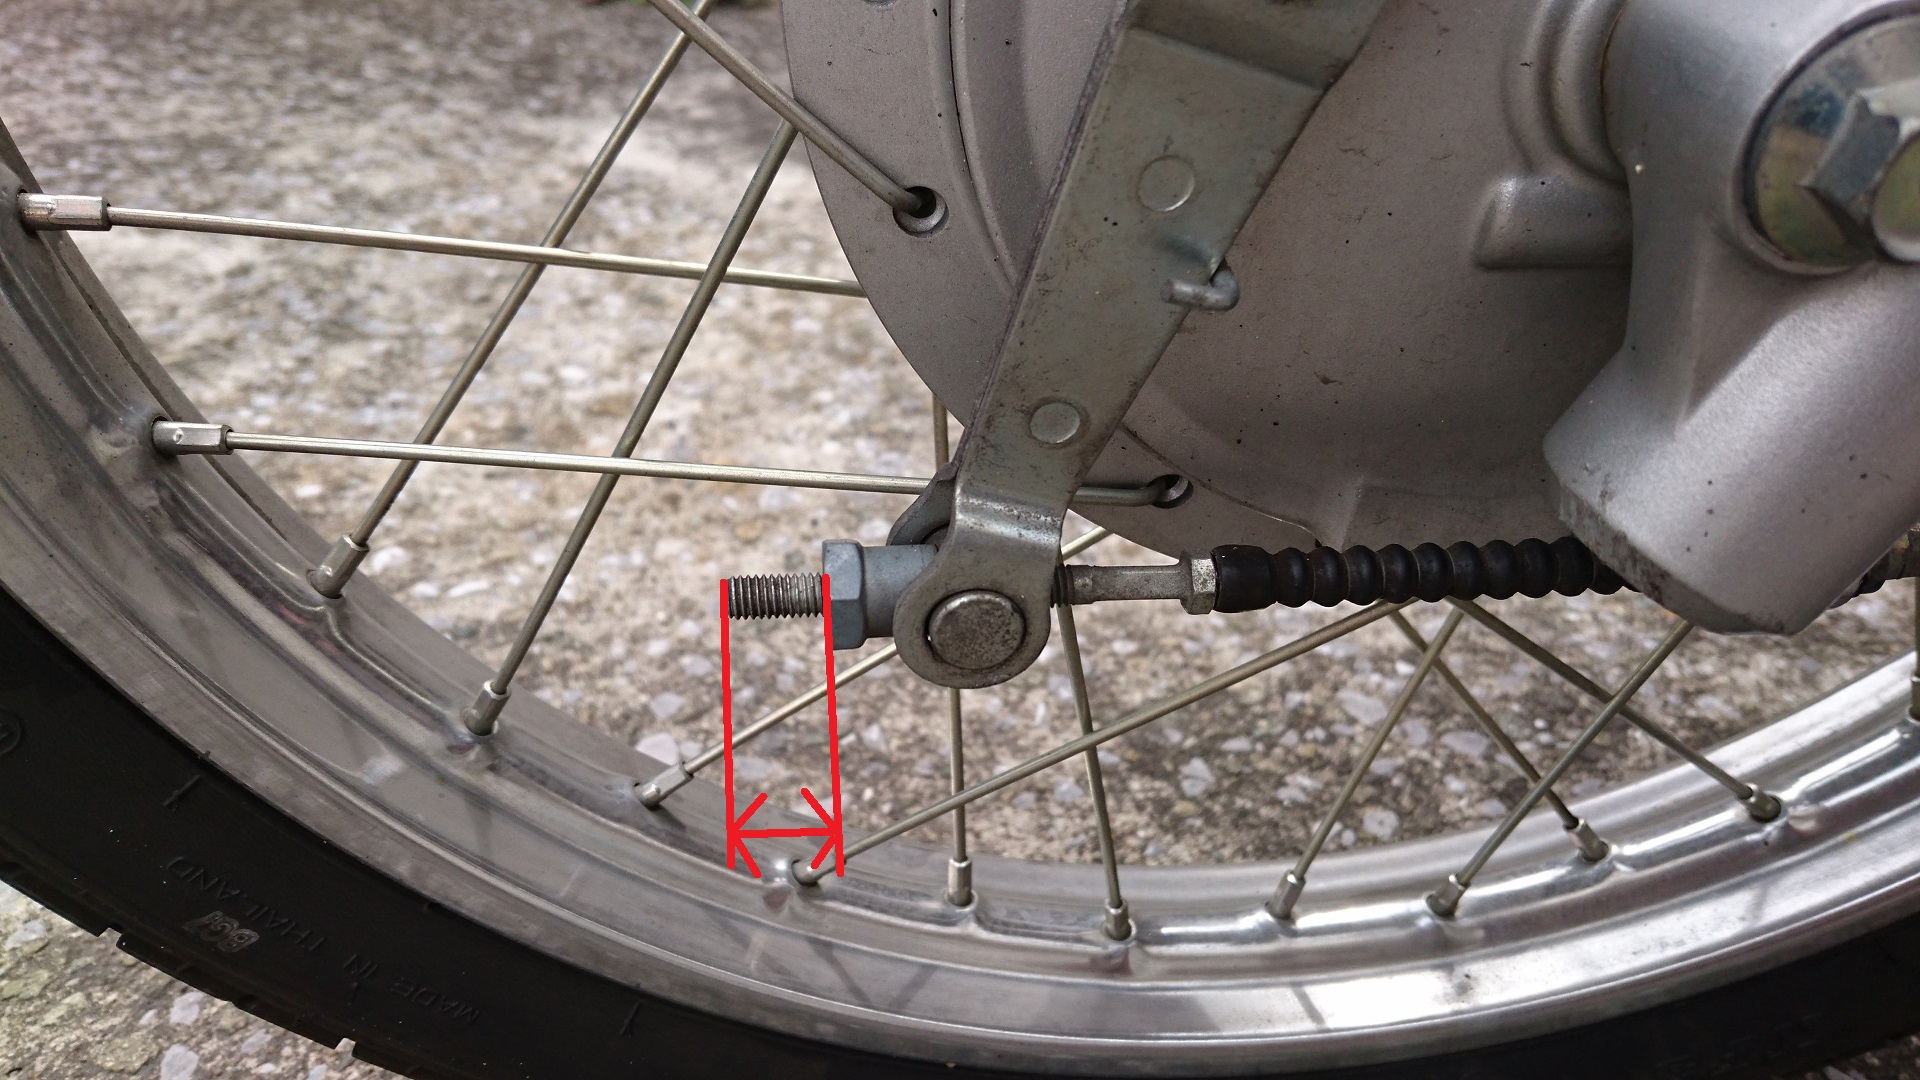
Built-in adjuster
Attach the opposite side of the wire (tire side).
The process is the reverse of removing it.
Put the adjuster through the loop indicated by the arrow.

Adjust the effectiveness of the brake with the adjuster.
Finish!
Brake adjustment.
The brake adjustment method is the same for all bikes.
Please refer to this.
Since the brake is an important part, I think it would be a good idea to take a test ride.
Postscript.
Now that I think about it, I heard a cracking sound before the brakes braked, and I wonder if the brakes were somehow less effective. I remember tightening the brakes.
Maybe that caused the wire to become taut, and then break after a while?
~Signs that the brake wire is about to break~
Due to the structure, the wires are woven together, so I don’t think they will break all at once.
If it does break, it will break from the outer wire.
It should catch on the tube that wraps the wire.
You can feel that binding feeling when you apply the brakes.
That’s a sign it’s about to break.
Having said that…
Do we really understand? ? ?
This time it was at the base of the wire, so I was able to cut it without feeling the tube getting caught.
If you feel something stuck, replace it immediately! Even if it doesn’t work, maybe it will cut? You can rest assured if you take precautions and order parts.