
I’m thinking of replacing the rear tire, but I have to remove it first.
So, I would like to take a look at how to remove a Super Cub tire.
There are various models of Super Cubs, but the method for removing tires seems to be generally the same.
However, please use car models other than JA07 as reference only.
Now let’s remove the tire.
remove rear tire
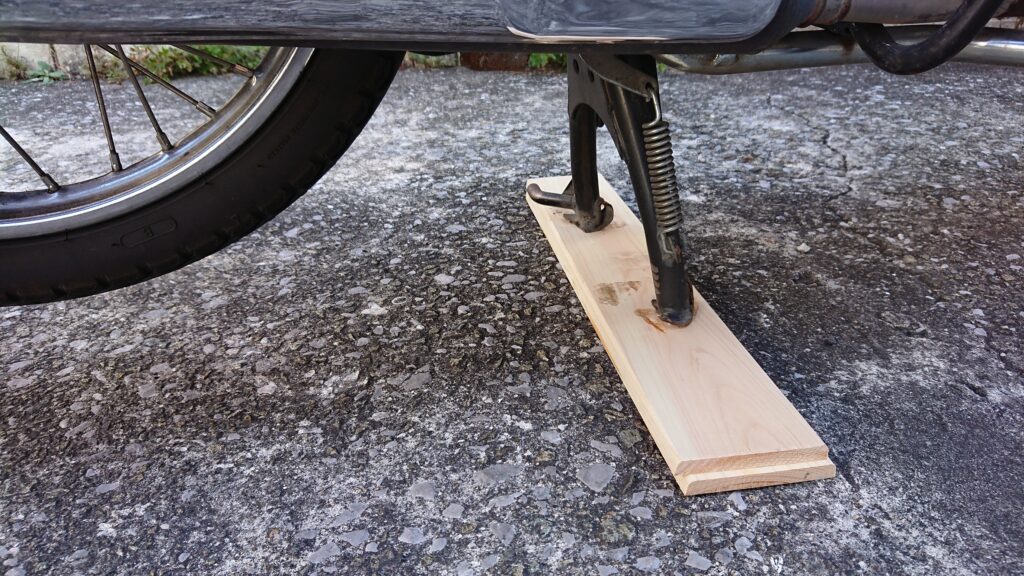
Set up the center stand to increase height
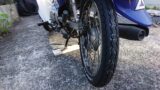
I set up the center stand to stabilize the car,
but are the tires floating off the ground?
If you think the tire is not tall enough,
use a piece of wood to increase the height.
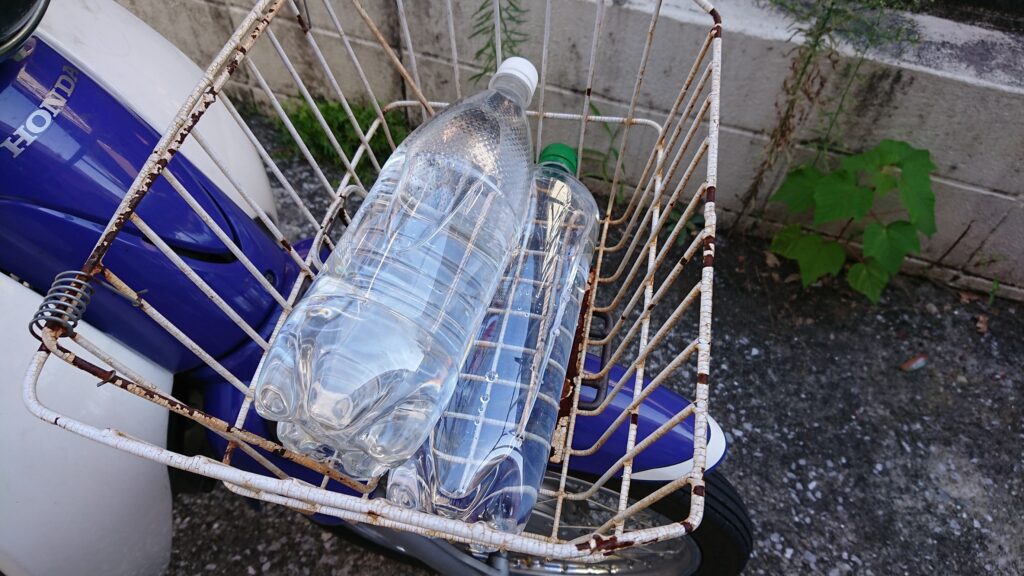
If you feel unbalanced,
it might be a good idea to put a plastic bottle filled with water in the front basket.
remove chain cover
I’m going to take apart the area around the tire.
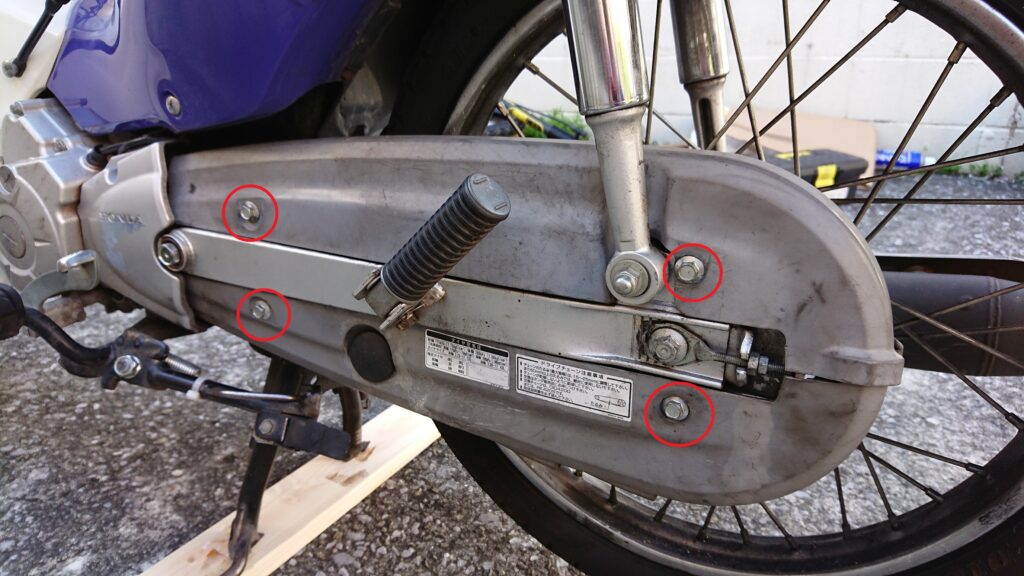
Remove the chain cover for easy identification.
Just remove the 4 screws and it will come off easily.
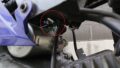
remove around the brake
Remove the area around the brake on the right side of the vehicle.
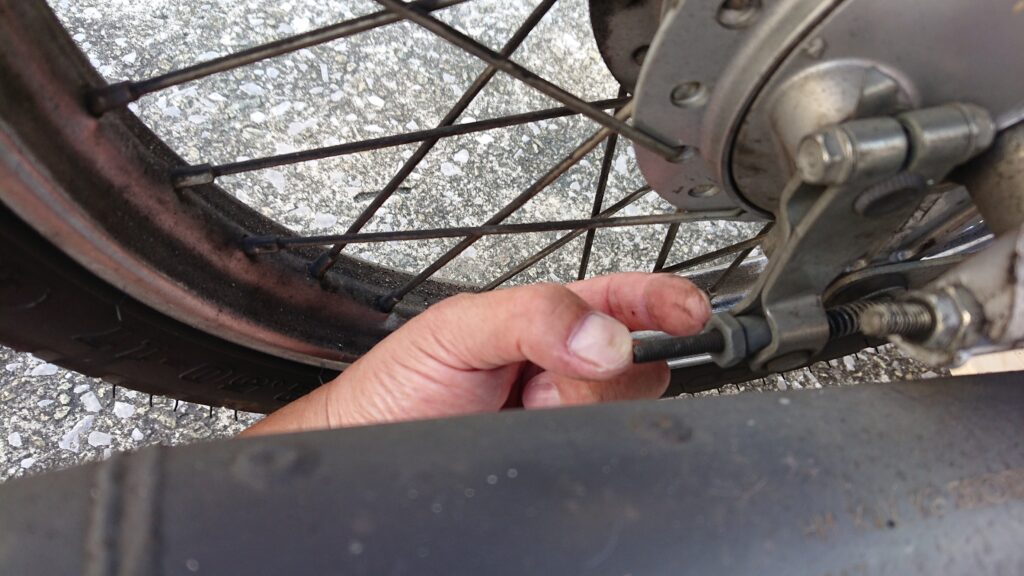
Remove the rear brake adjuster by twisting it with your fingers.
There are two parts, so be careful not to lose them.
If it is difficult to remove, try pushing the arm or pressing the brake pedal to remove it.
Memorizing the position of the adjuster will be useful when making final brake adjustments.
Remember this length ↓.
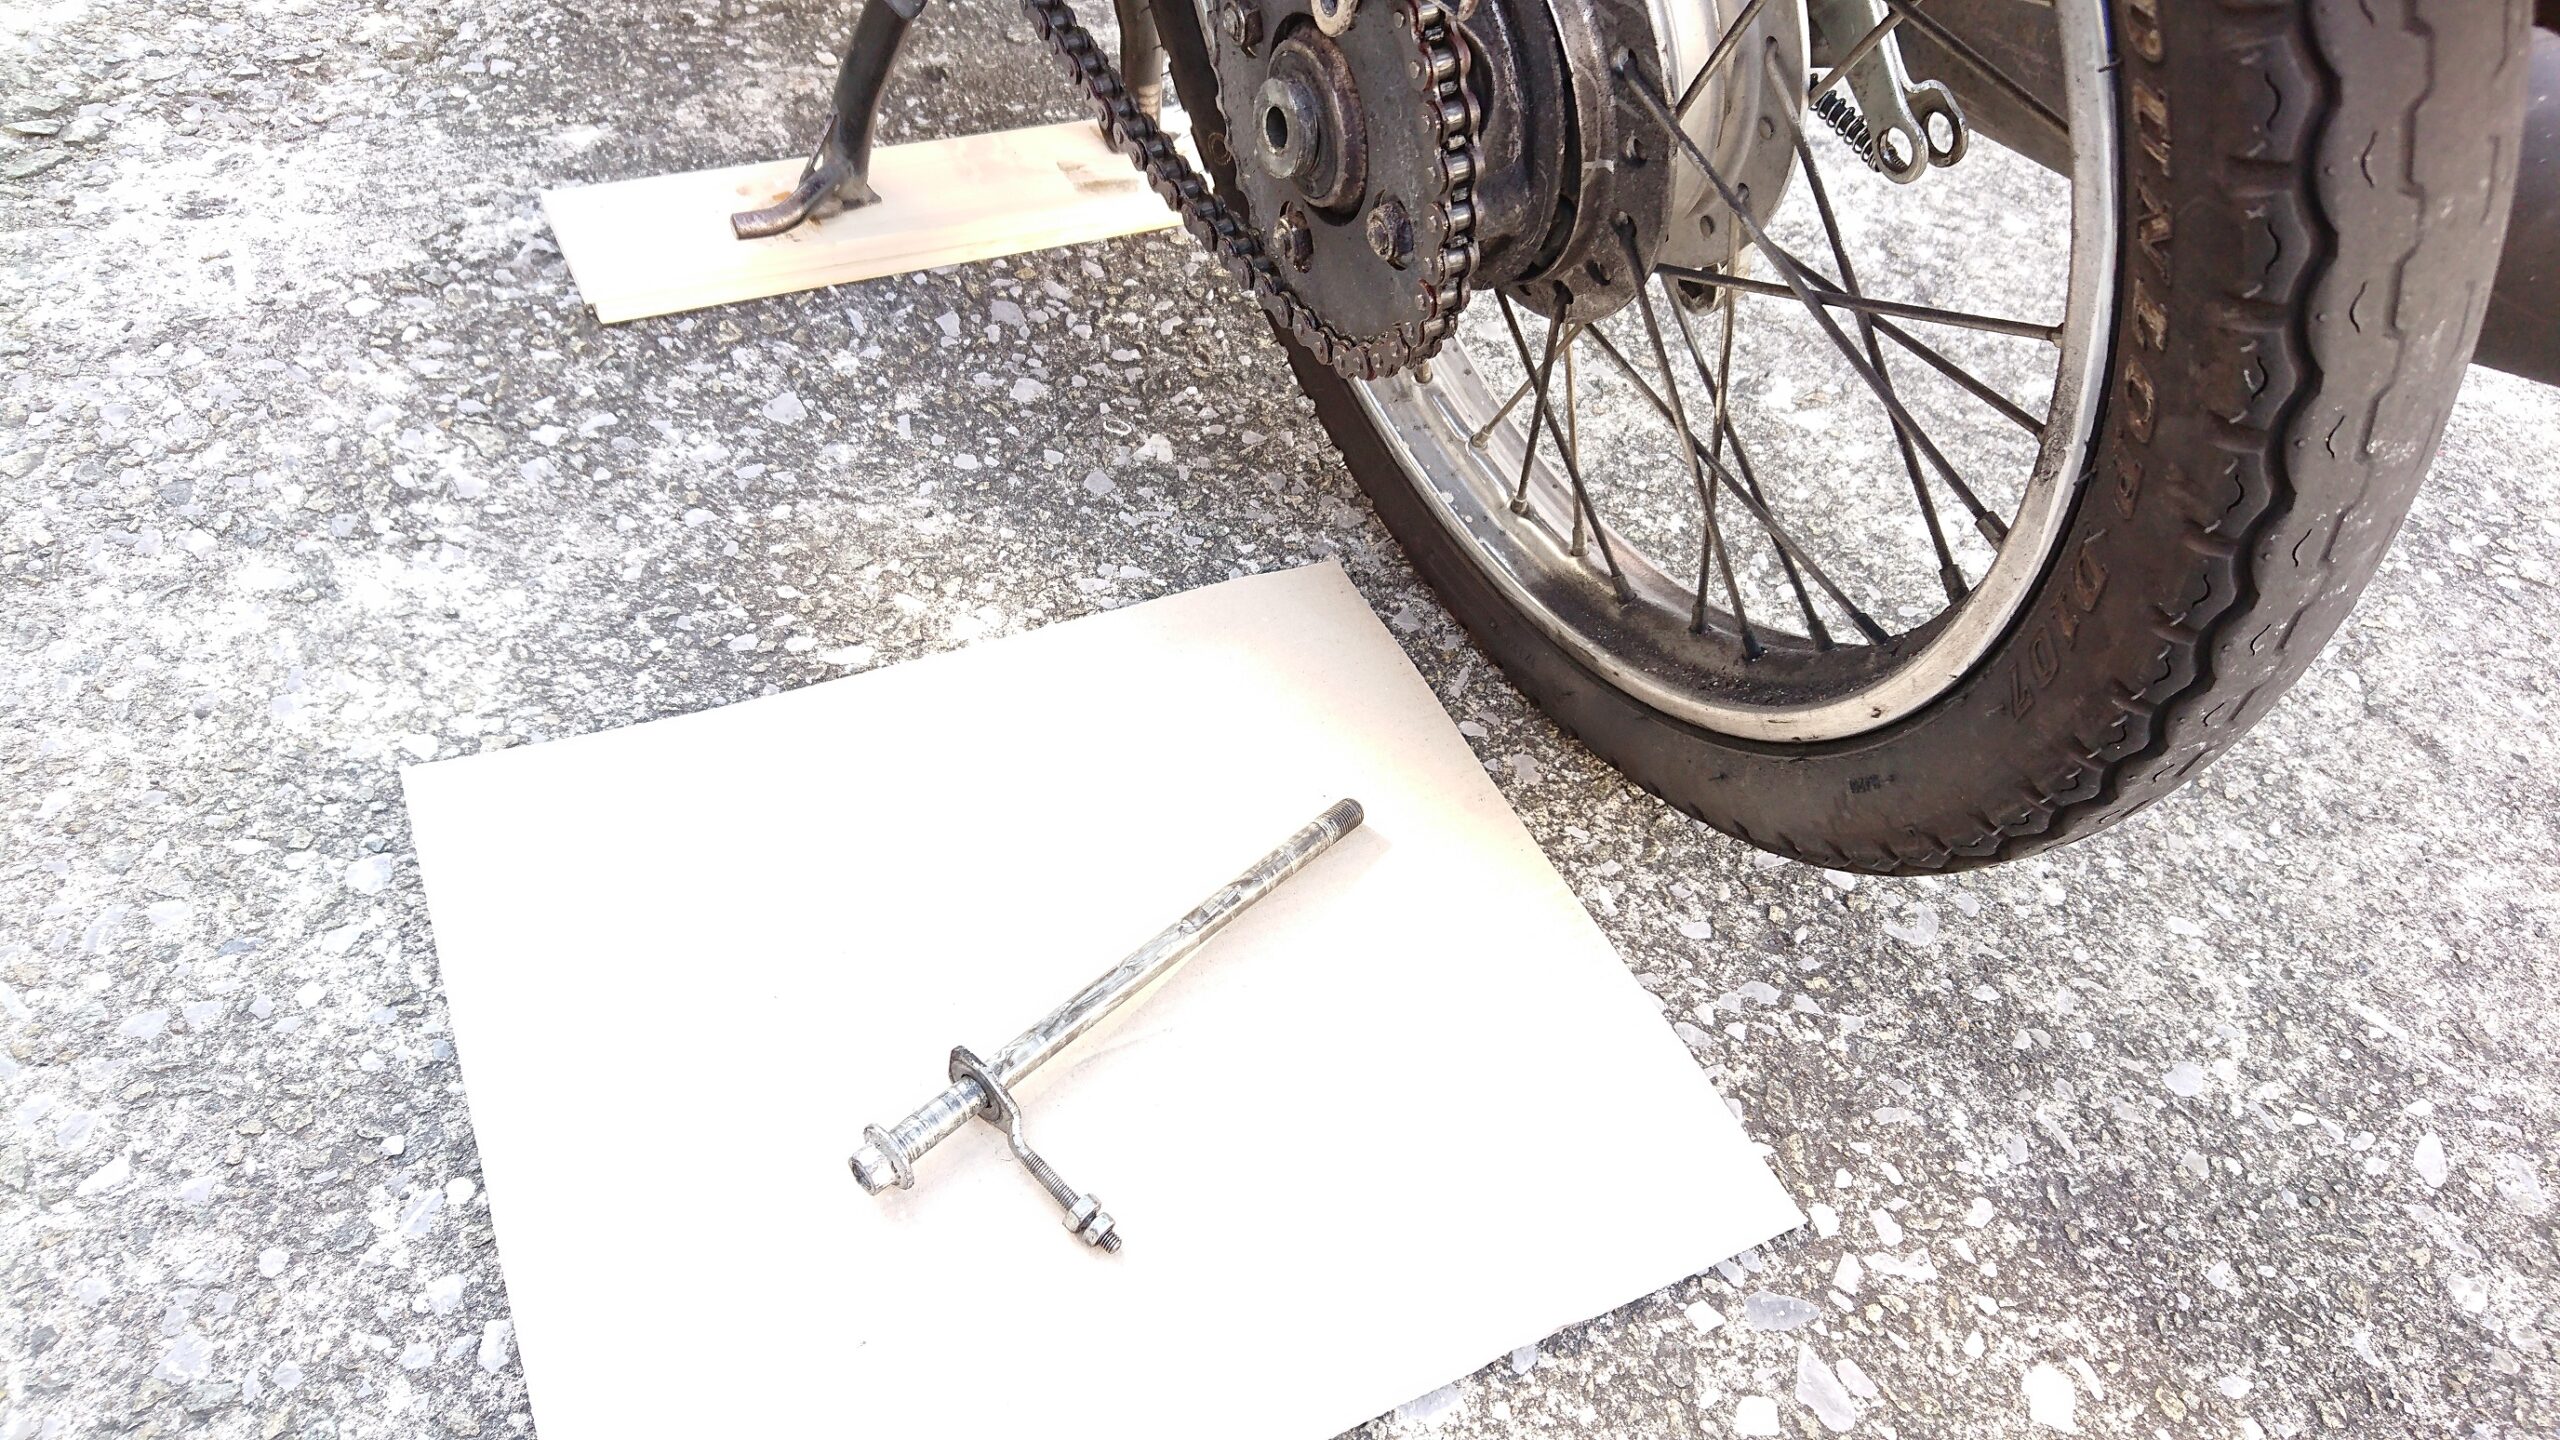
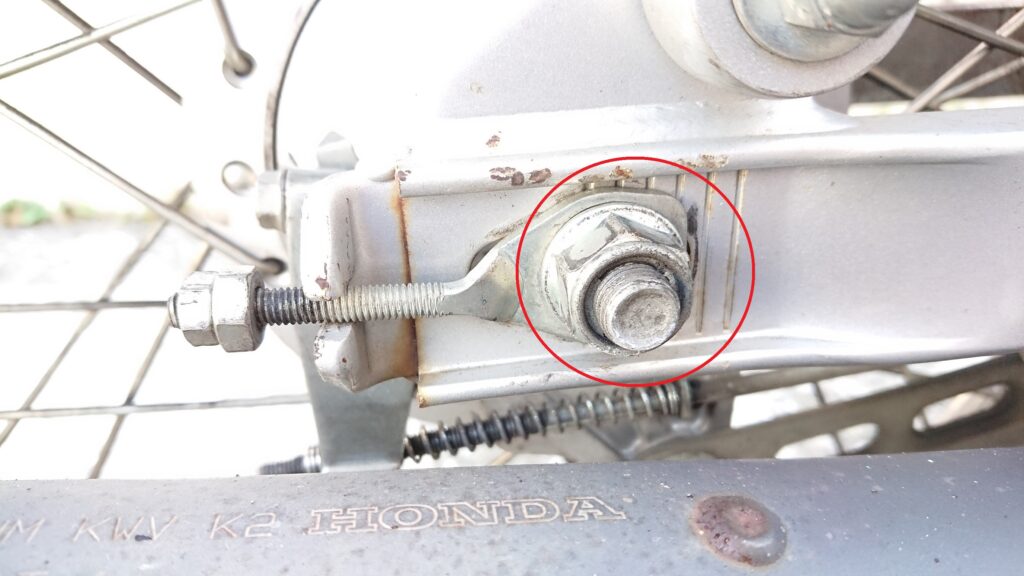
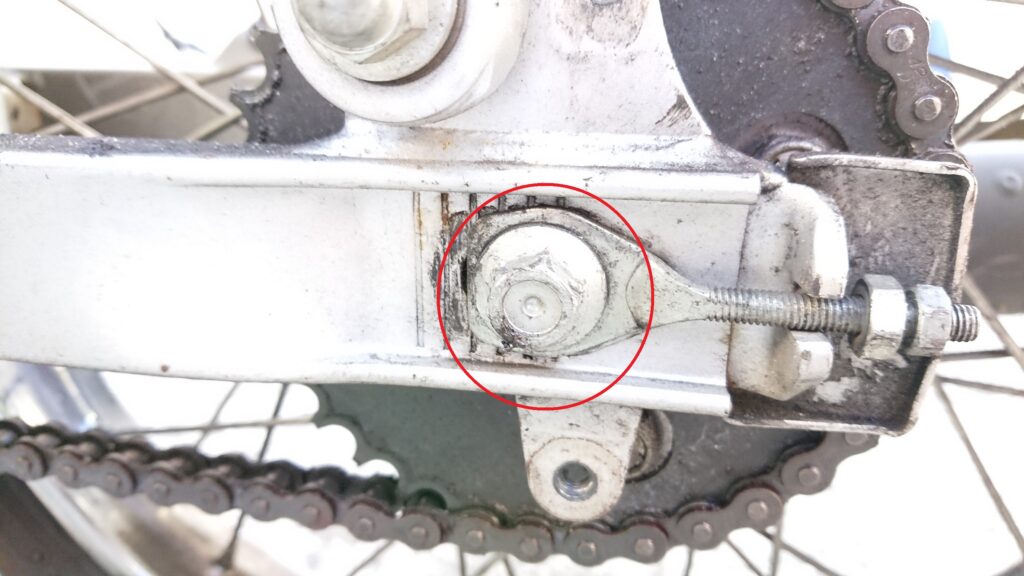
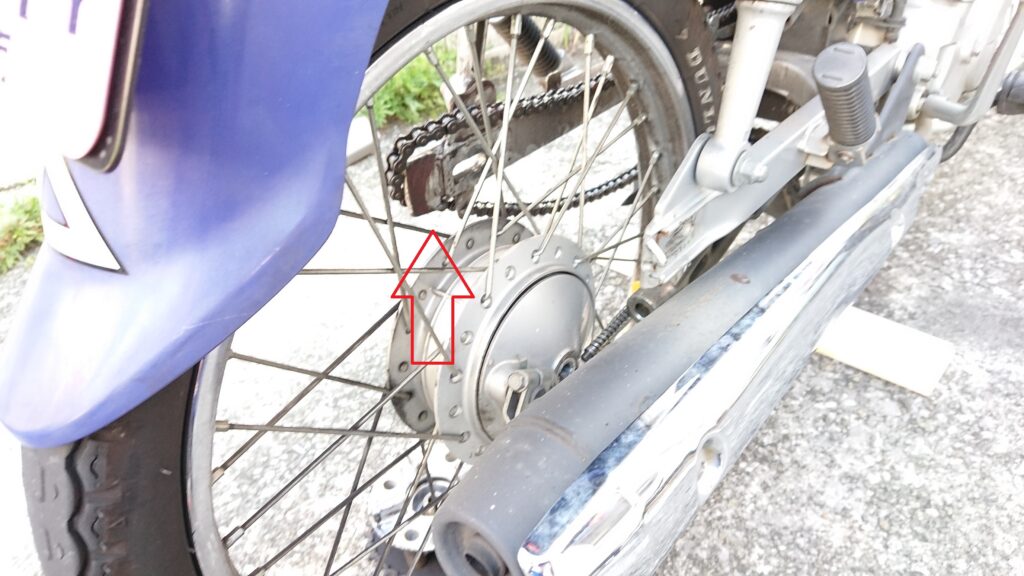
Remove the vehicle body connection bolt
Look at the car body from below.
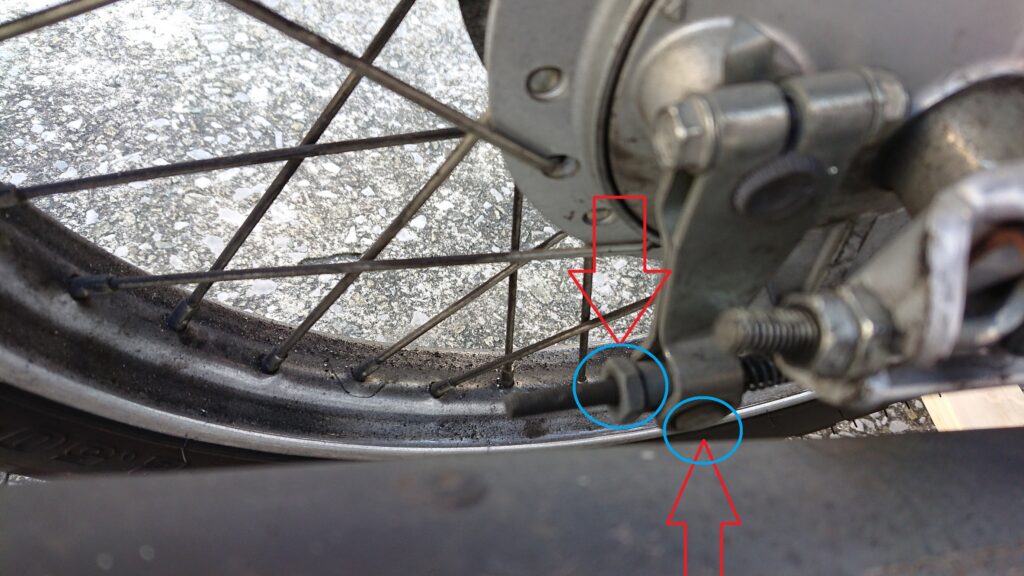
Remove the bolt that connects the vehicle body and tires (brake shoes).
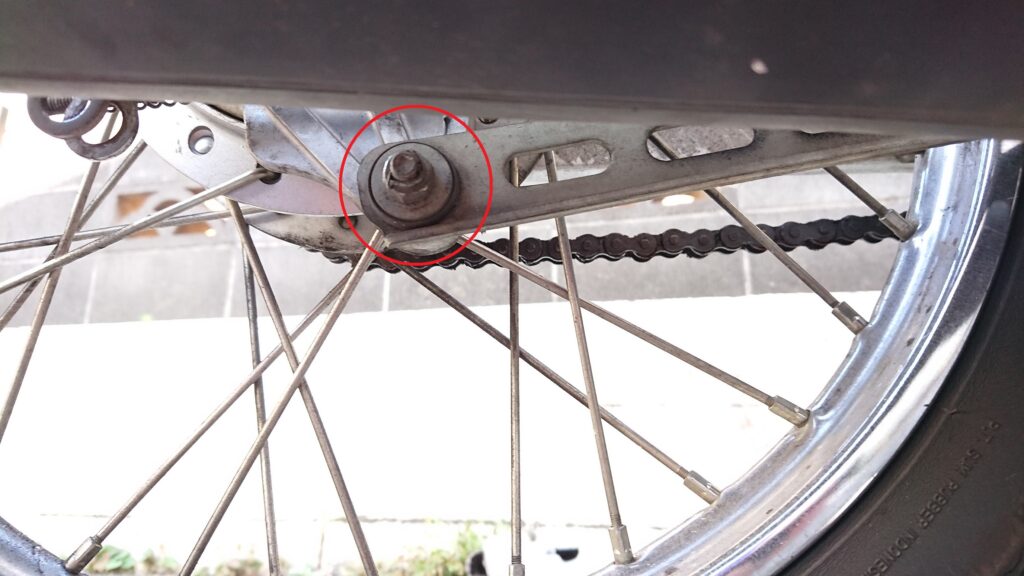
This is what it looks like when viewed from above.
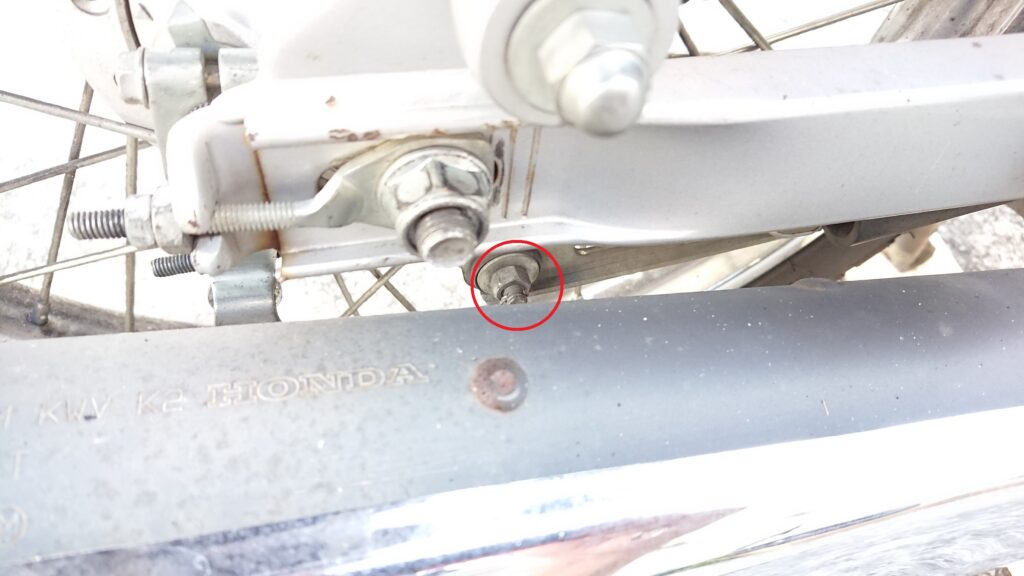
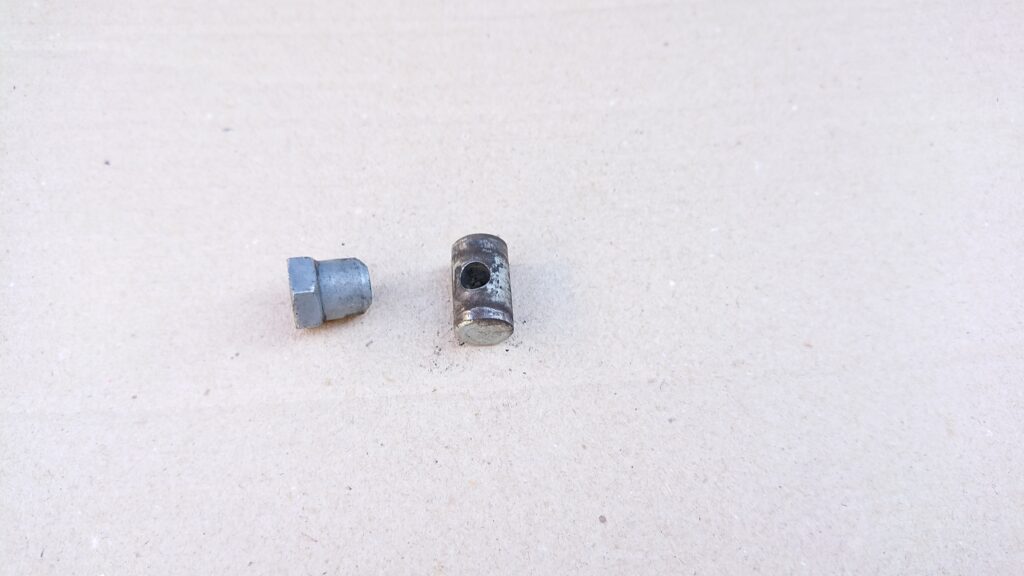
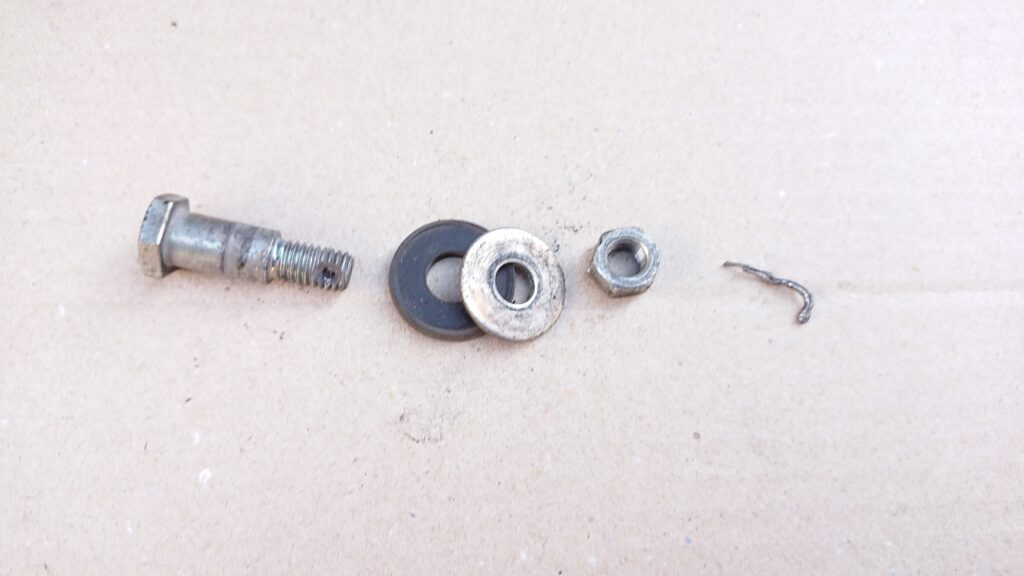
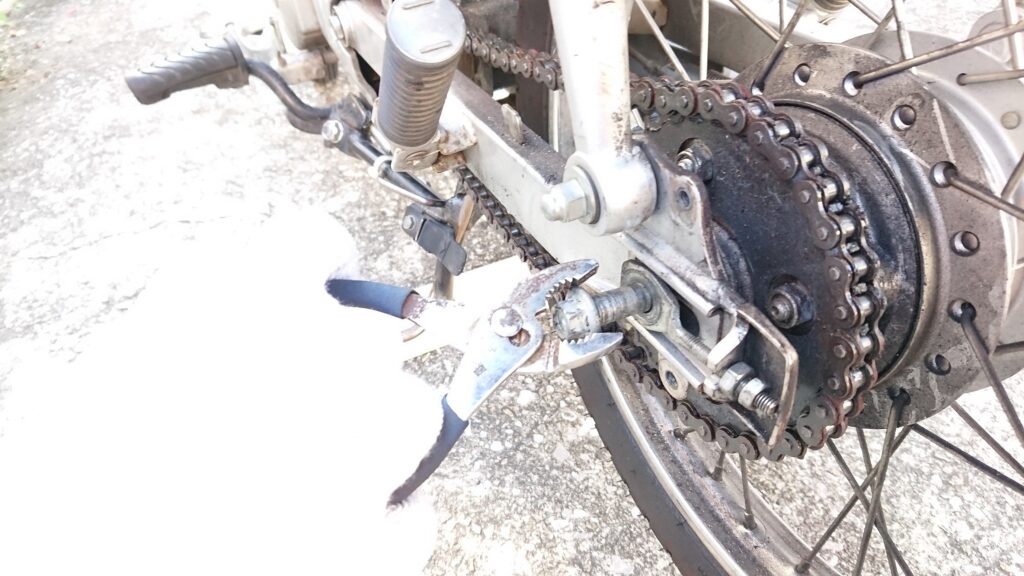
This screw has a pin attached.
Use pliers to straighten it and then pull it out.
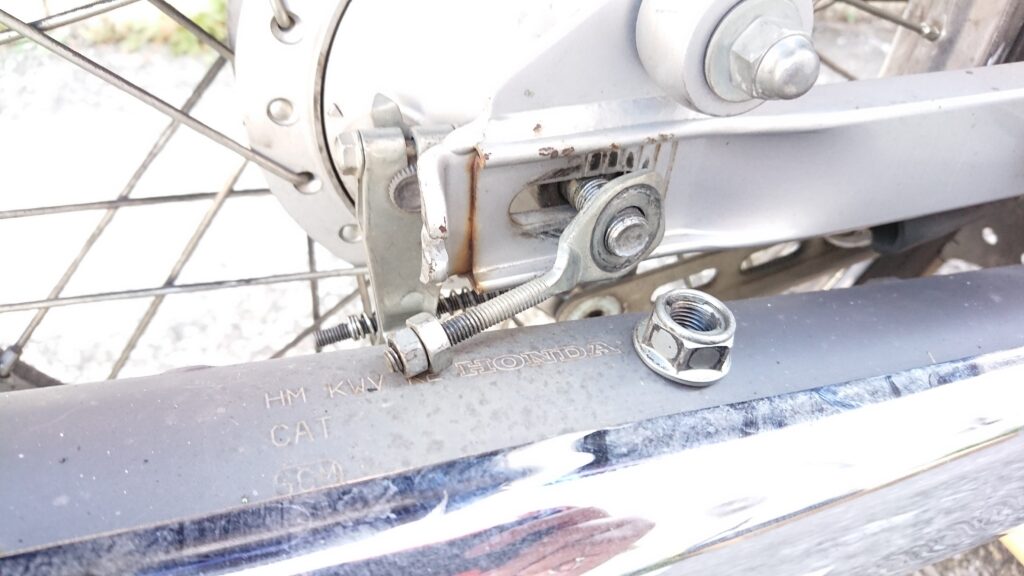
Remove the 12mm nut.
The structure of the Super Cub is well-constructed, and it is actually possible to remove the tires without removing everything else.
I will explain how to do this in a separate article.
Loosen the chain adjuster
Loosen the chain adjuster
It has a double nut specification of adjustment nut and lock nut.
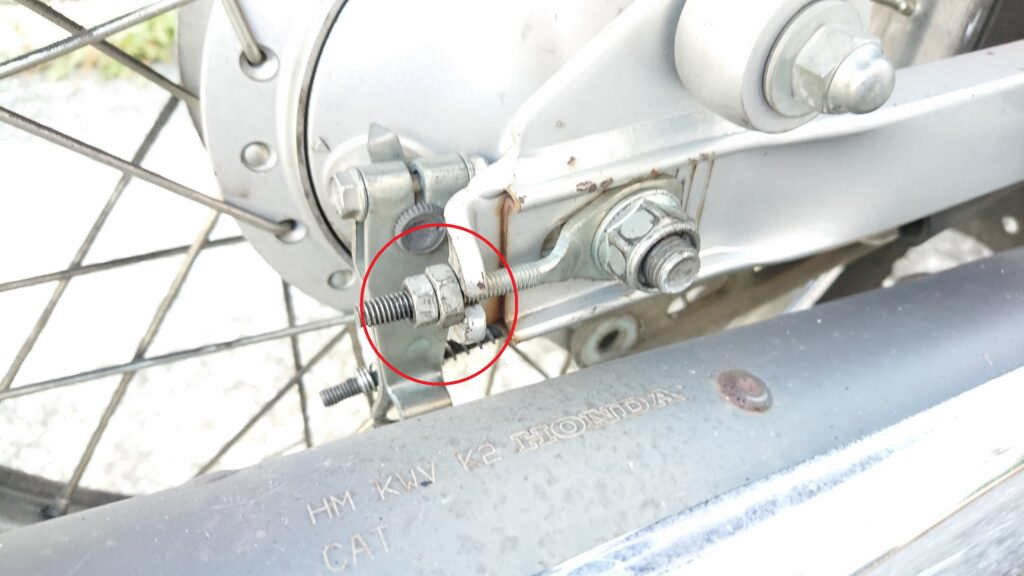
Rear side (lock): 10mm
Front side (adjustment): 12mm
It’s okay if you don’t take this completely.
Let’s keep it a little loose.
There are left and right, so loosen both.

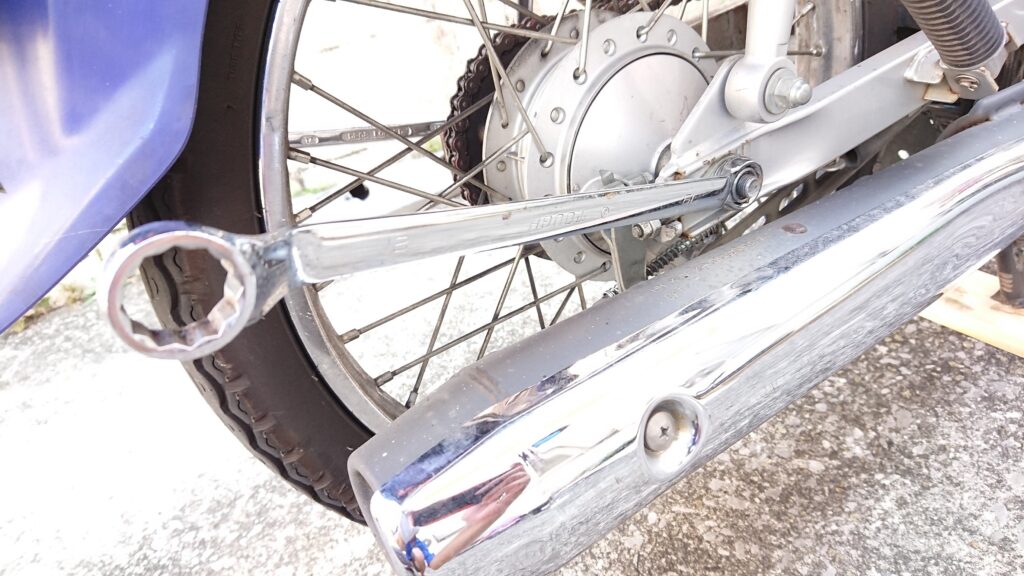
remove tire shaft
Remove the tire shaft nut on the right side of the tire.
↑It is a 19mm hexagon.
The bolt on the left side of the tire is a 14mm hexagon ↓
Use a box wrench on both sides to remove it.
It came off.
Hit the tire shaft with a hammer!

When the other side comes out, pull it out with pliers! !
I got it!

Remove the tire
The chain will get in the way when removing the tire, so make sure to hook it somewhere convenient.
If you can pull the tire out of the car, you’re good to go!
If the tires are touching the ground, you should assume that it is too high to remove.
Raising it at an angle won’t work either.
Parts around the tire
Once the tires are removed,
check the order in which they were assembled.
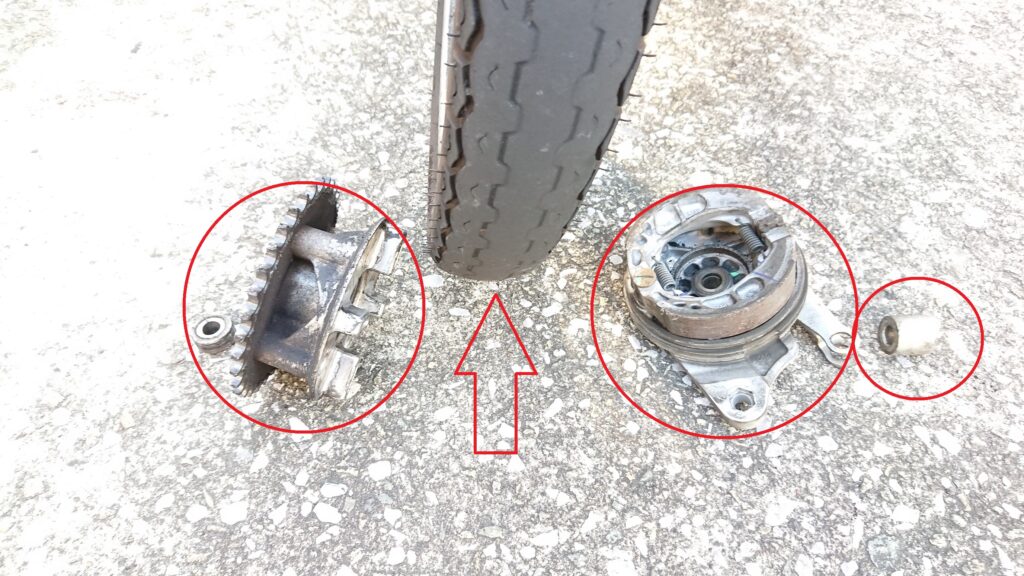
From the left
Chain sprocket – Tire – Brake shoe – Side collar (silver cylinder-like object)
They are lined up in this order.
Be especially careful with the right-most side color!
It will fall out when you pull out the tire shaft.
Be careful not to lose it!
Also, just looking at the parts will leave you confused as to how they’re attached, so
it’s best to check beforehand.
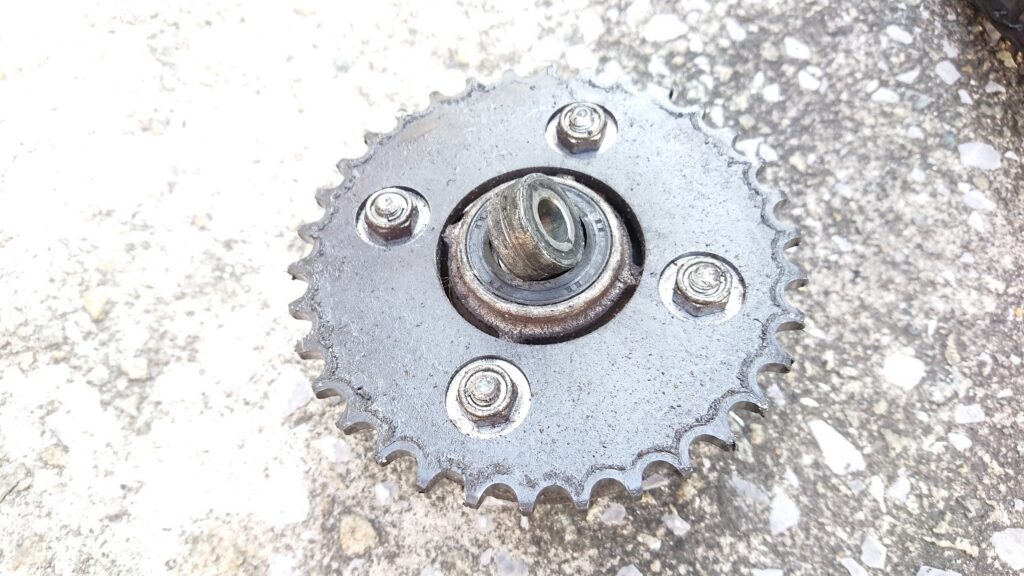
The leftmost chain sprocket is divided into three parts.
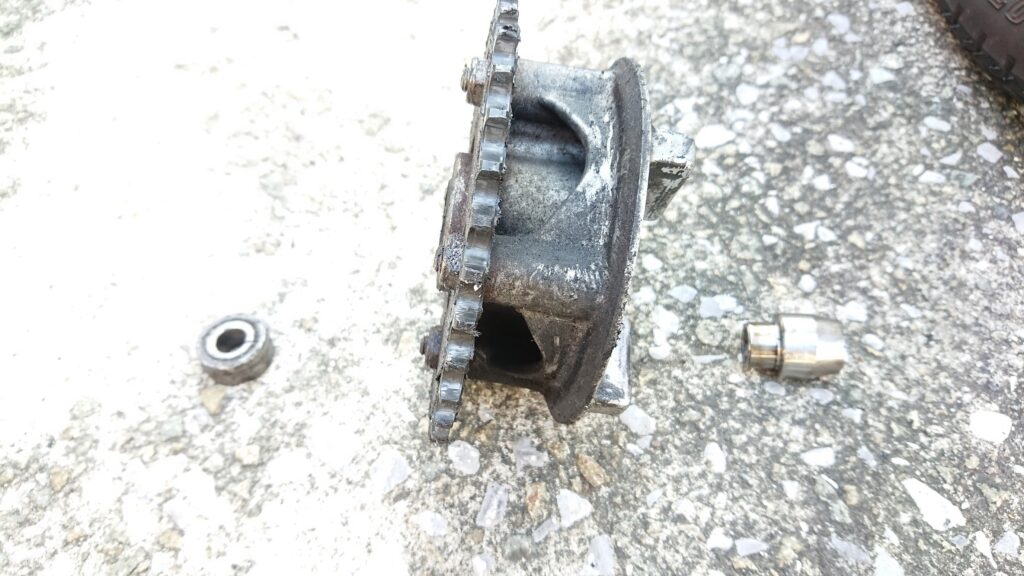
Let’s check which parts go where.
Left side↓
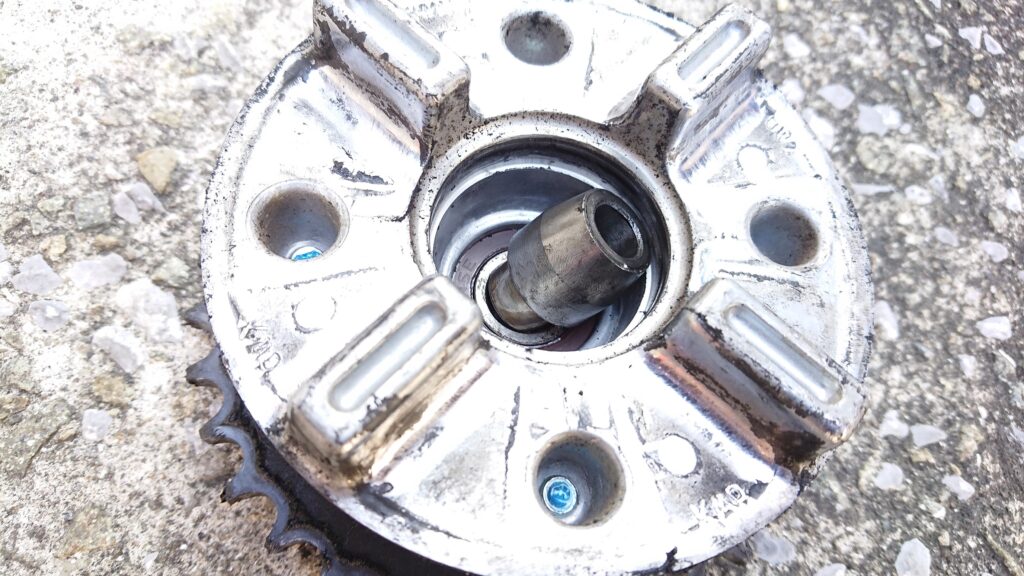
Right side↓
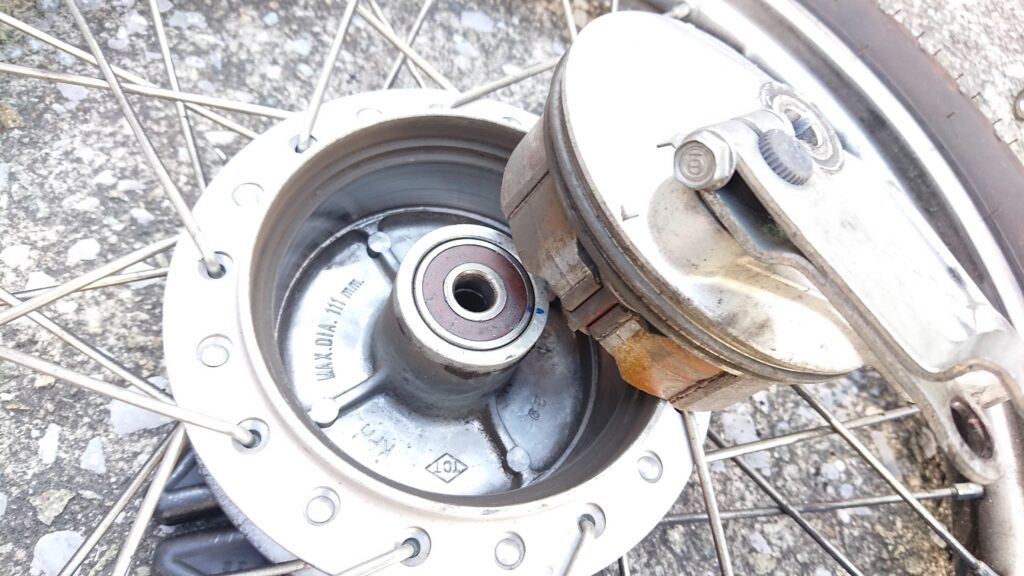
The right side of the tire
The brake shoe looks like this
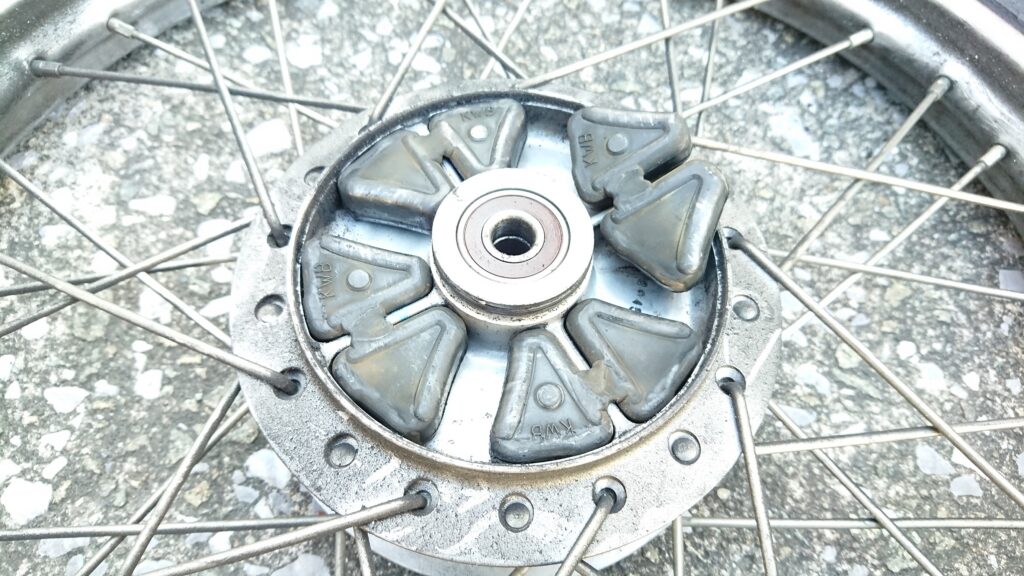
Tire left side
The hub dampers are like this
Related article
Super cub is originally like a bicycle.
Please refer to something.