Replace the chain regularly.
Here is the guideline.
・If you can no longer pull the chain after adjusting it (when the memory is full)
・If you stretch out on one side.
・After running 10,000km.
The chain will stretch more or less on one side.
After driving approximately 10,000km, problems will appear.
If this happens, it is better to replace the chain pull memory even if it is still there.
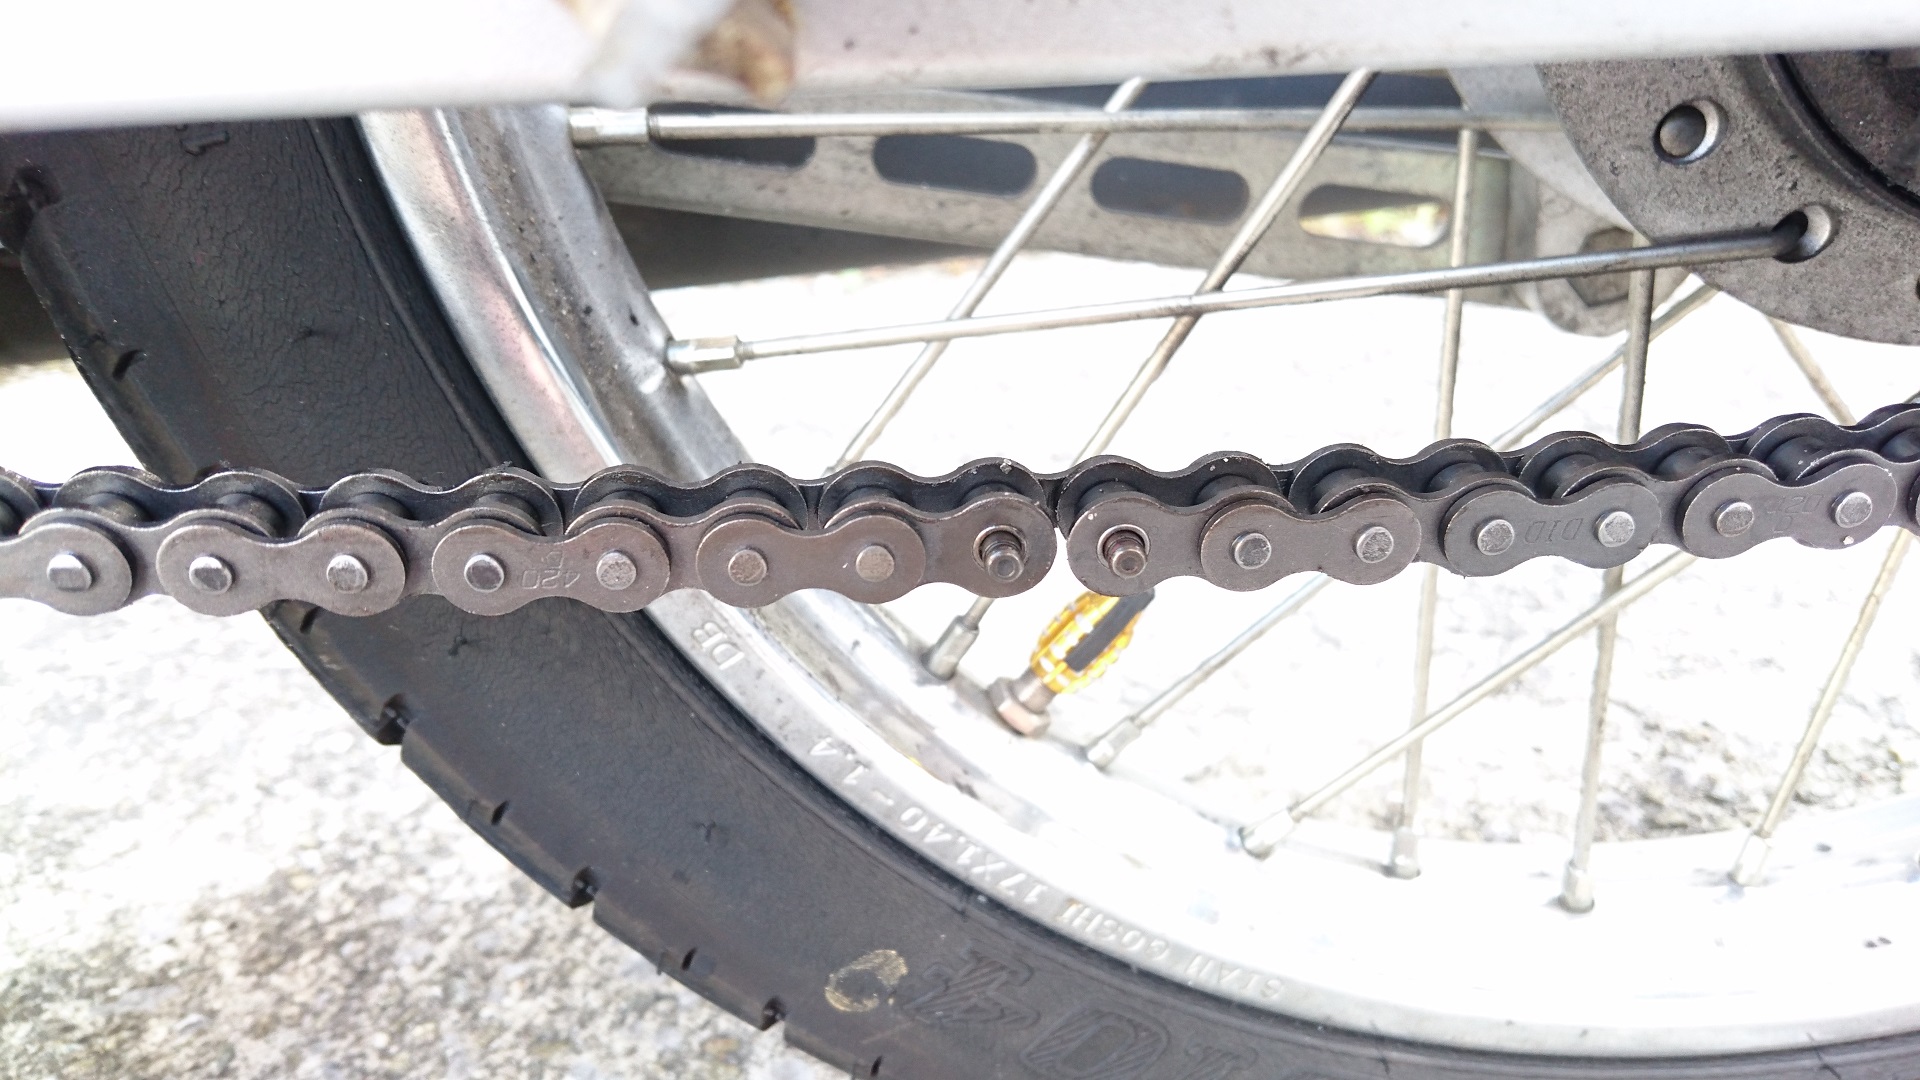
The chain was stretched out on one side and became loose.
I’ll just replace the chain for now.
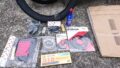
Purchase a chain.
Of course, chains vary depending on the model of car.
The length (number of links) varies, so be sure to purchase the chain that matches your vehicle model.
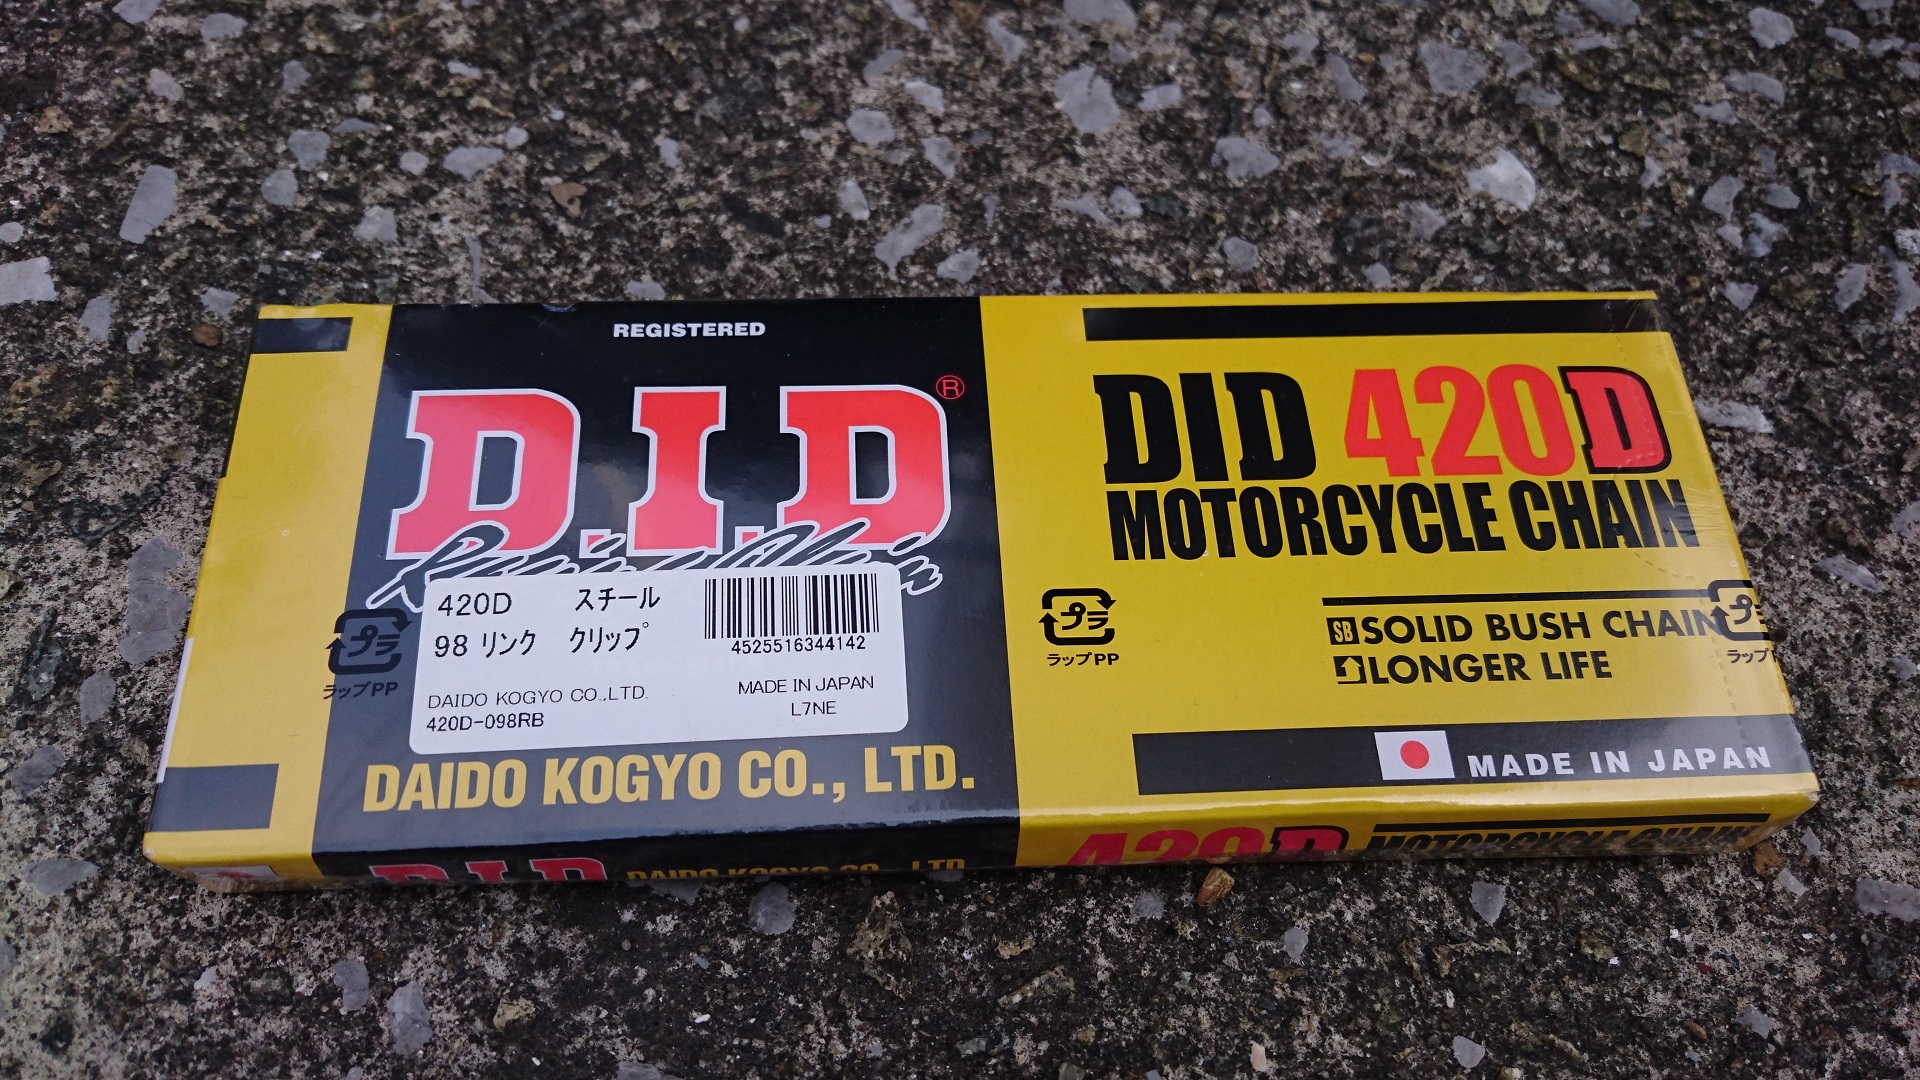
The number of links for Super Cub JA07 is 98 links.
「DID 420D」(98links)
Disassembly of peripheral parts.
Let’s exchange!
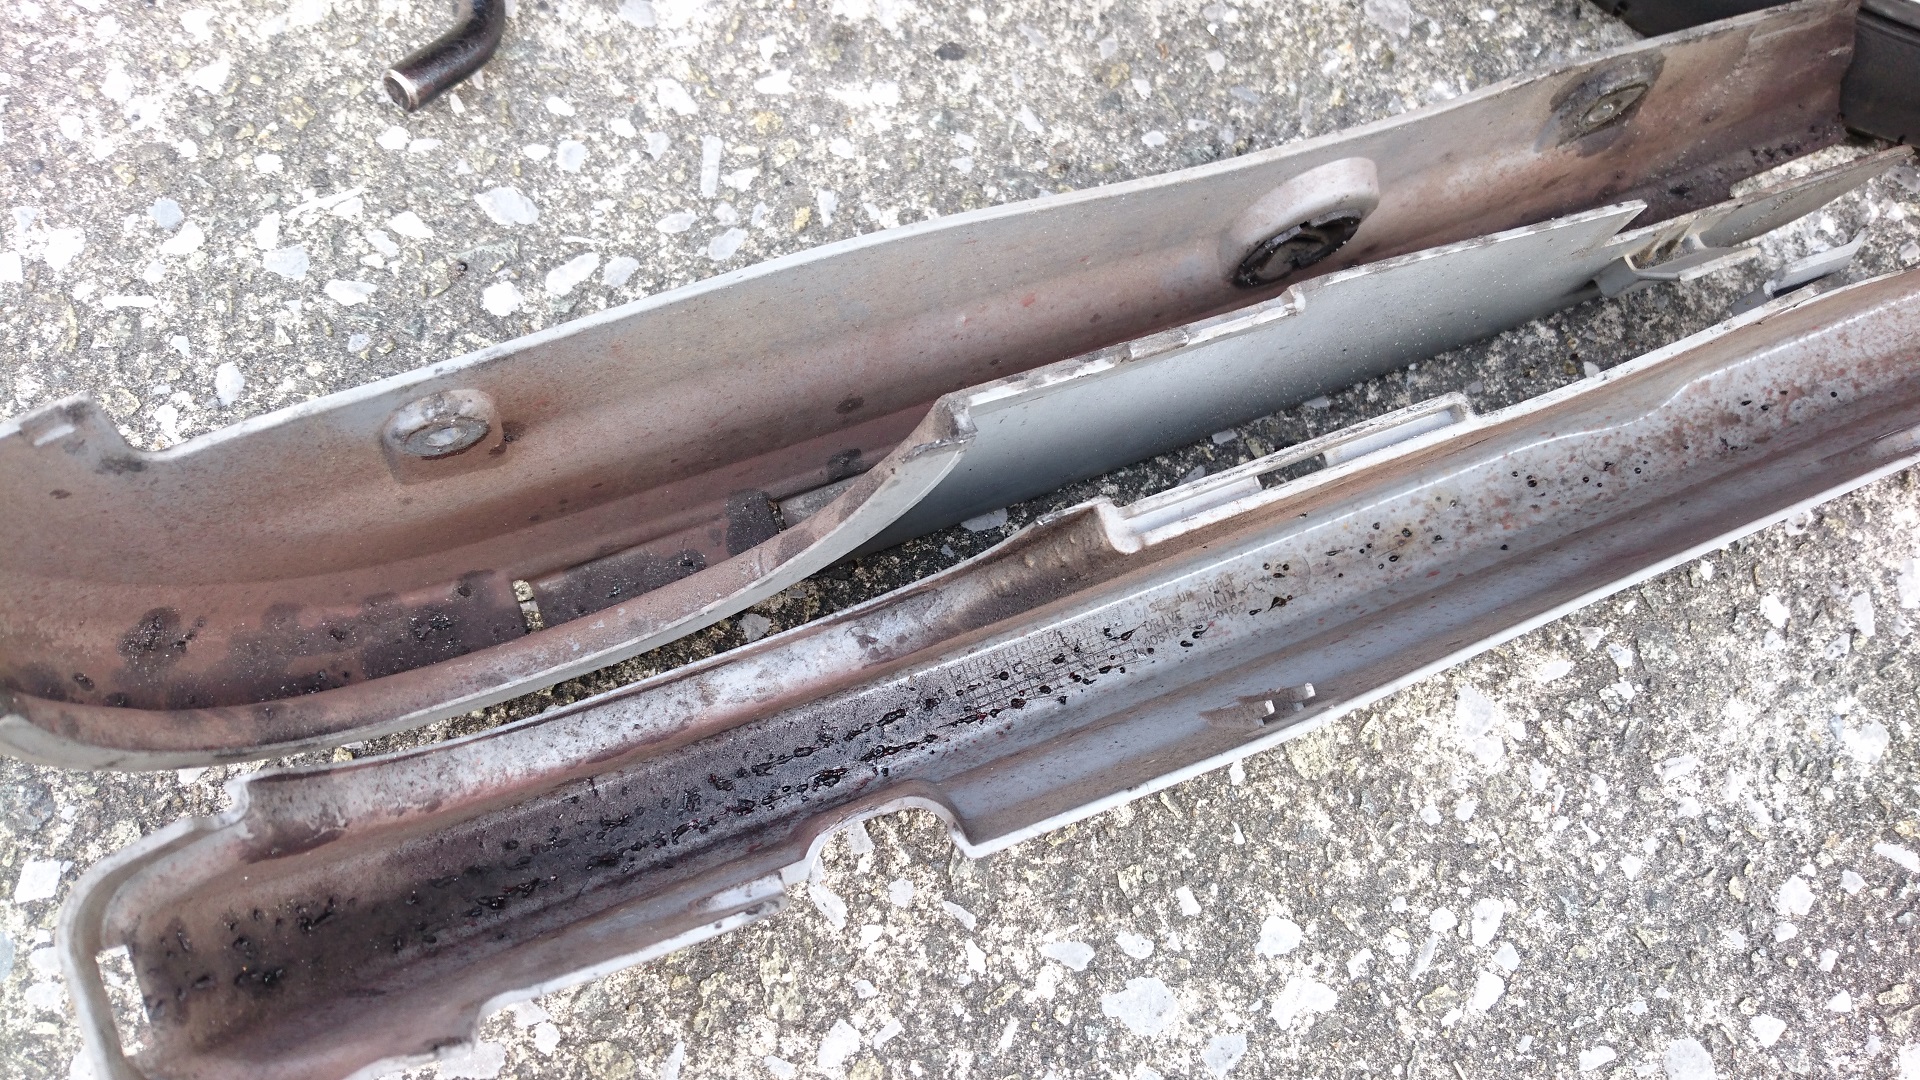
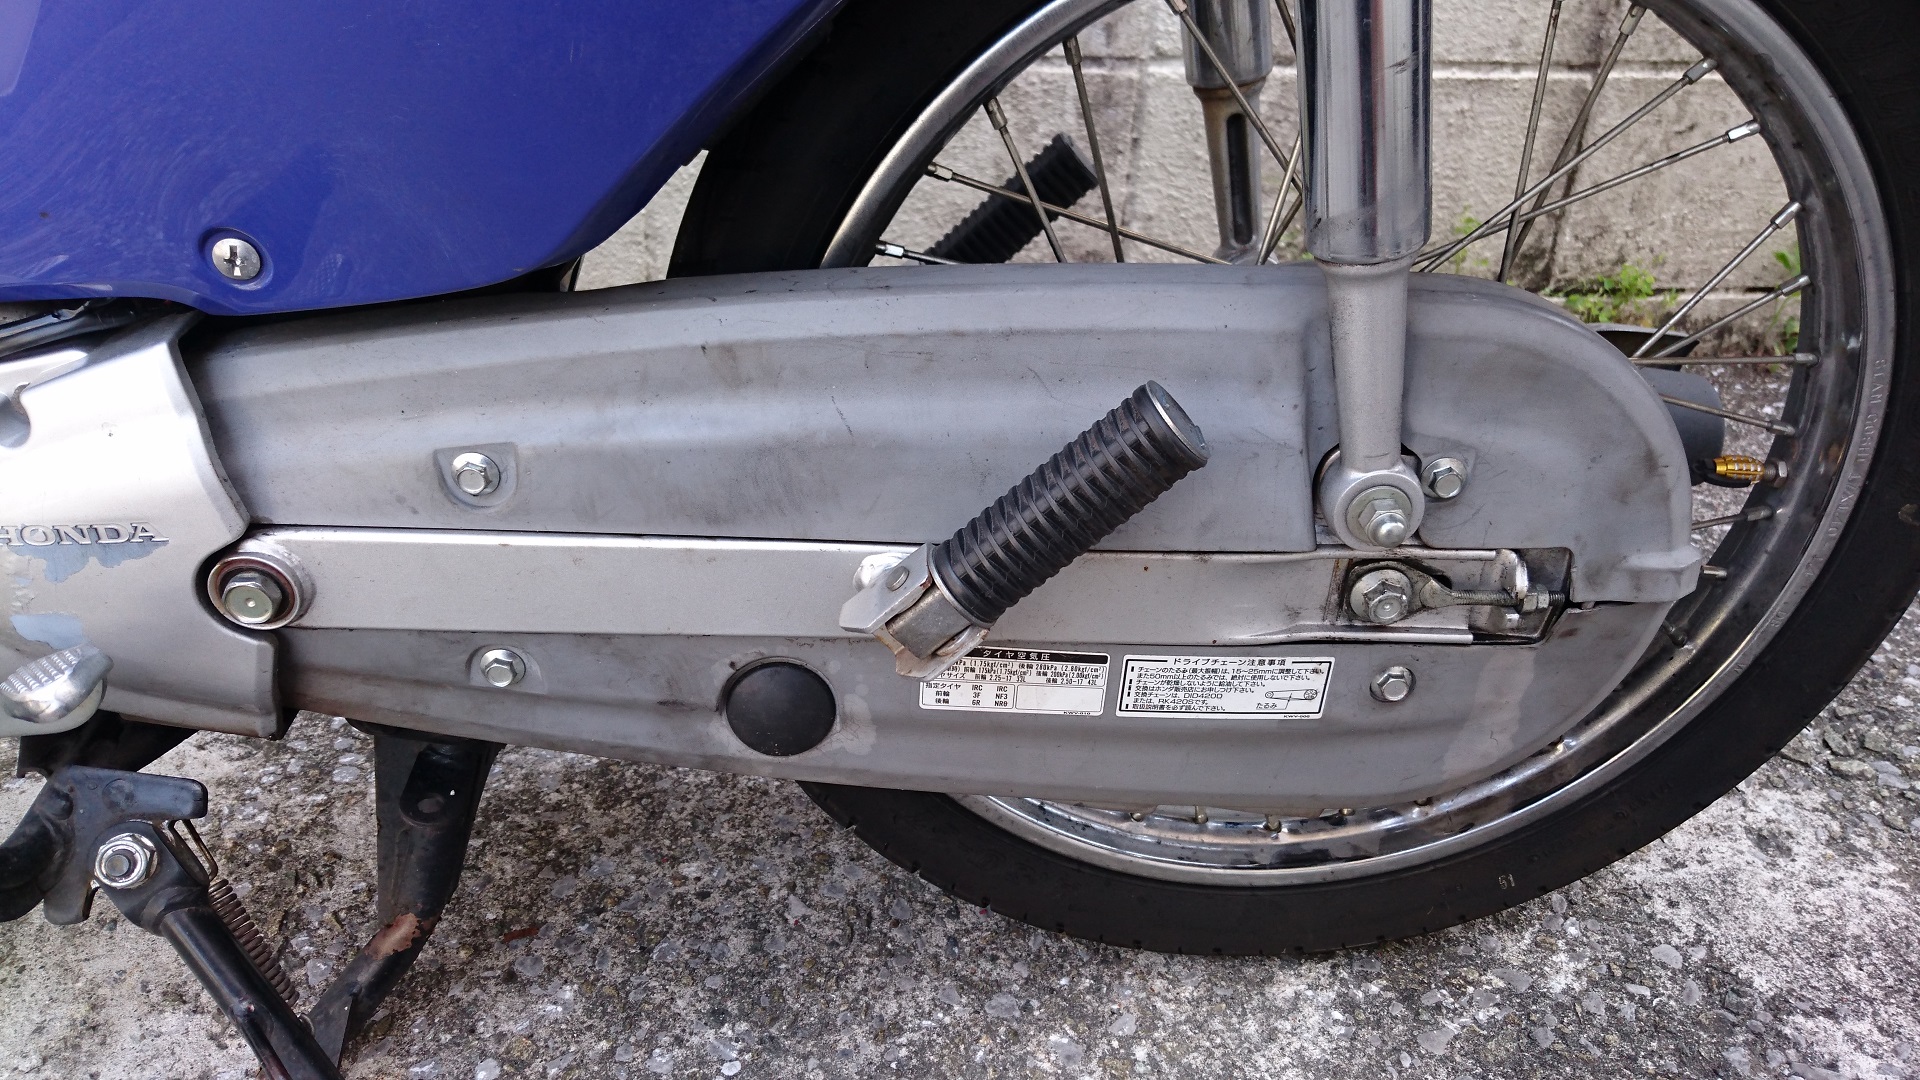
Remove the chain cover.
First, remove the chain cover.
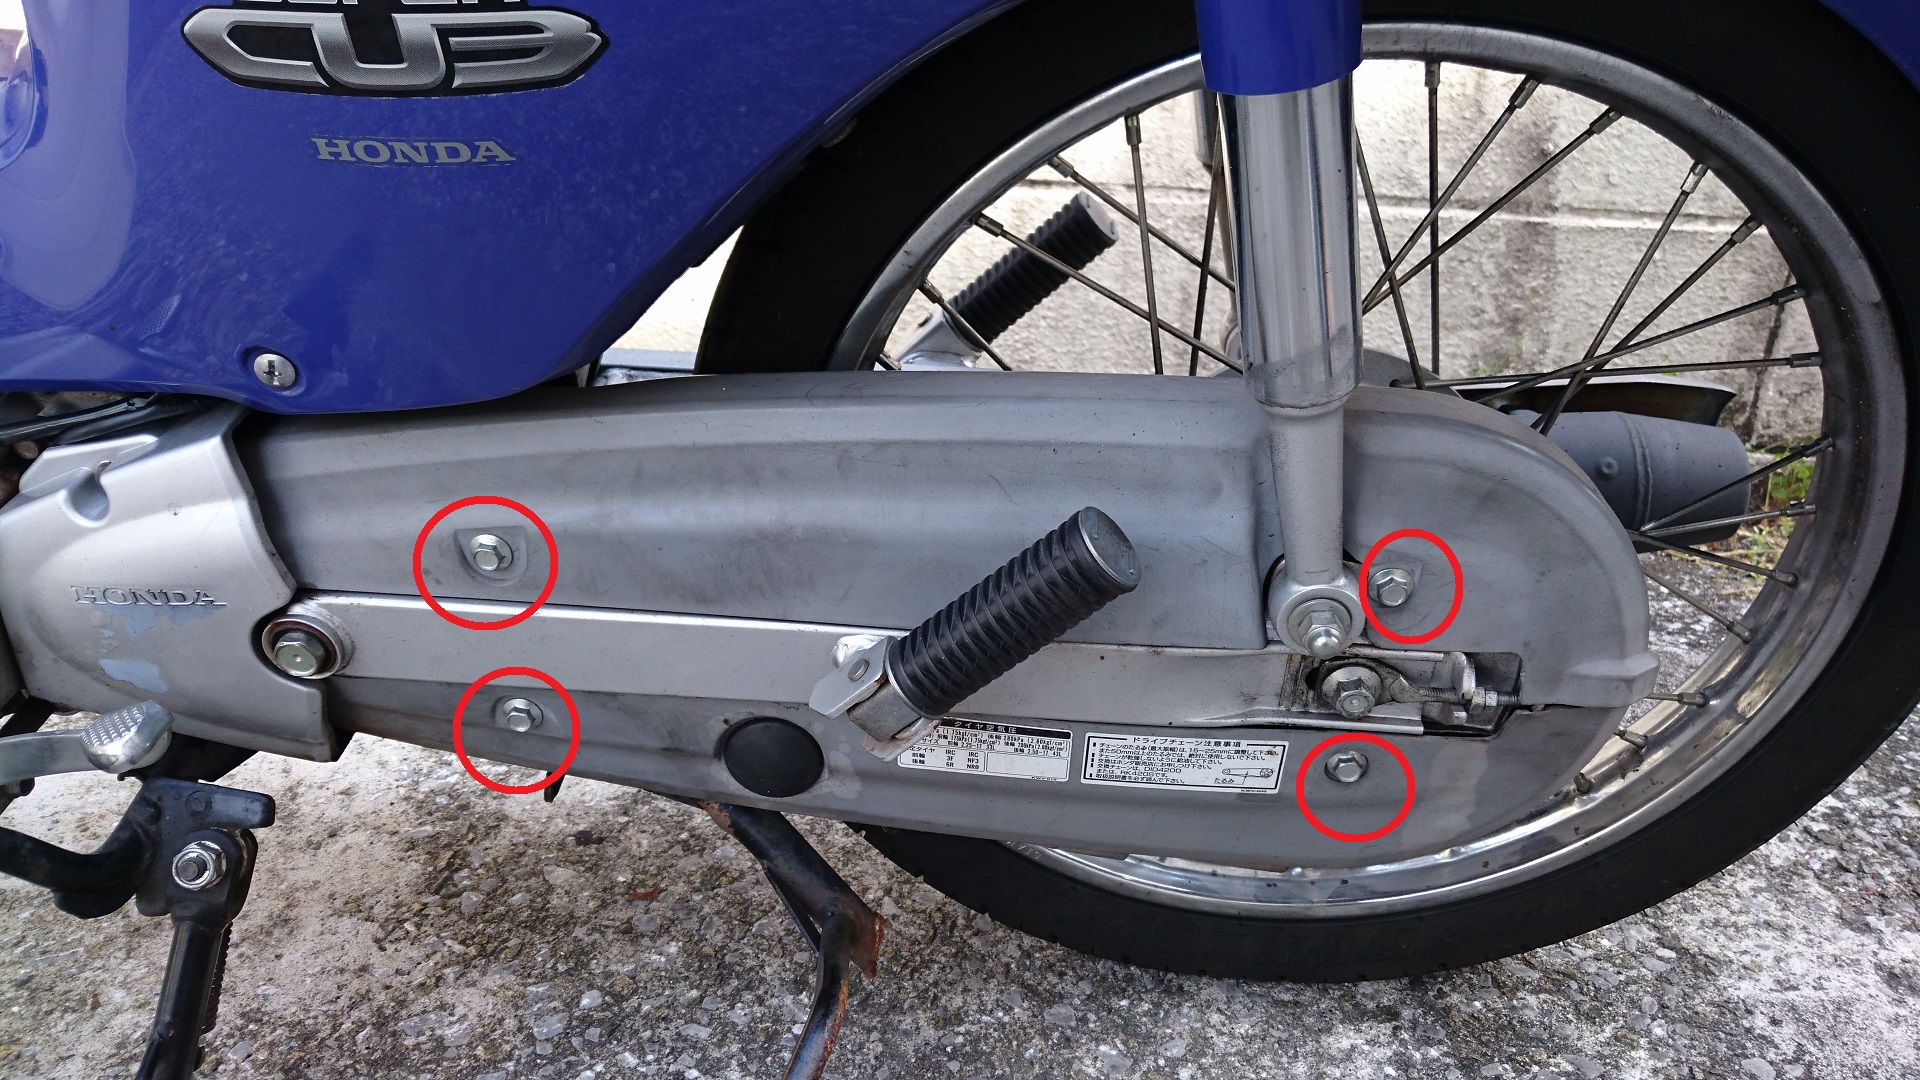
Hex screw:10㎜×4take.
Pull out the cover.
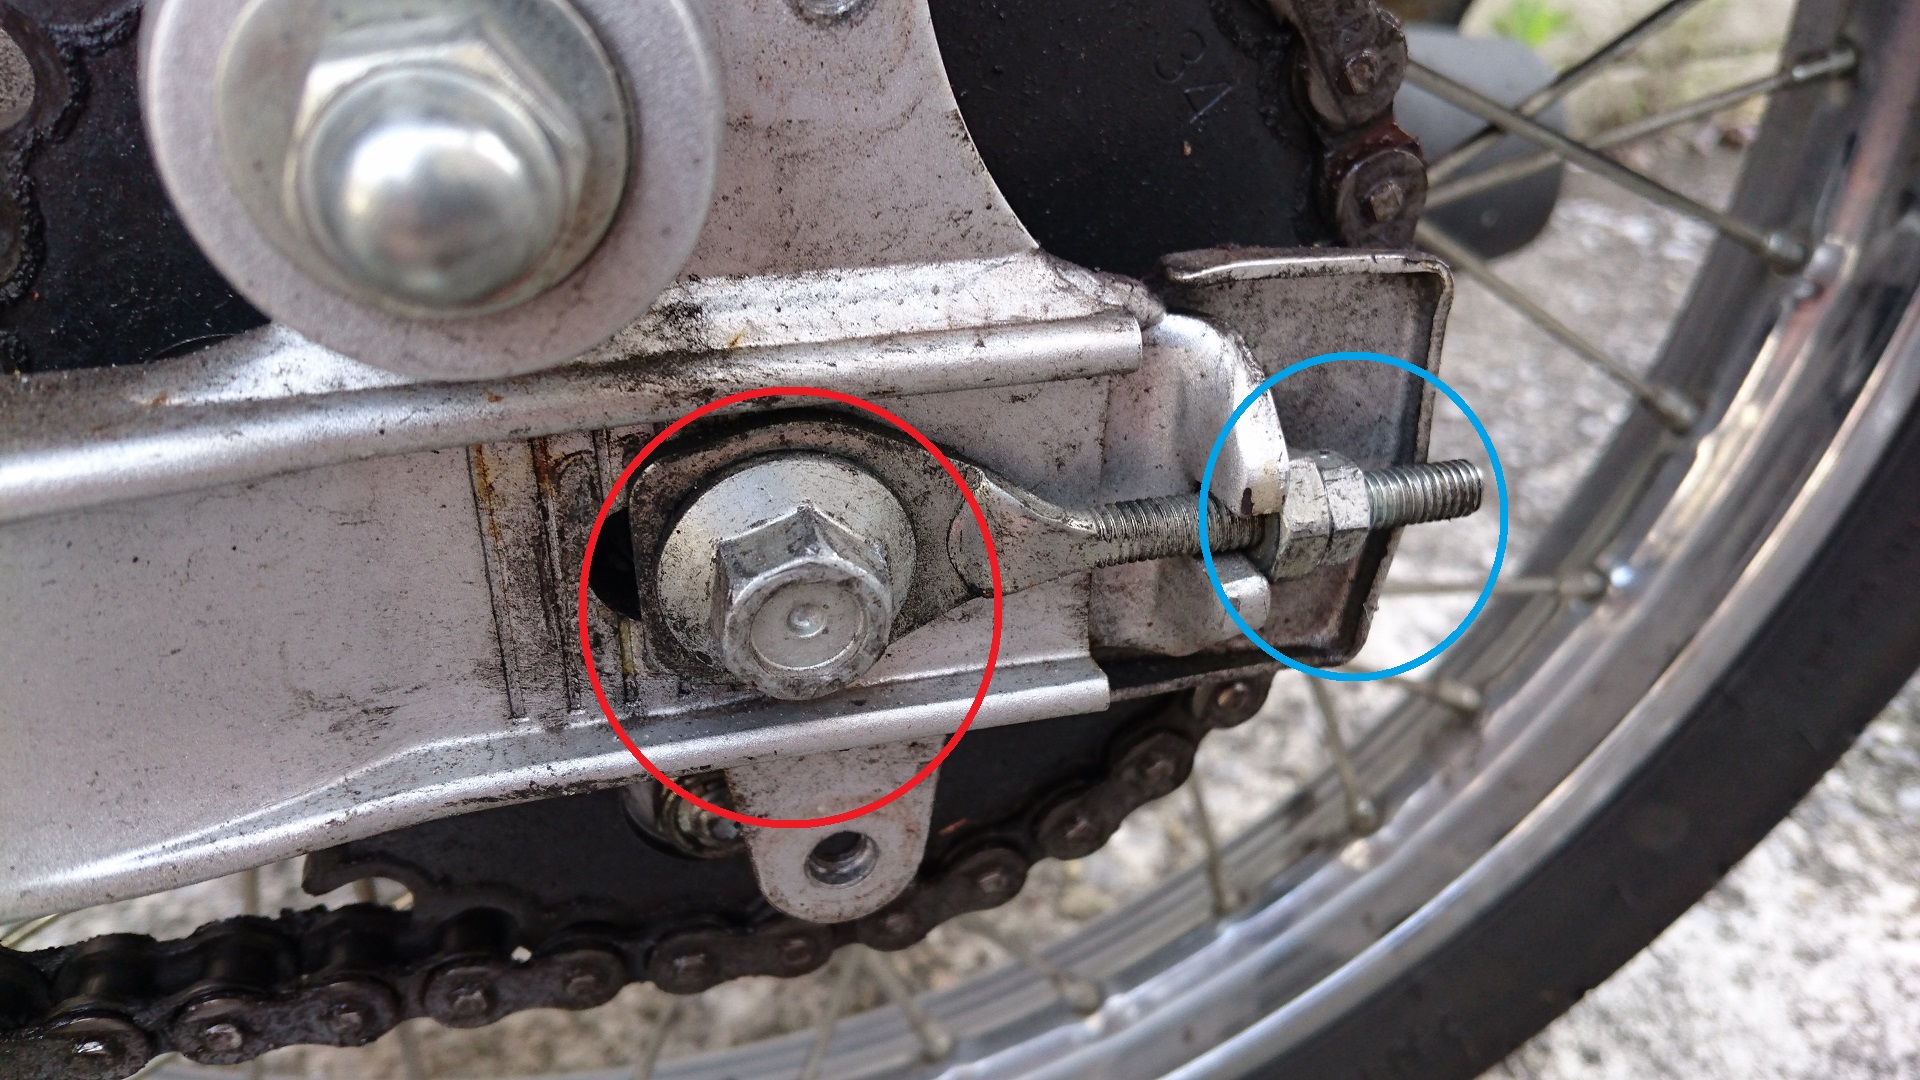
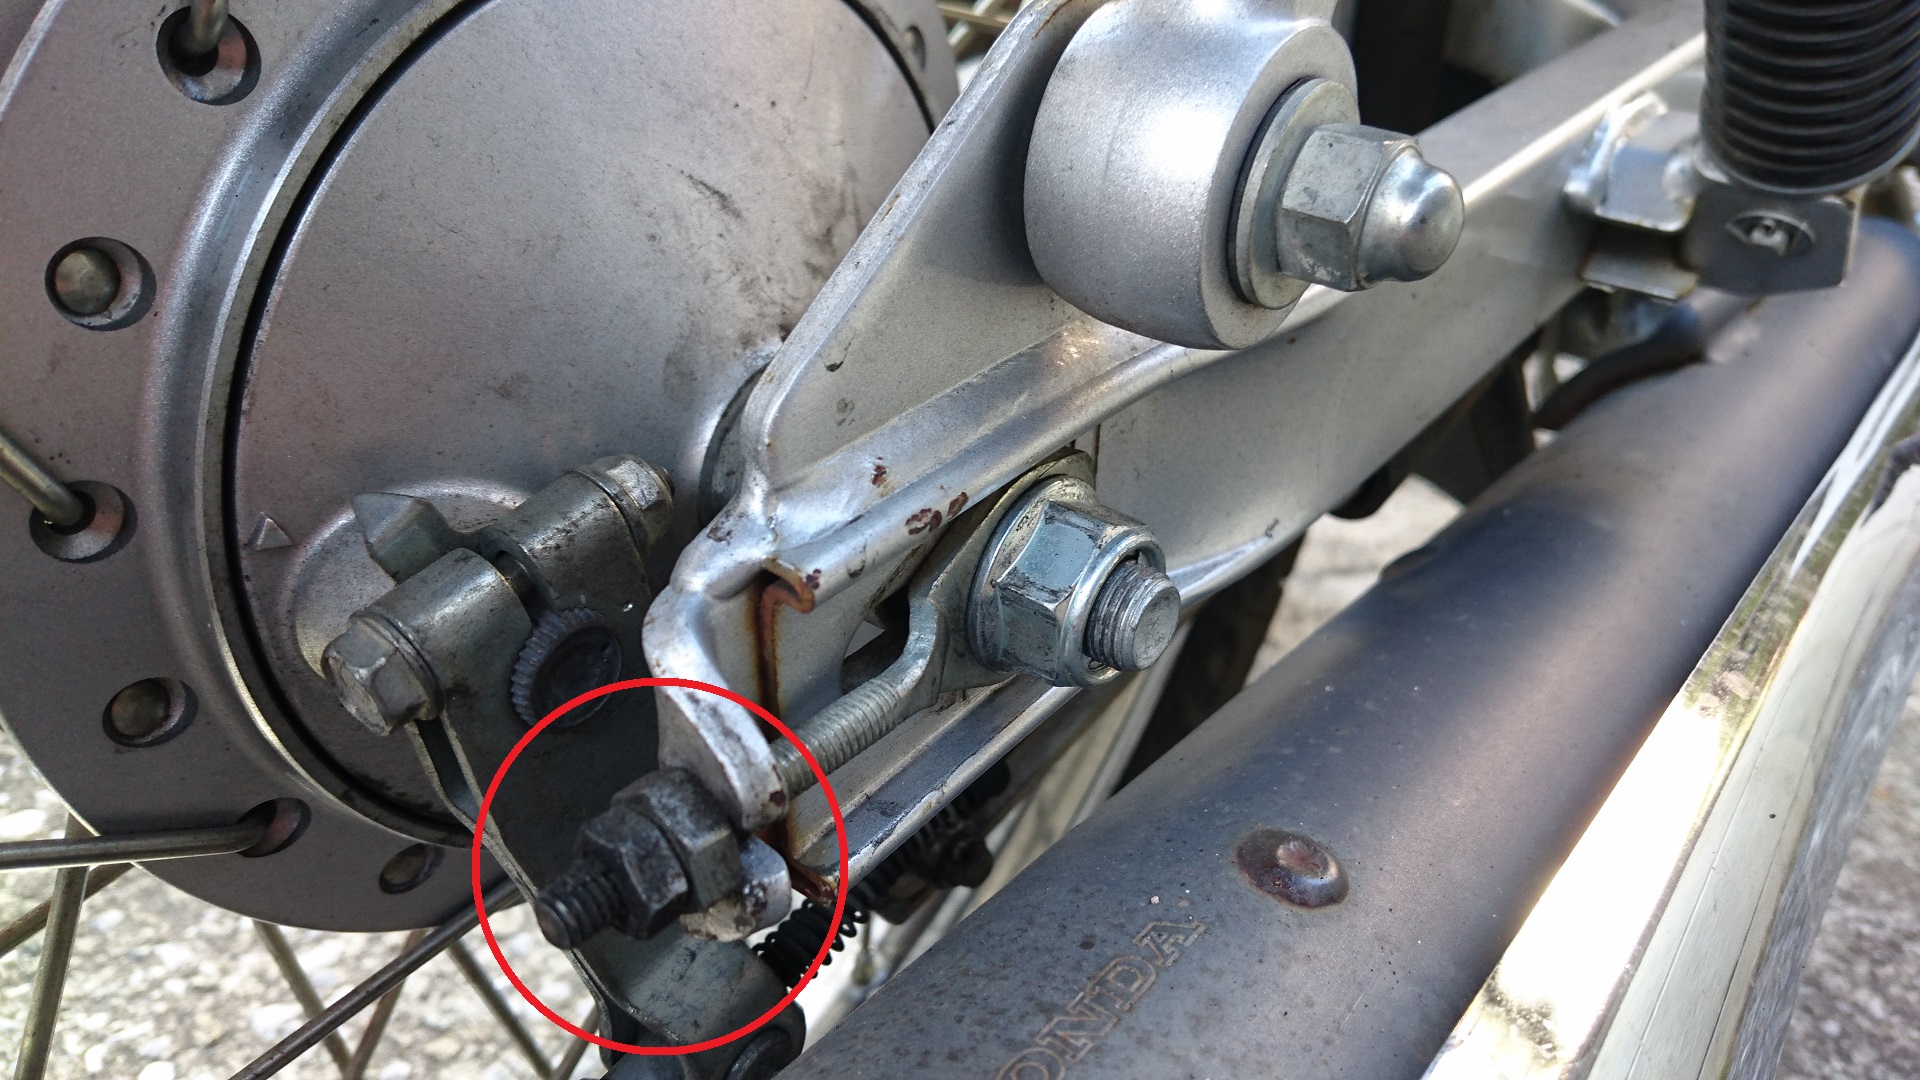
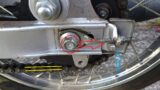
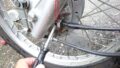
Loosen the tire shaft and adjuster nut.
Tire shaft (red)andAdjuster nut (blue)
Let’s keep it loose. (↓Image below)
Since you will be replacing the stretched chain with a less stretched chain (slightly shorter), it will be easier to work smoothly if you loosen it beforehand.
Left side of tire shaft (bolt part)「Hex screw:11㎜」
Right side of tire shaft (nut part)「Hex screw:19㎜」
Since the tire shaft is connected by one shaft, it is OK to loosen either the right or left side.
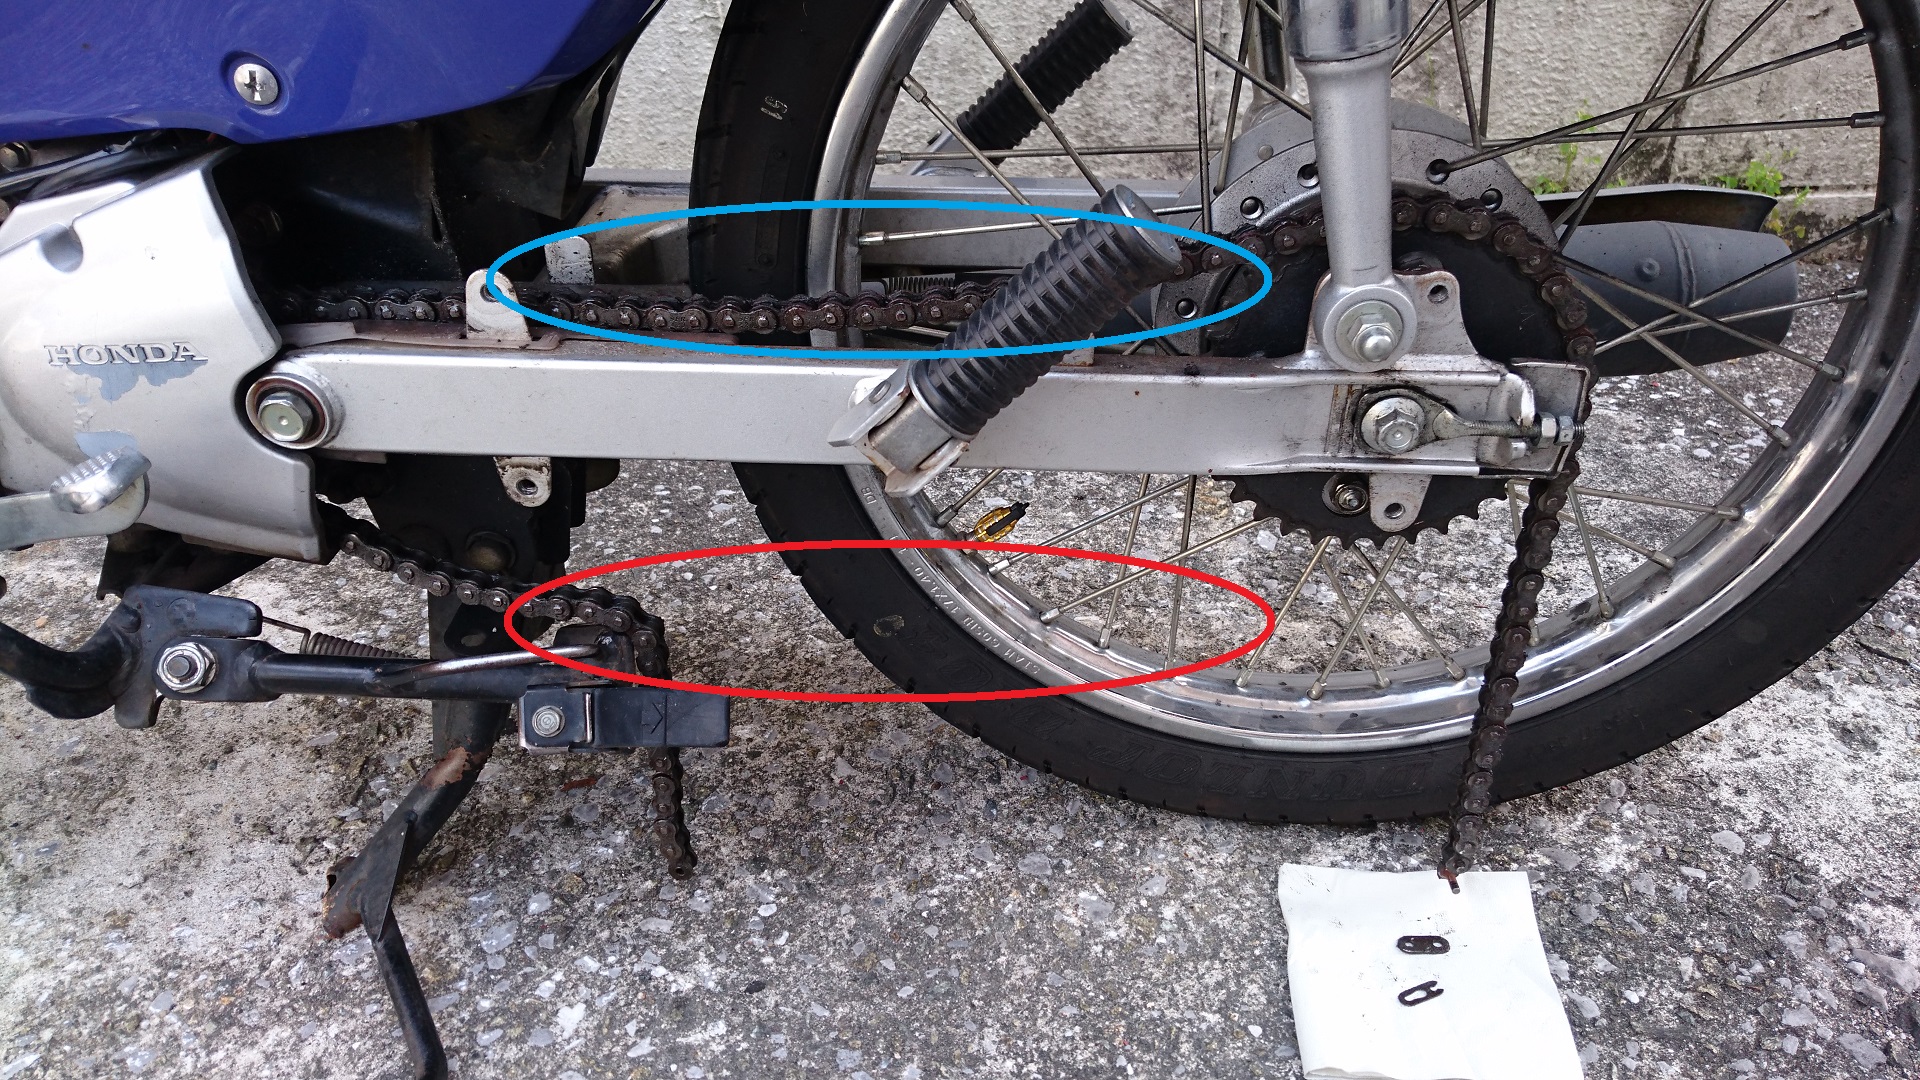
The adjuster nut has a double nut specification of an adjustment nut and a lock nut.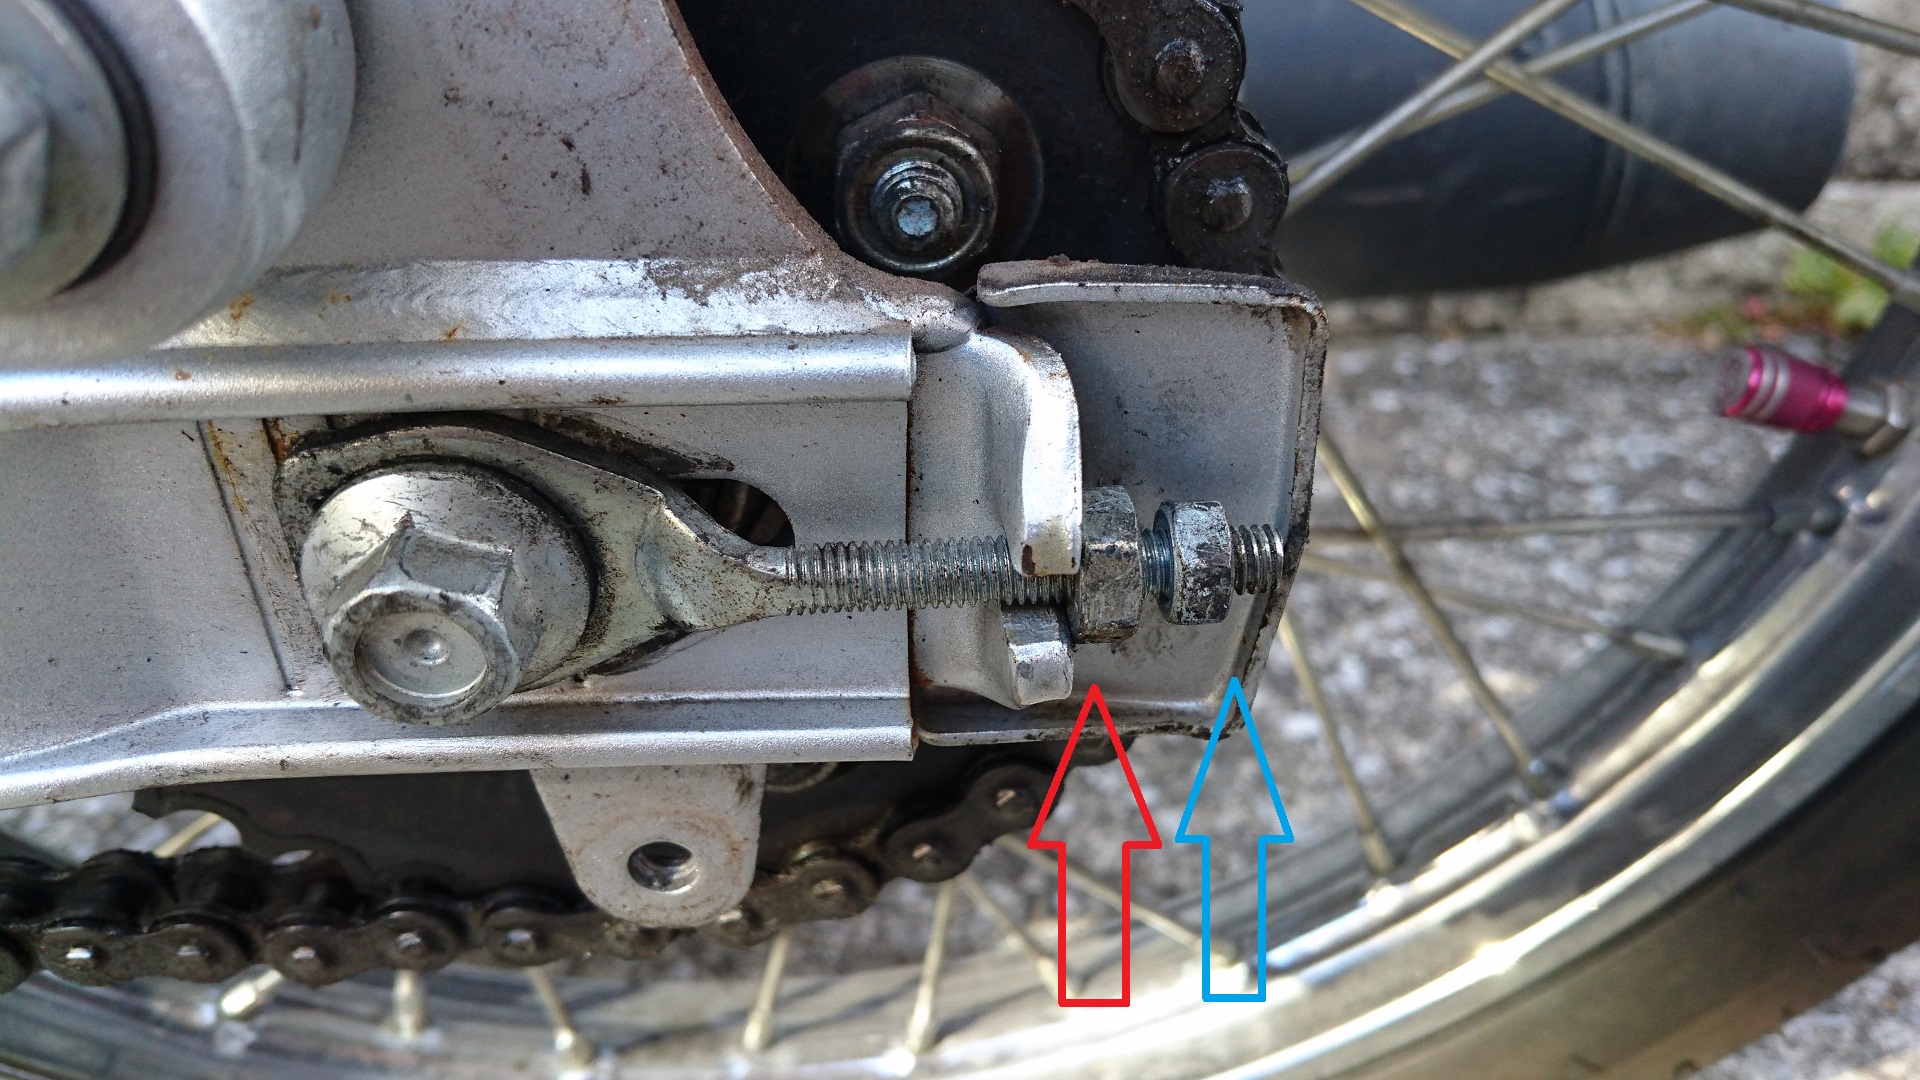
Outside (lock nut):10㎜
Inside (adjustment nut):12㎜
I can’t do it with a box wrench, so I use a spanner.
There is also one on the left side of the tire, so loosen that too.
I’m replacing it with a chain that hasn’t stretched, so I loosen it a lot.
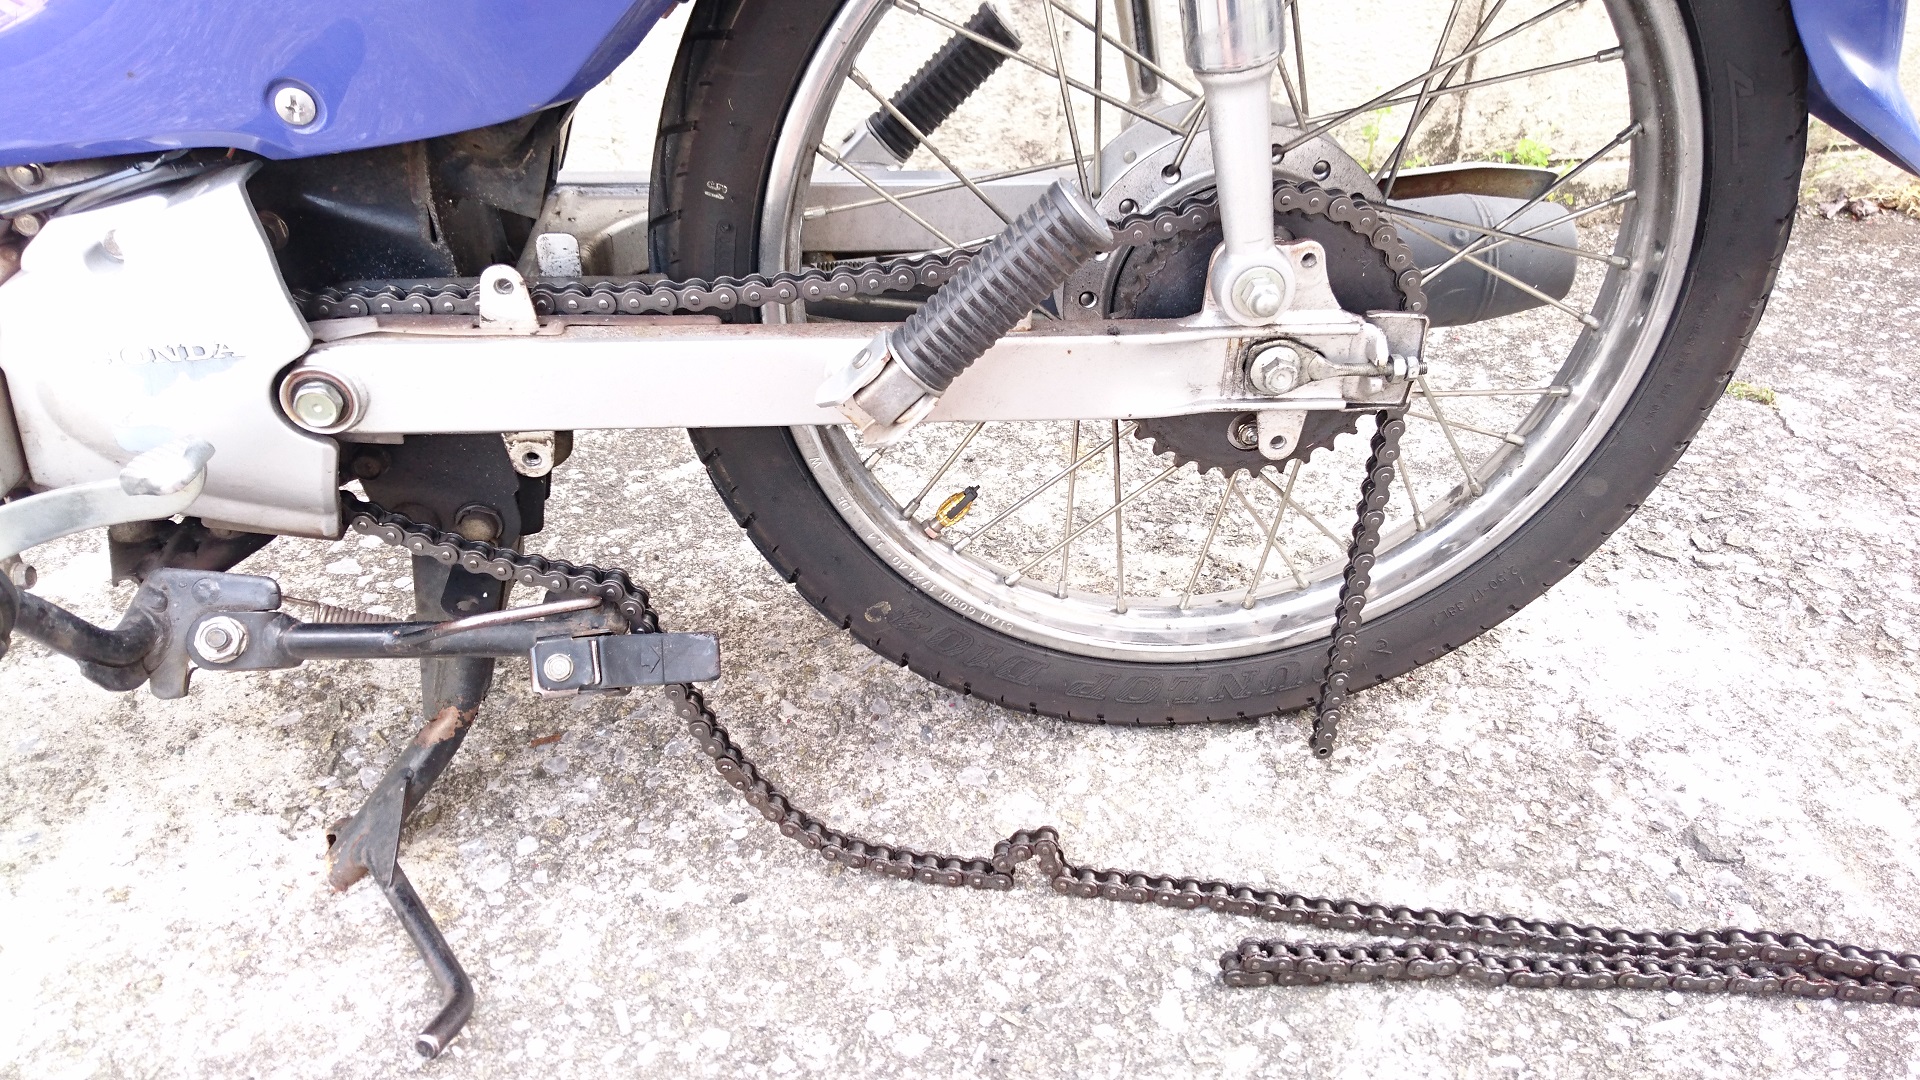
Remove the chain.
I’m going to tune it out.
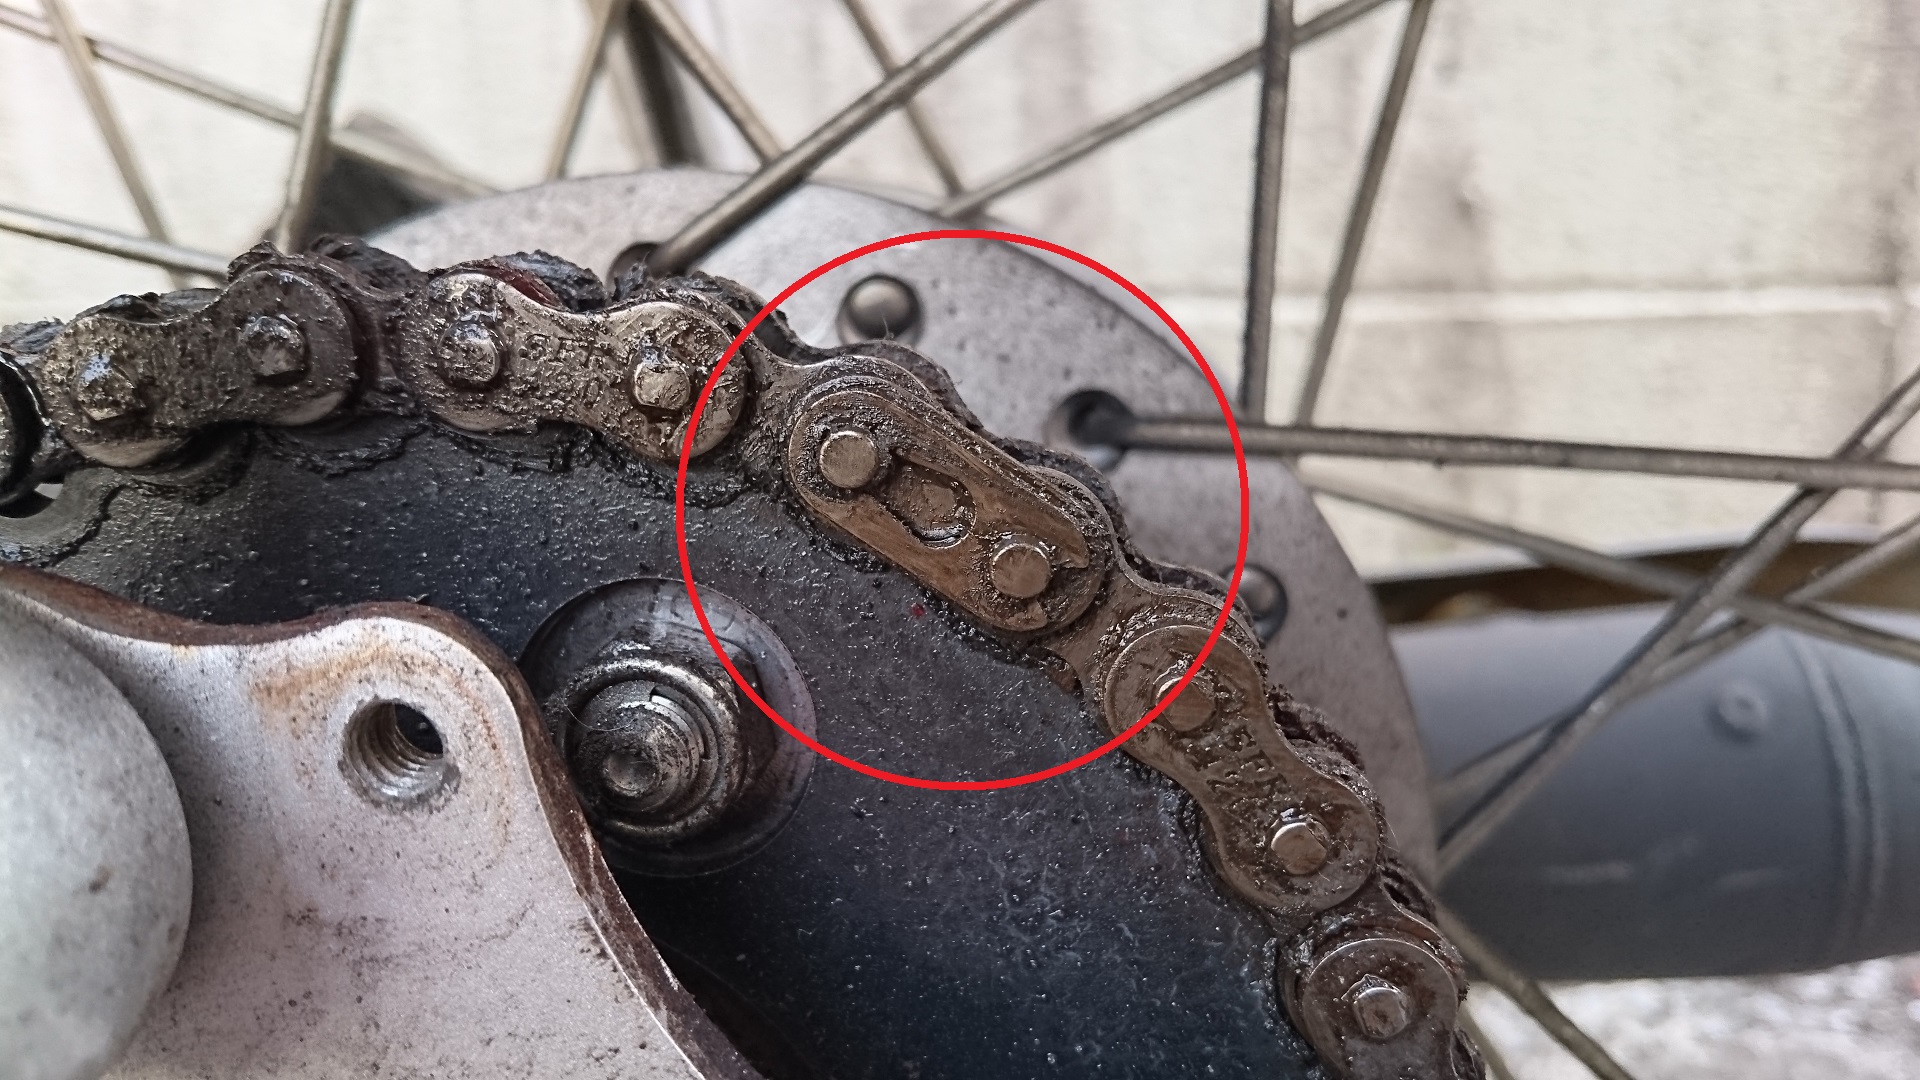
A clip-on chain consists of a single chain connected with a clip to form a loop.
First, find the joint (where the clip is).
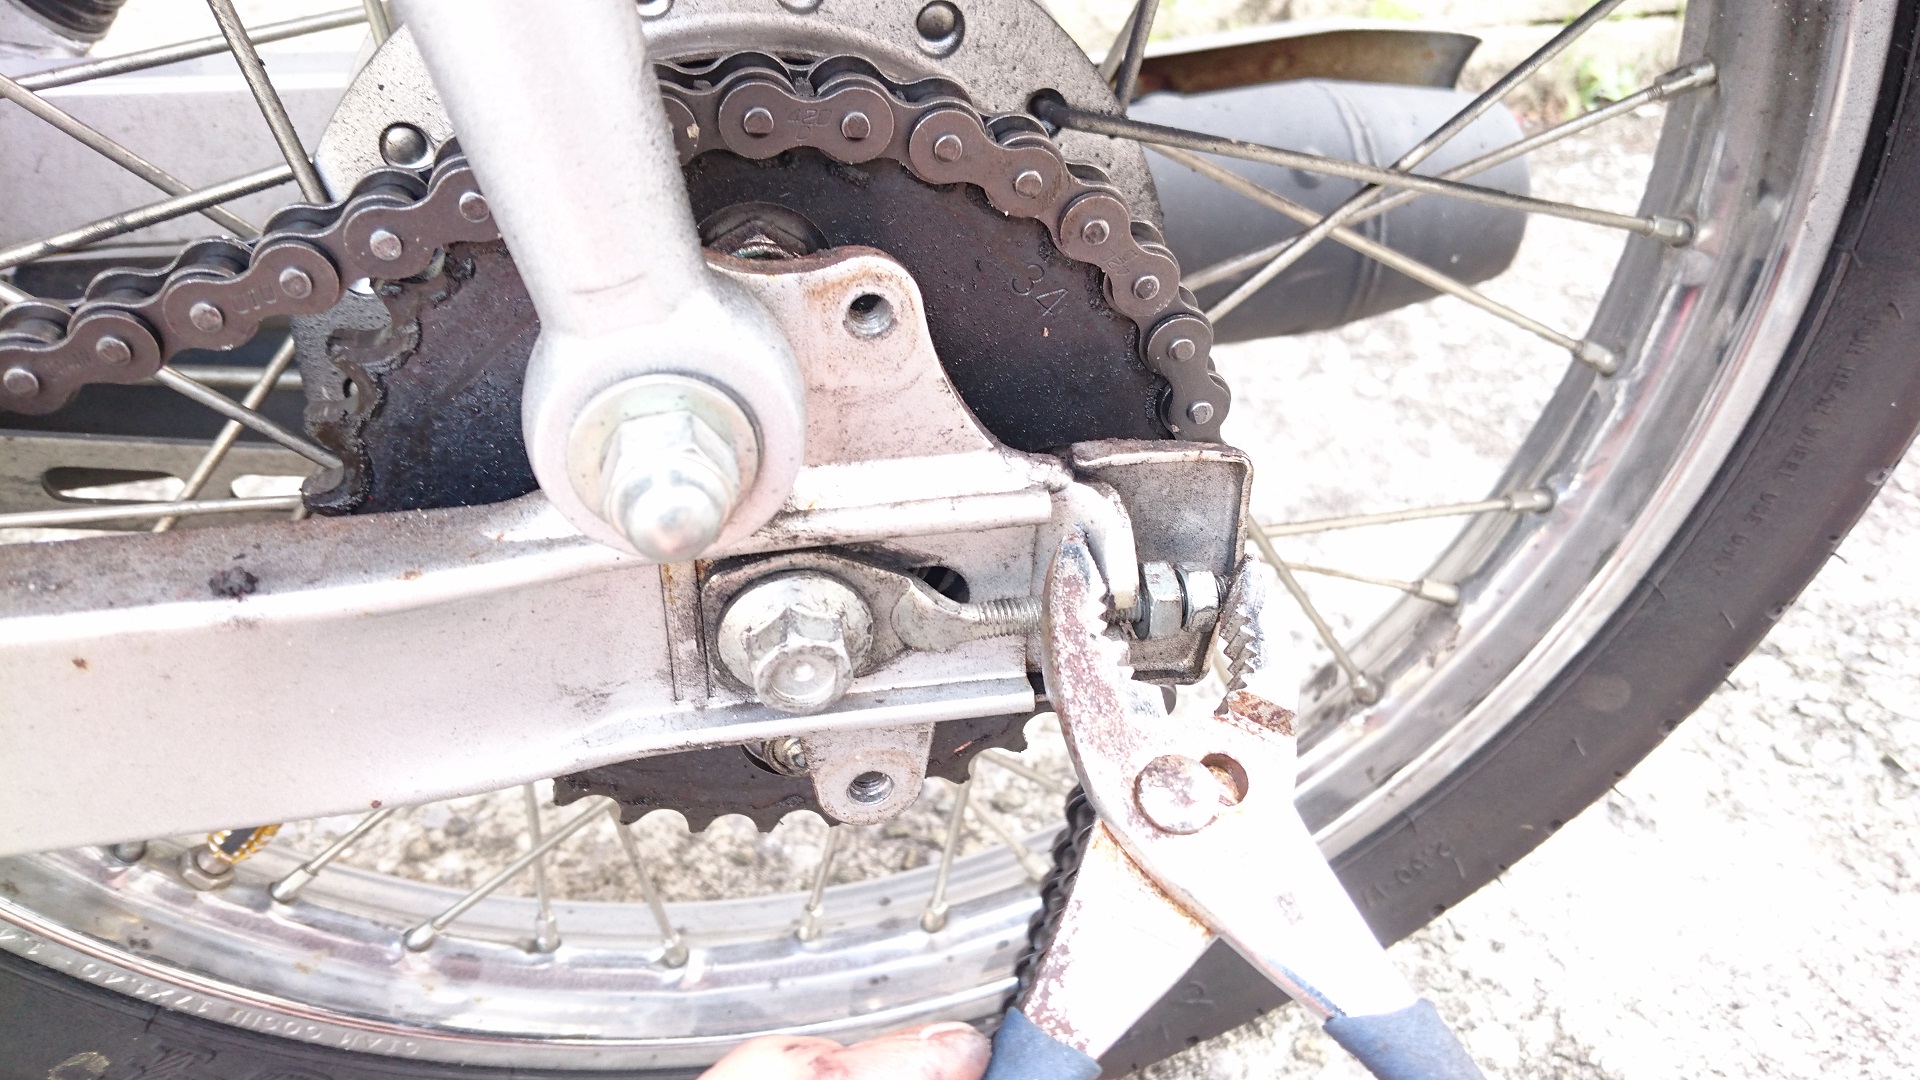
Use pliers to pinch the open end of the clip and the pin of the chain.
If you give it a quick squeeze, it will come off right away.
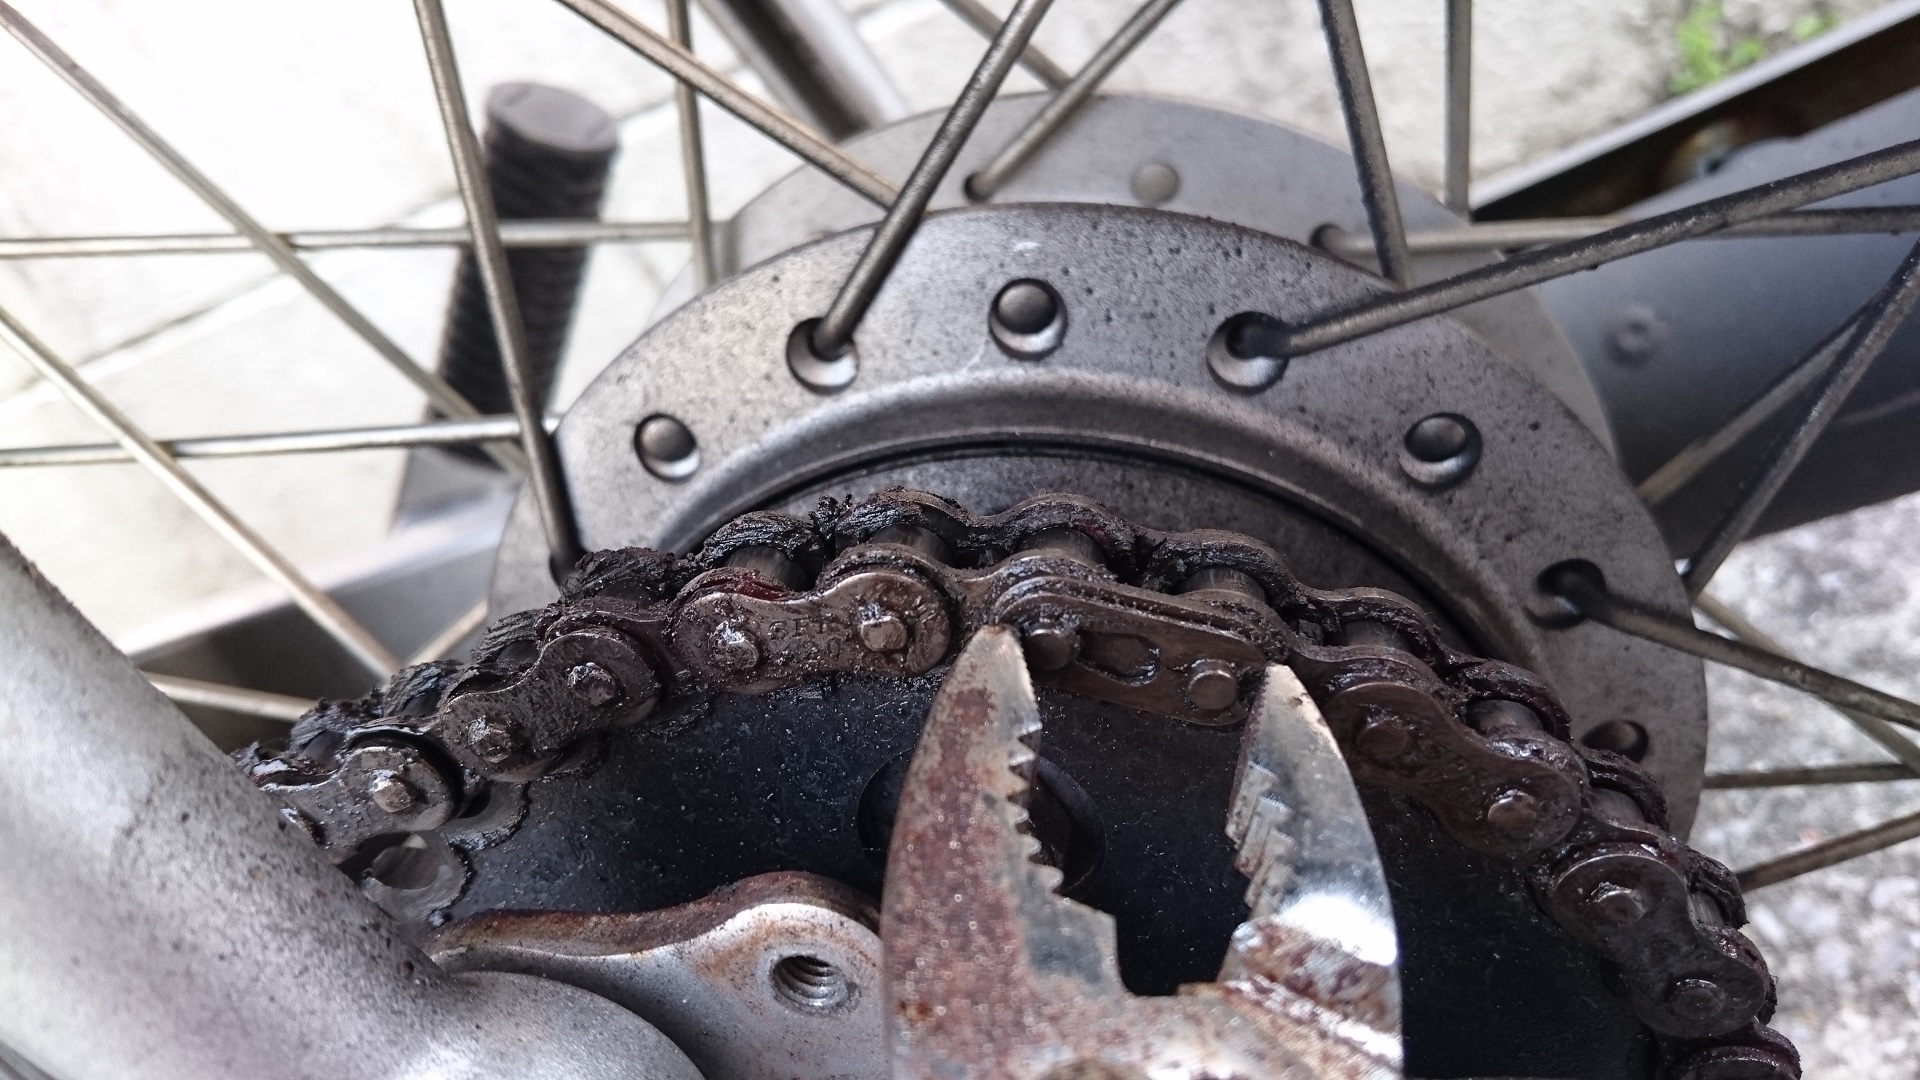
After removing the clip, remove the connecting parts.
At that time, remove the chain from the bottom, not the top.
If you remove the clip at the top, the chain will fall apart the moment you remove it.
The parts of the clip that connects the chain look like this.
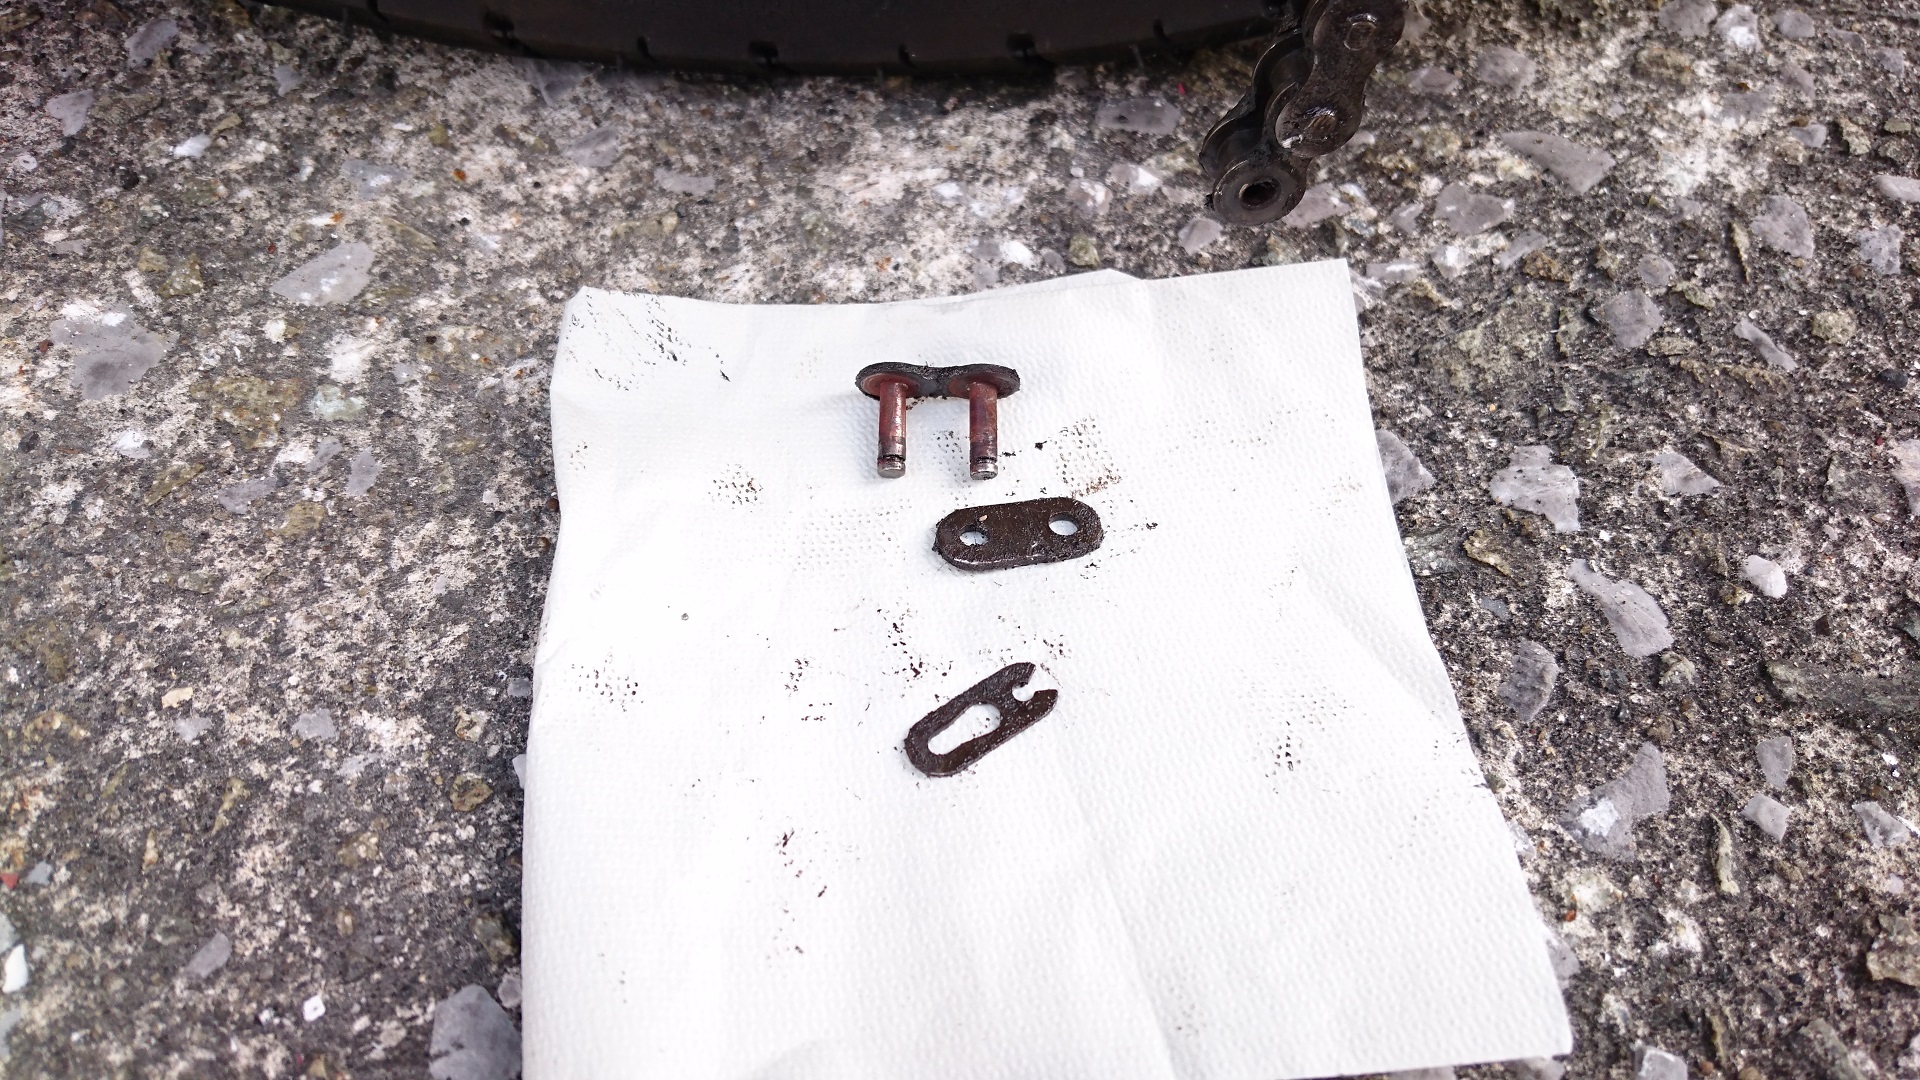
Of course, this part is also included in the new model.

Installing a new chain.
Connect the existing chain and new chain with this connecting part.
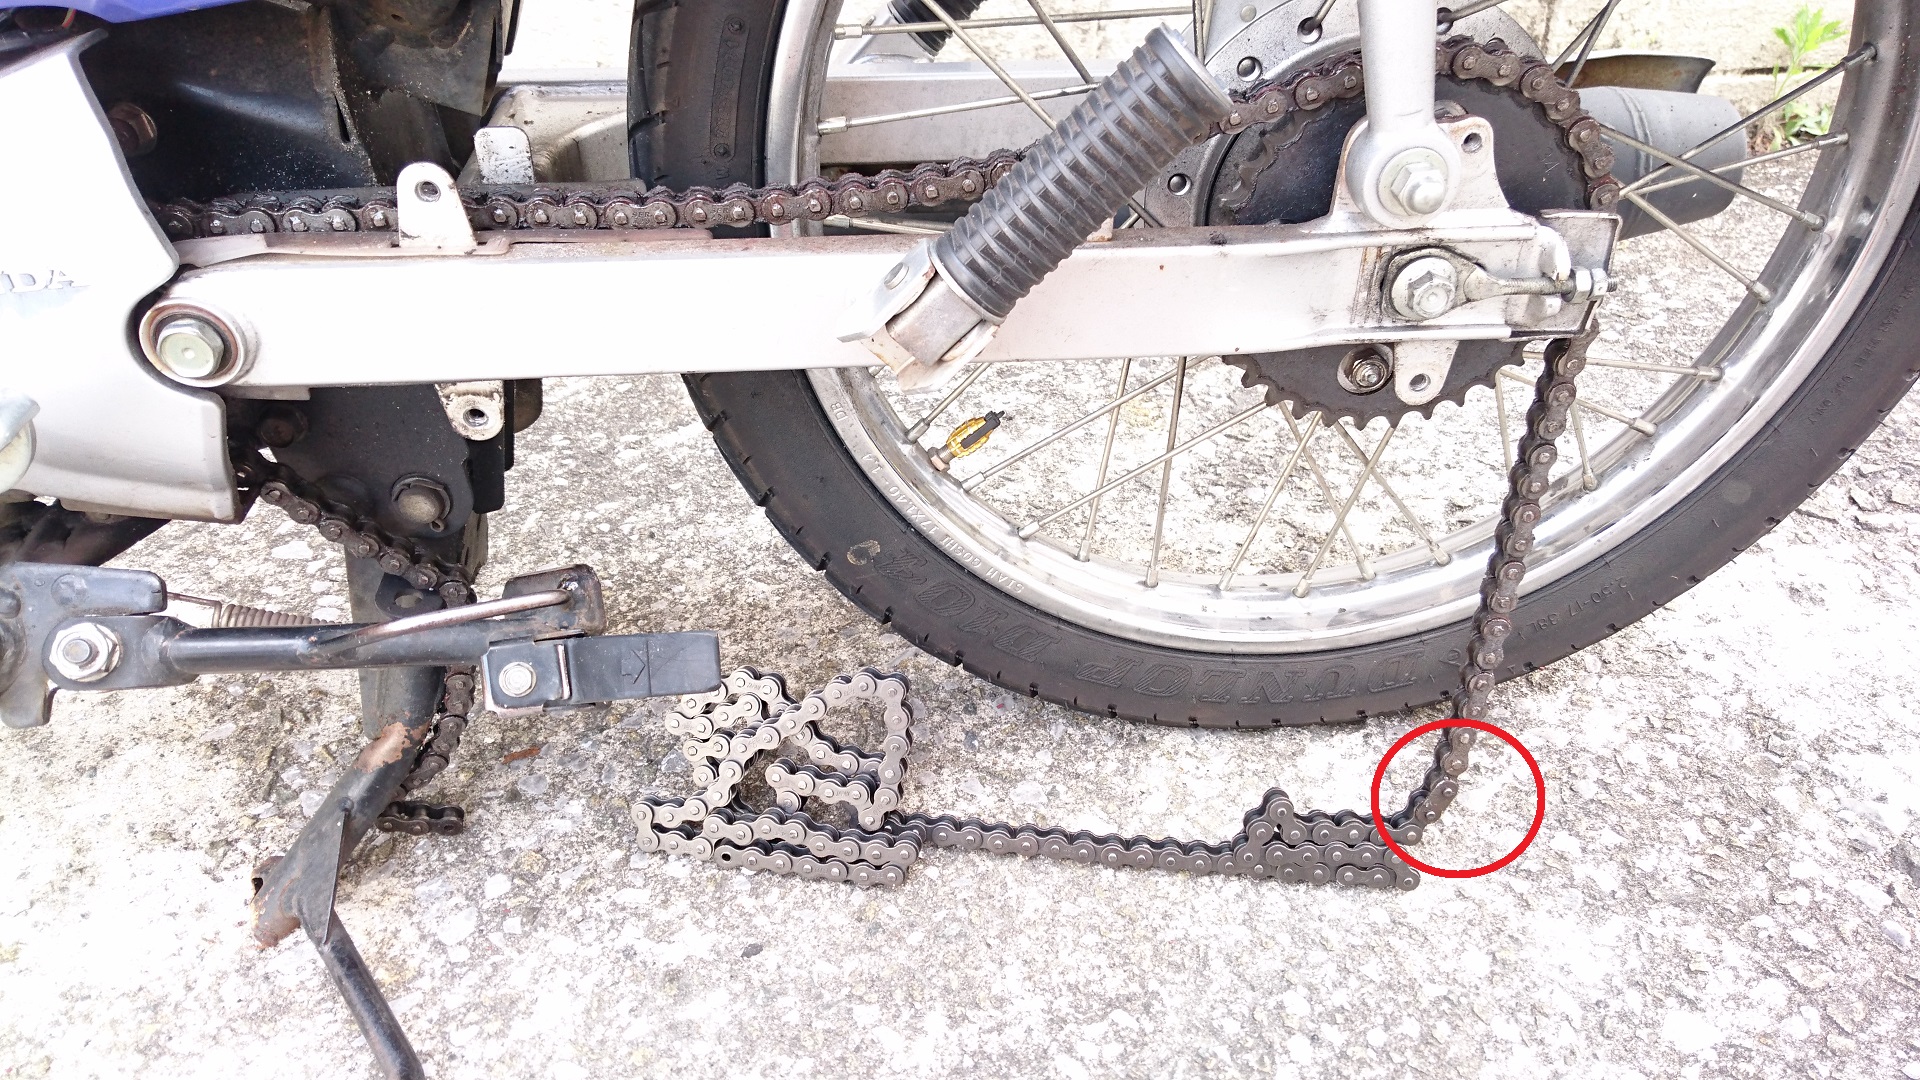
If you put the gear in neutral and pull from the bottom, it will flow smoothly.
Once the new chain is properly distributed, remove the existing chain.
If you connect the new chain as is, it will come a little loose.
So, tighten the chain adjuster to make the adjustment.
It felt just right.
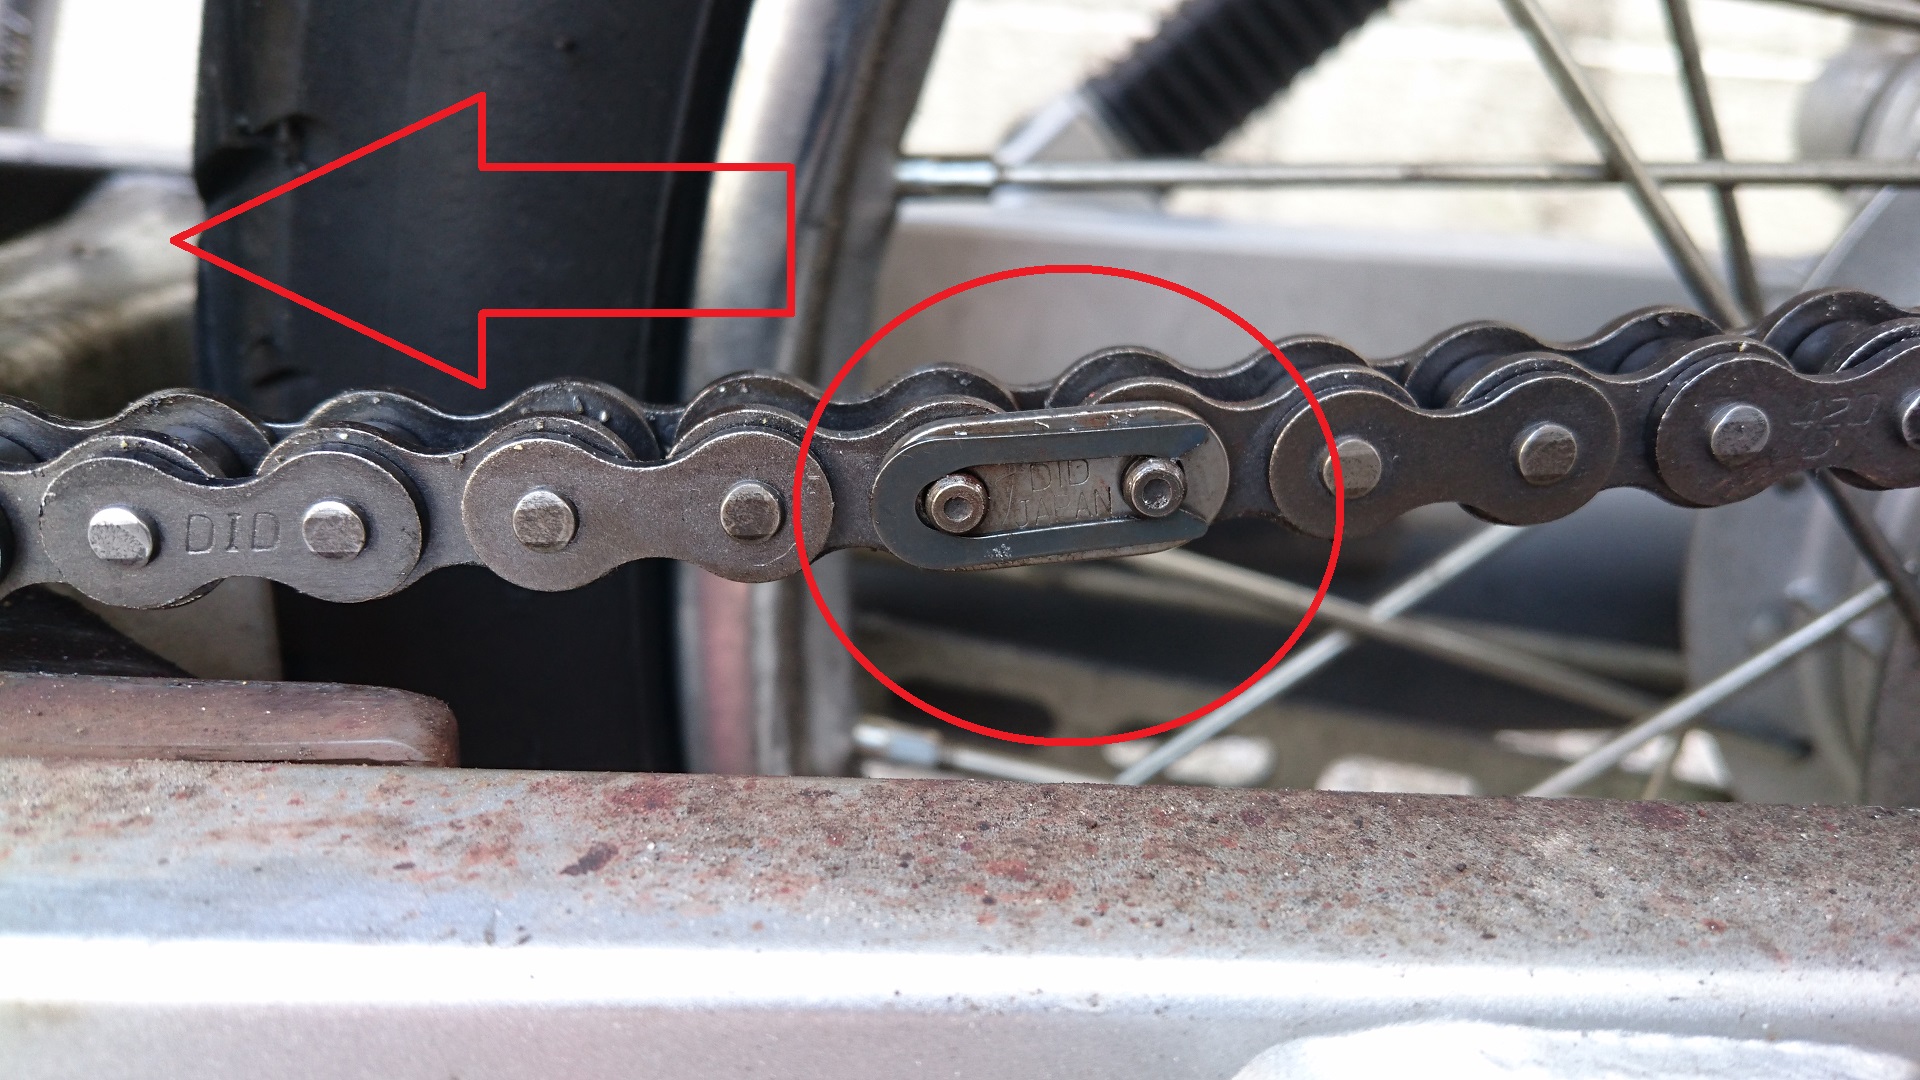
I’m going to attach the clip here.
Attach the clip with the round end (not open) facing the direction of travel.
If you face the empty side in the direction of travel, there is a risk that it will come off while you are running.
Pinch it with pliers until it clicks into place
↓In this image, we are working on the upper side of the chain, so the direction of movement is from right to left.
Chain adjustment.
Before assembling the removed parts, first adjust the chain.
Please refer to here for chain adjustment.
Assembling disassembled parts.
If you tighten the tire shaft after adjusting the chain, you can be relieved.
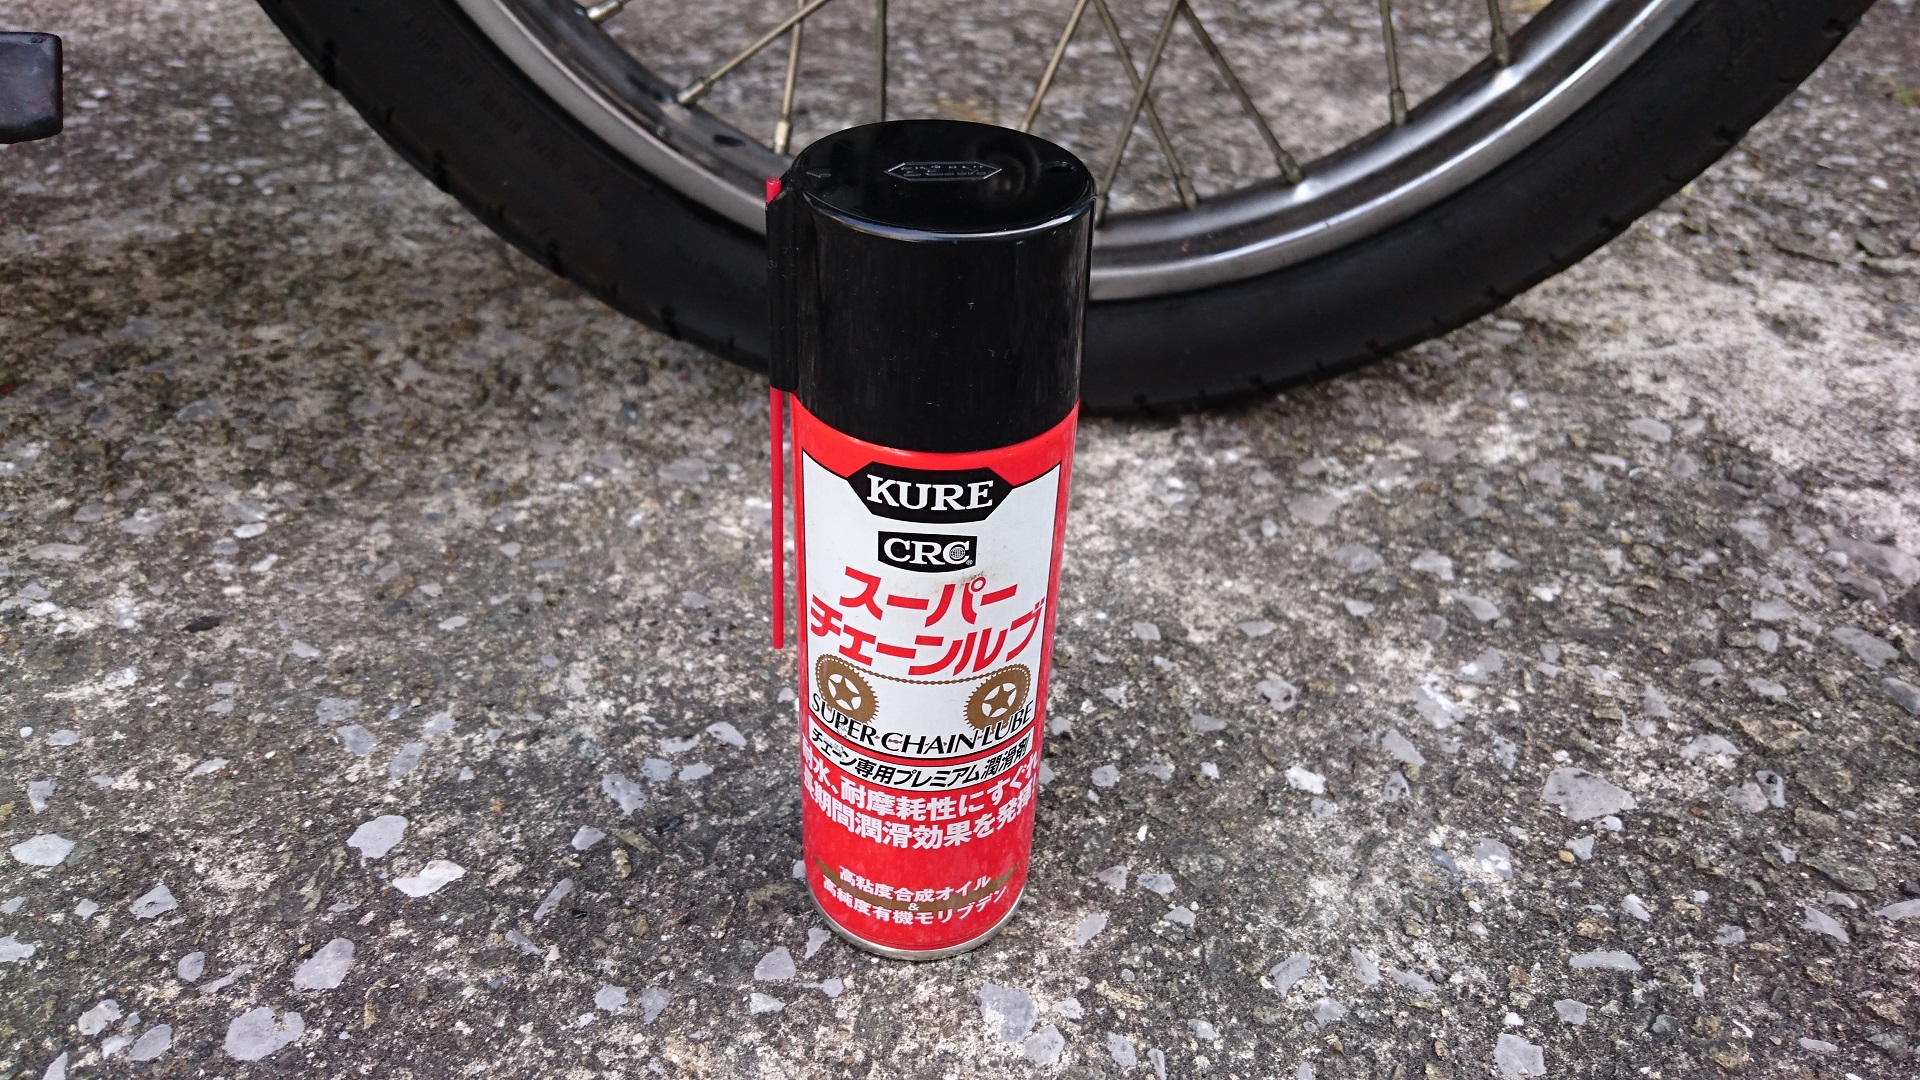
Just in case, spray some chain lubricant on it.
Also, wipe down the chain cover.
Finally, attach the chain cover.
DONE!
There are some points of concern here.
Sprocket replacement!
As they rub against each other, they wear out in the same way.
It is better to replace the sprockets when replacing the chain.
However, there are various guidelines for when it should be replaced.
・Replaced at the same time as chain.
・Replaced at 10,000km.
・Replace after 20,000 to 30,000km.
・Replace the sprocket once for every 2 chain replacements.
・If the sprocket teeth are missing, replace them.
I think it’s better to replace it at a time that suits you (depending on your riding style, budget, time and effort, etc.), rather than at a fixed replacement time.