
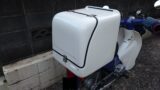
There is something that looks like a brake light attached to the box.
It has a cord attached, so maybe if I plug it in it will light up?!
Since we’ve gone to such lengths, we’d like them to light up in tandem if possible.
let’s do it!
I think you’ll probably just need to connect it to the brake light wires.
Take apart the brake light area
first day
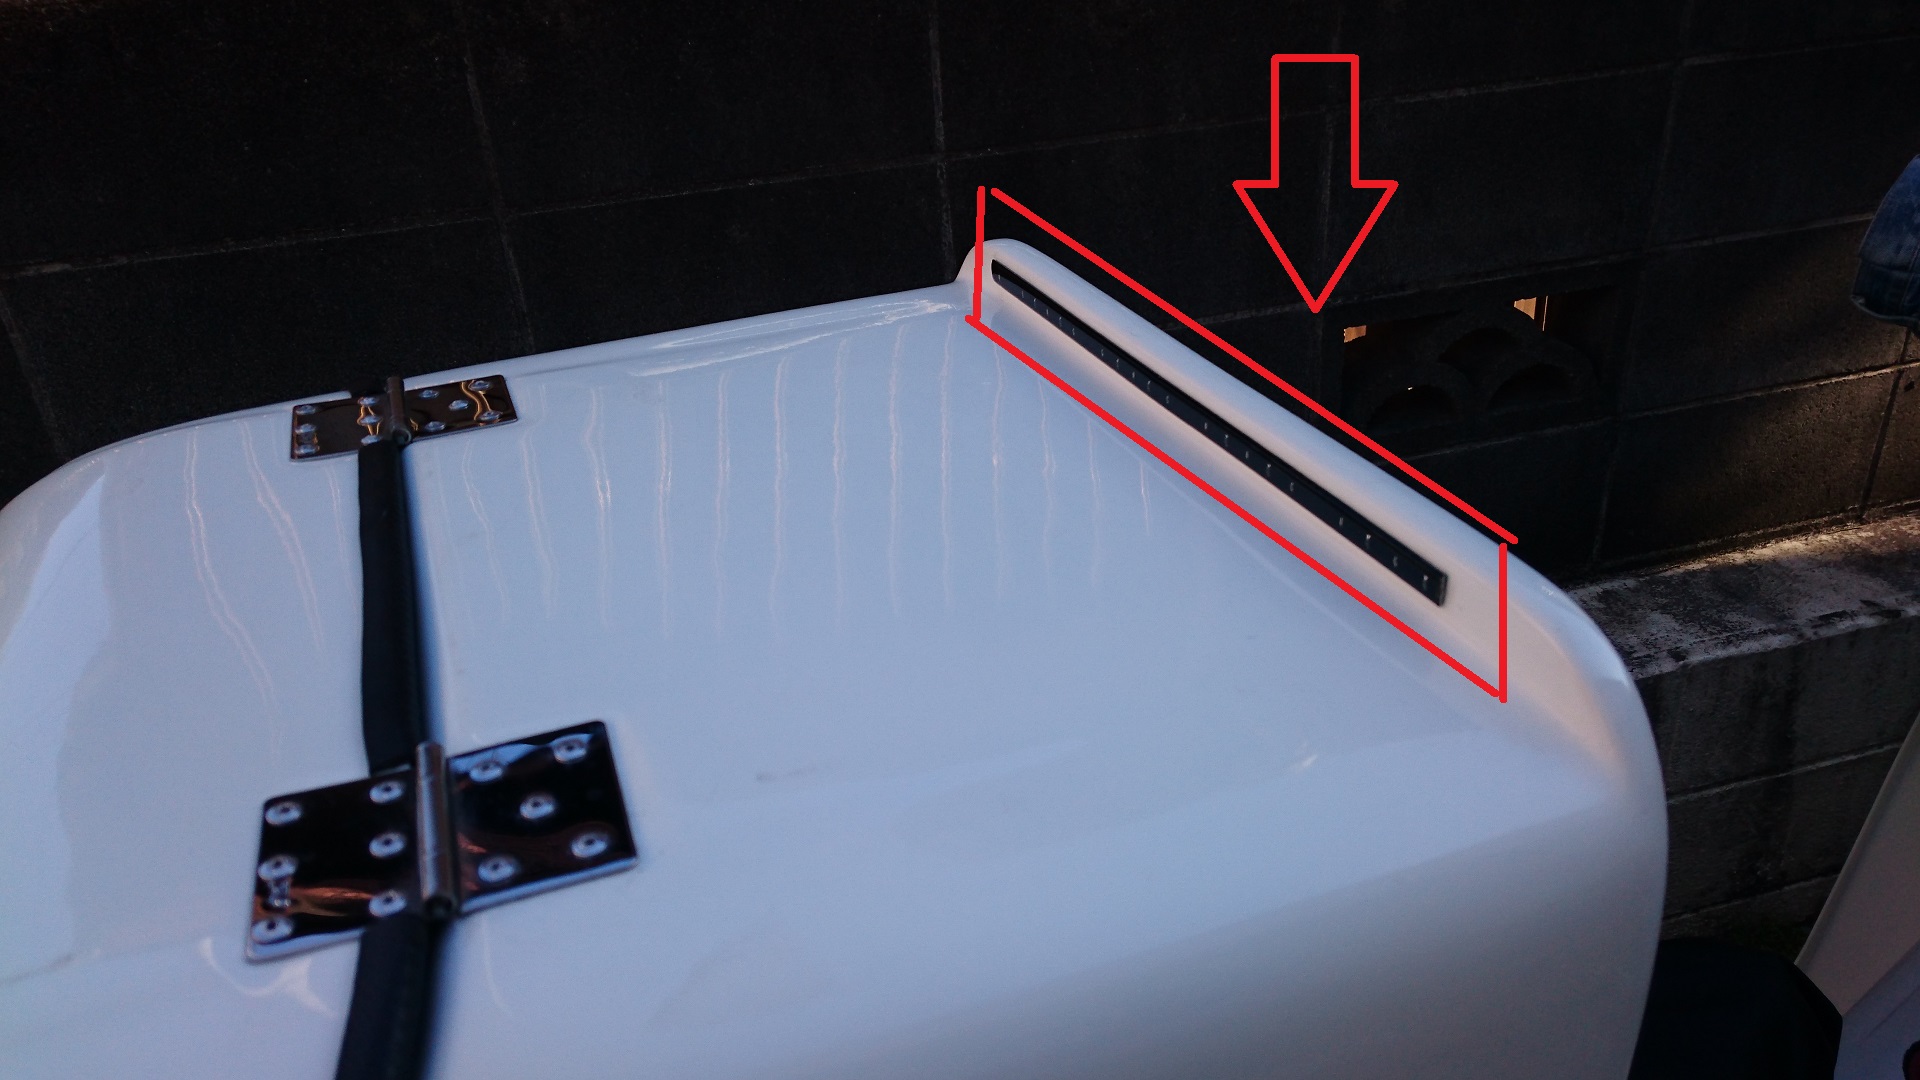
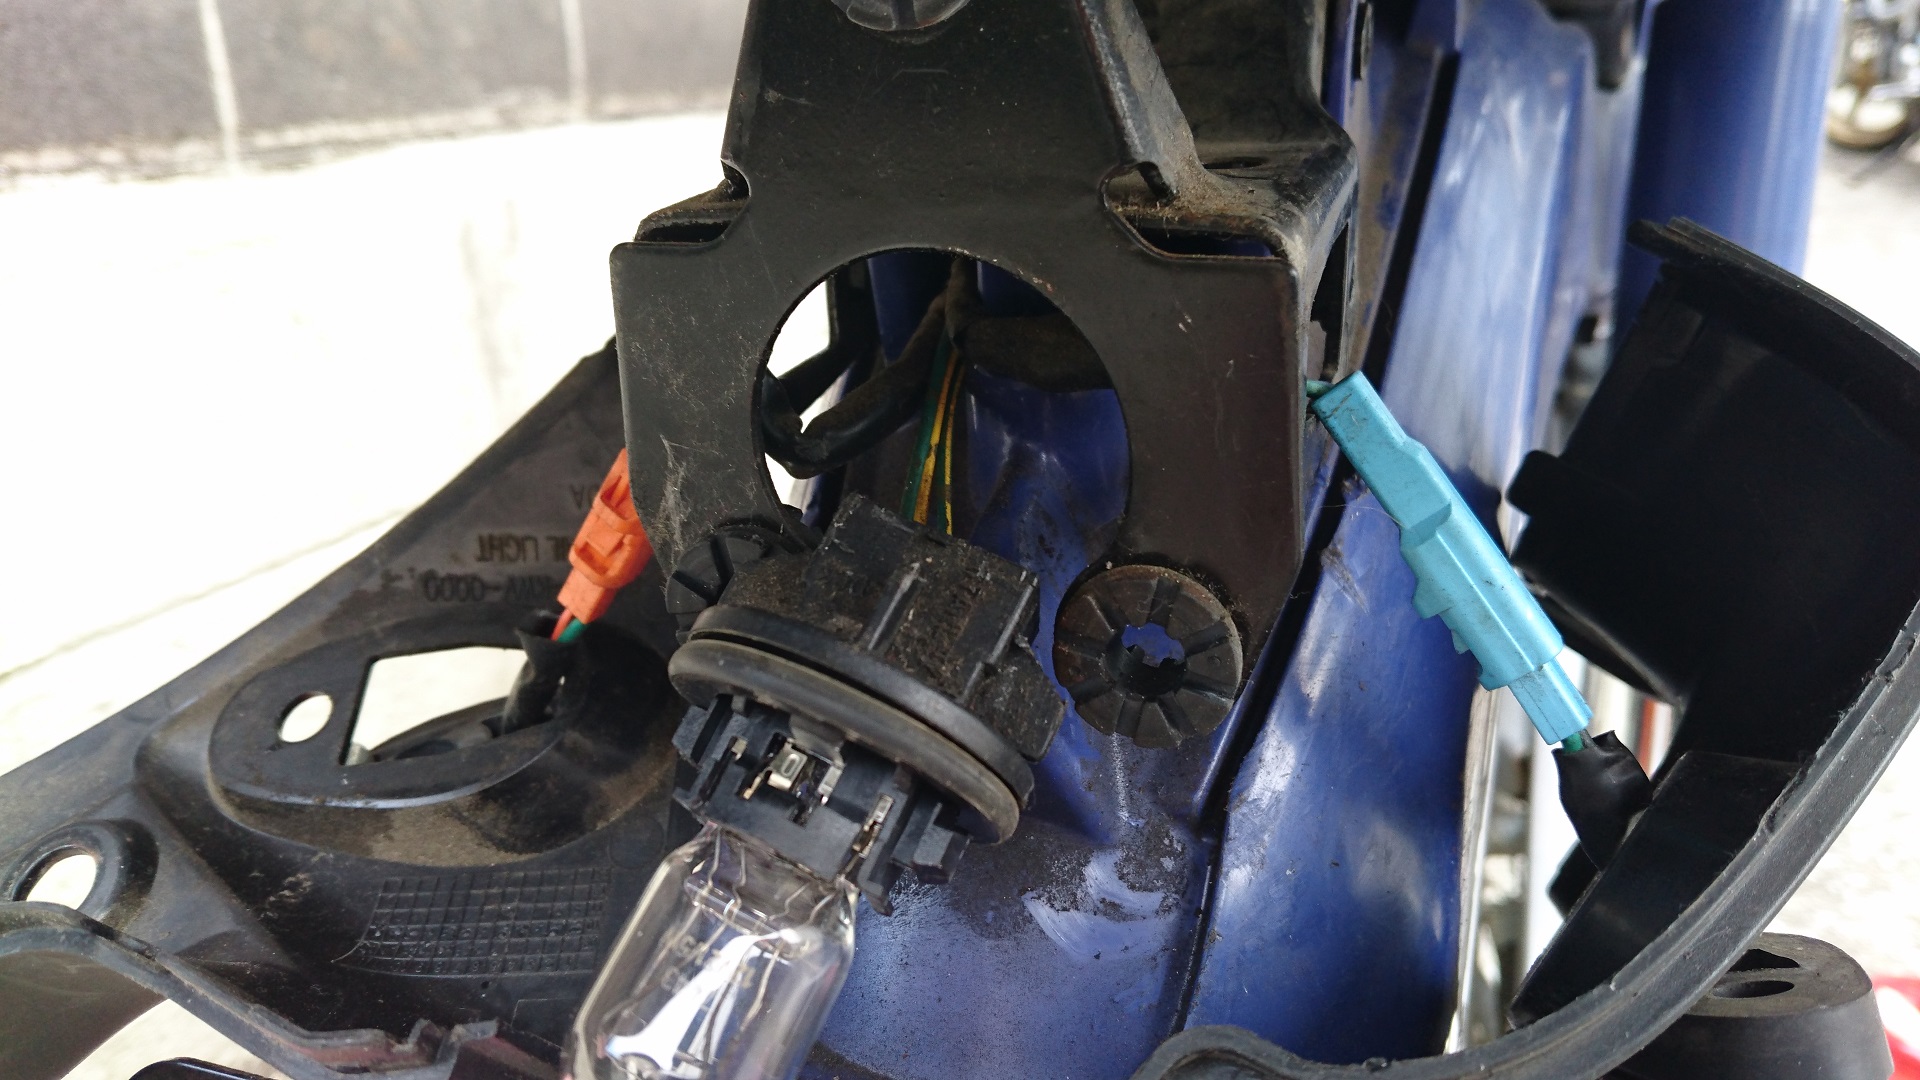
First, let’s take a look at what’s going on.
Let’s take apart the brake light area!
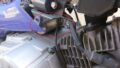
Honestly, I think the wiring is running through this black box.
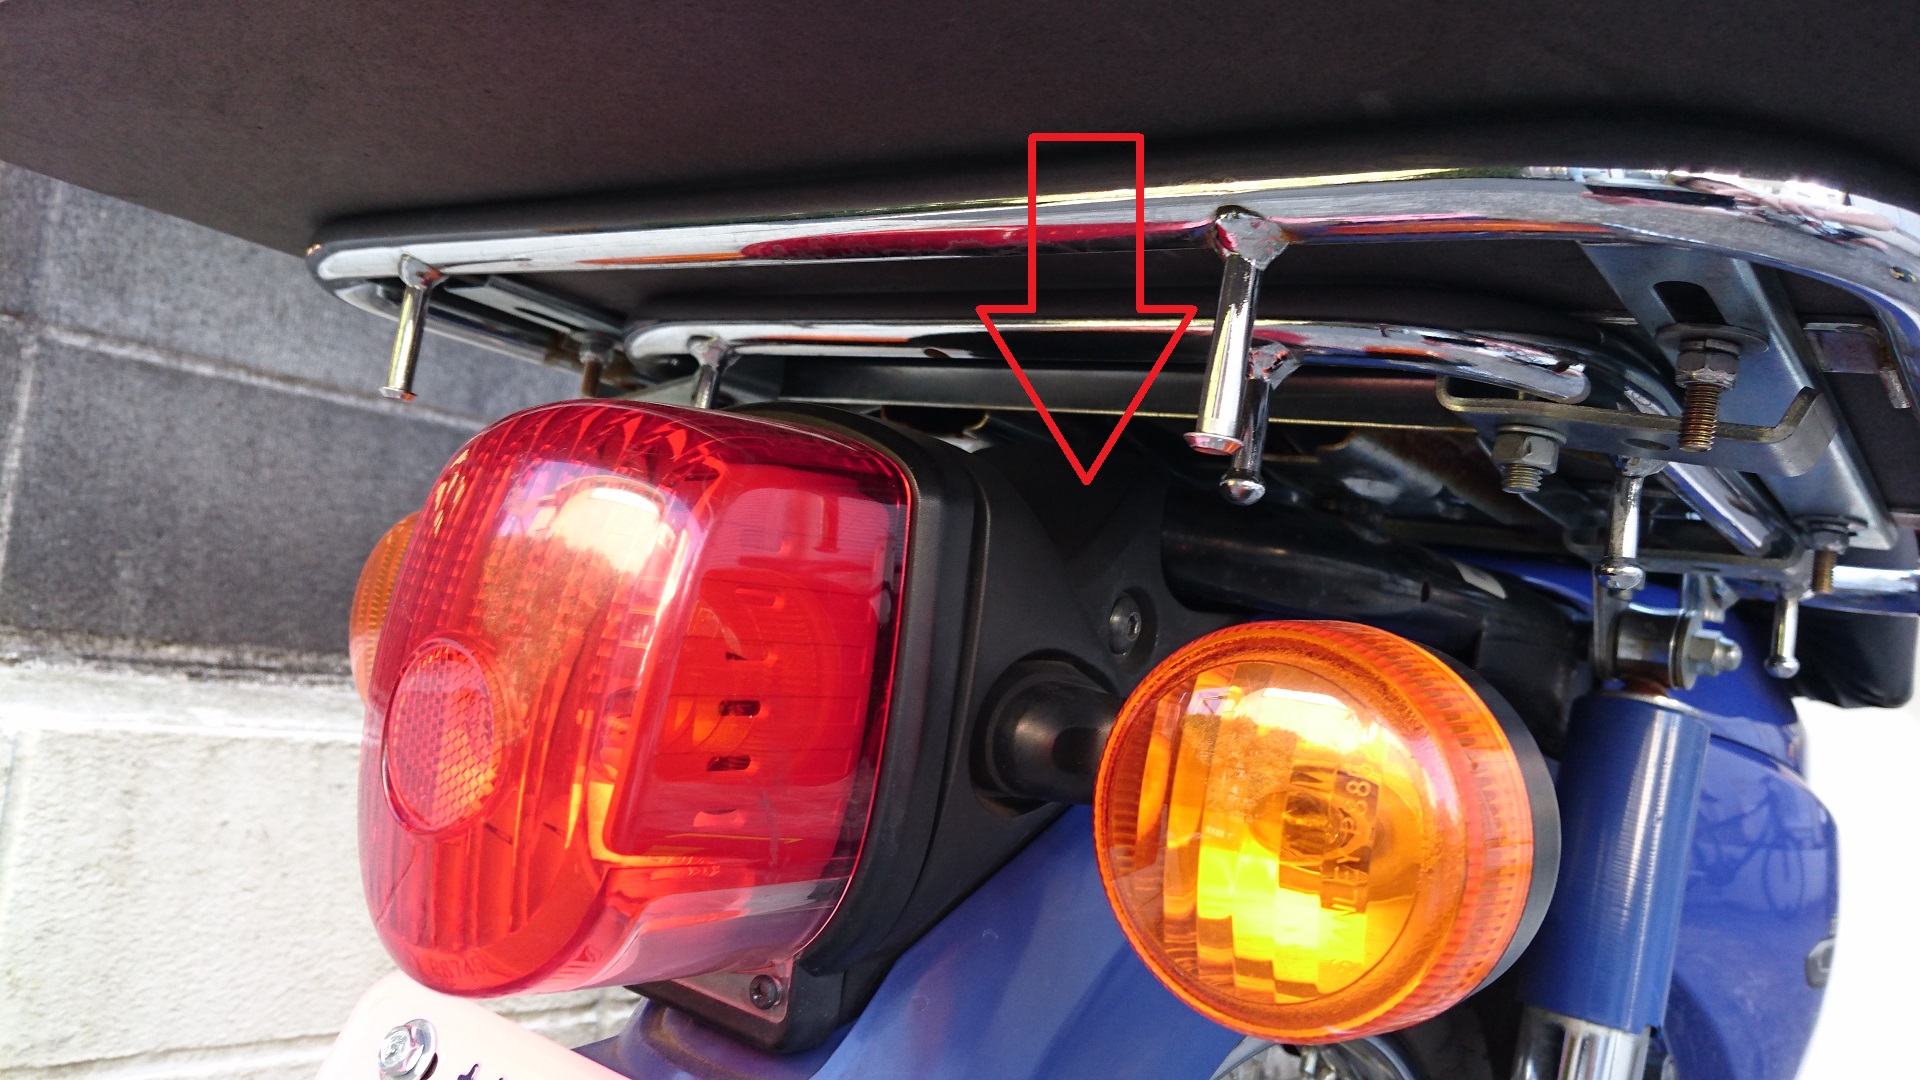
Remove the turn signal screw (Phillips head screw) and the hex screw next to it.
I was able to remove the screws but the black cover won’t come off.
Are there any other screws???
If so, I’ll remove the screws in the tail lamp as well.
Even after removing the red cover of the tail lamp, I can’t find anything that looks like a screw…
And it won’t come off.
I thought this black thing would pop off to the left and right,
but it doesn’t look like it’s going to come off.
If that happens, try inserting a flathead screwdriver and forcibly peeling it off.
It looks like I can get it somehow.

It’s made of rubber so it won’t break easily!
I got it!
As I expected, it had a structure that splits into two parts.

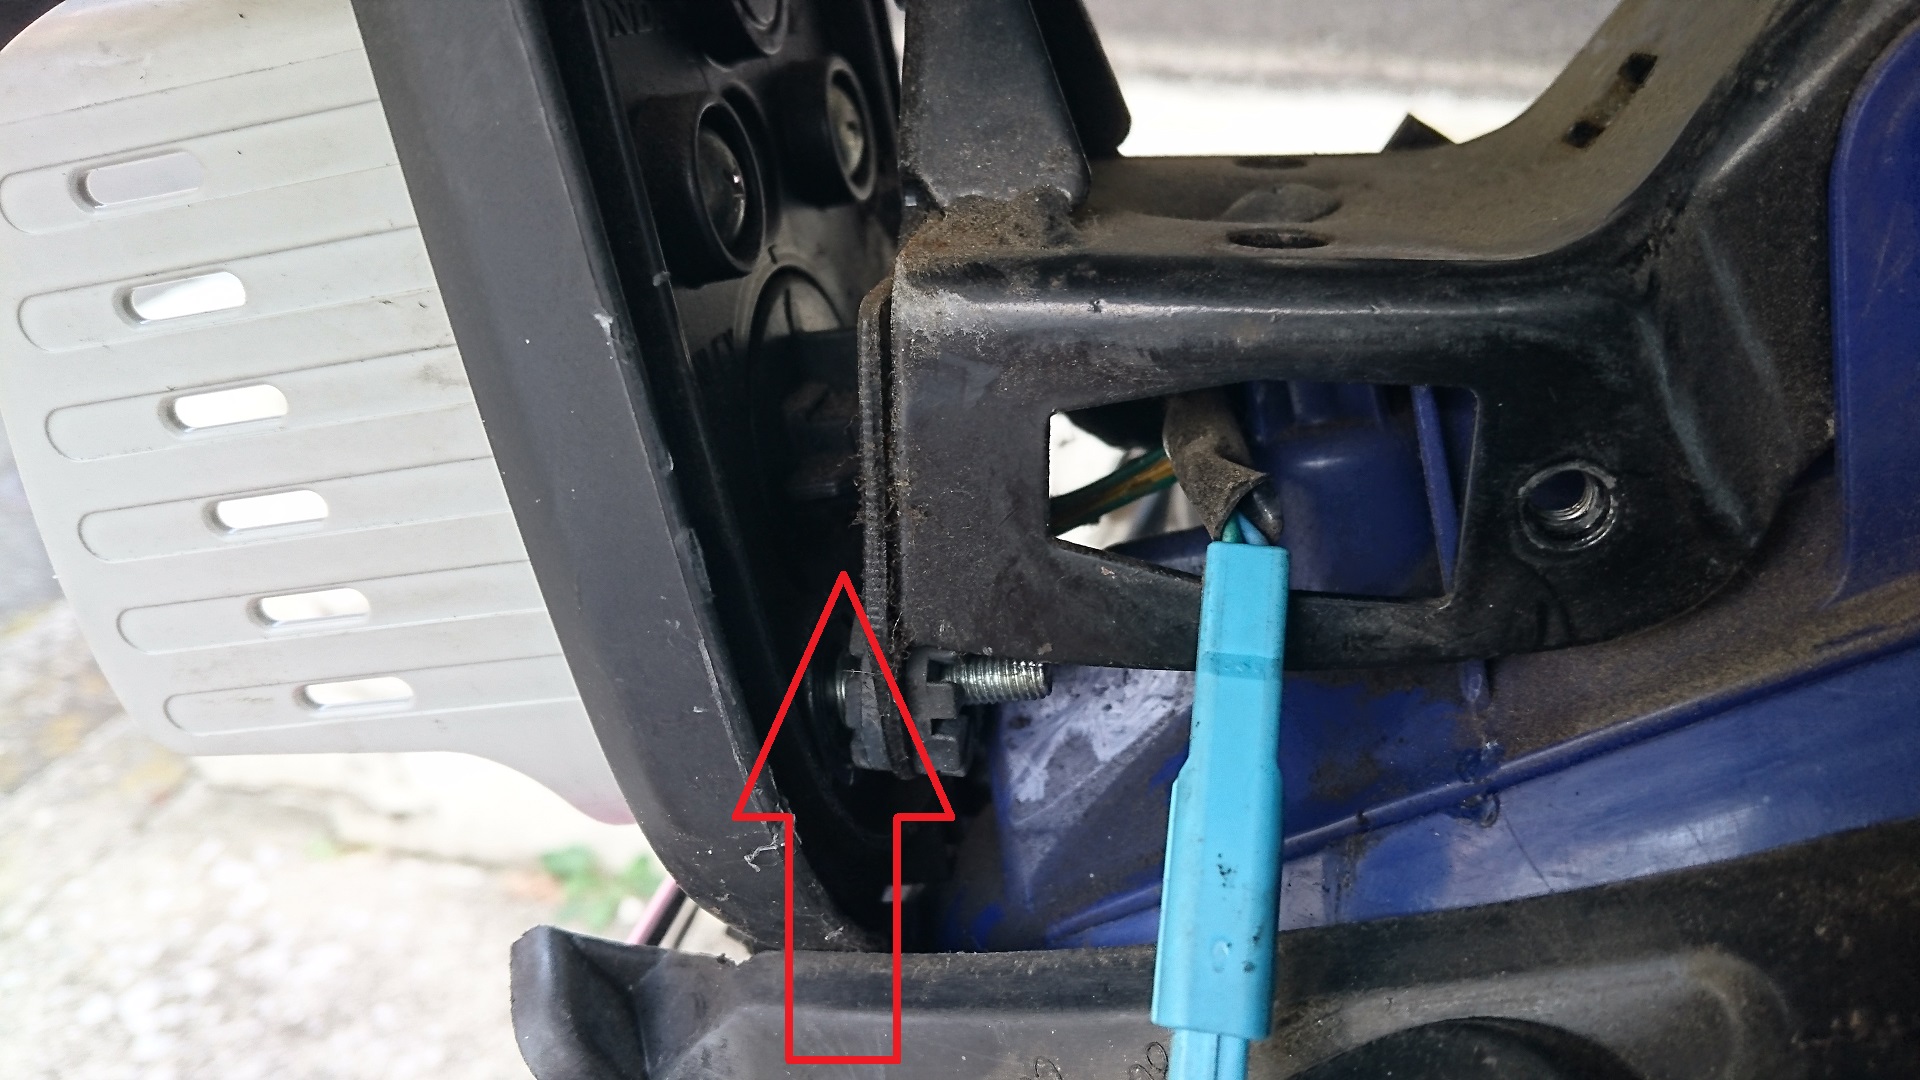
Next, remove the 8mm nuts that hold the tail lights (one at the top and one each at the bottom).
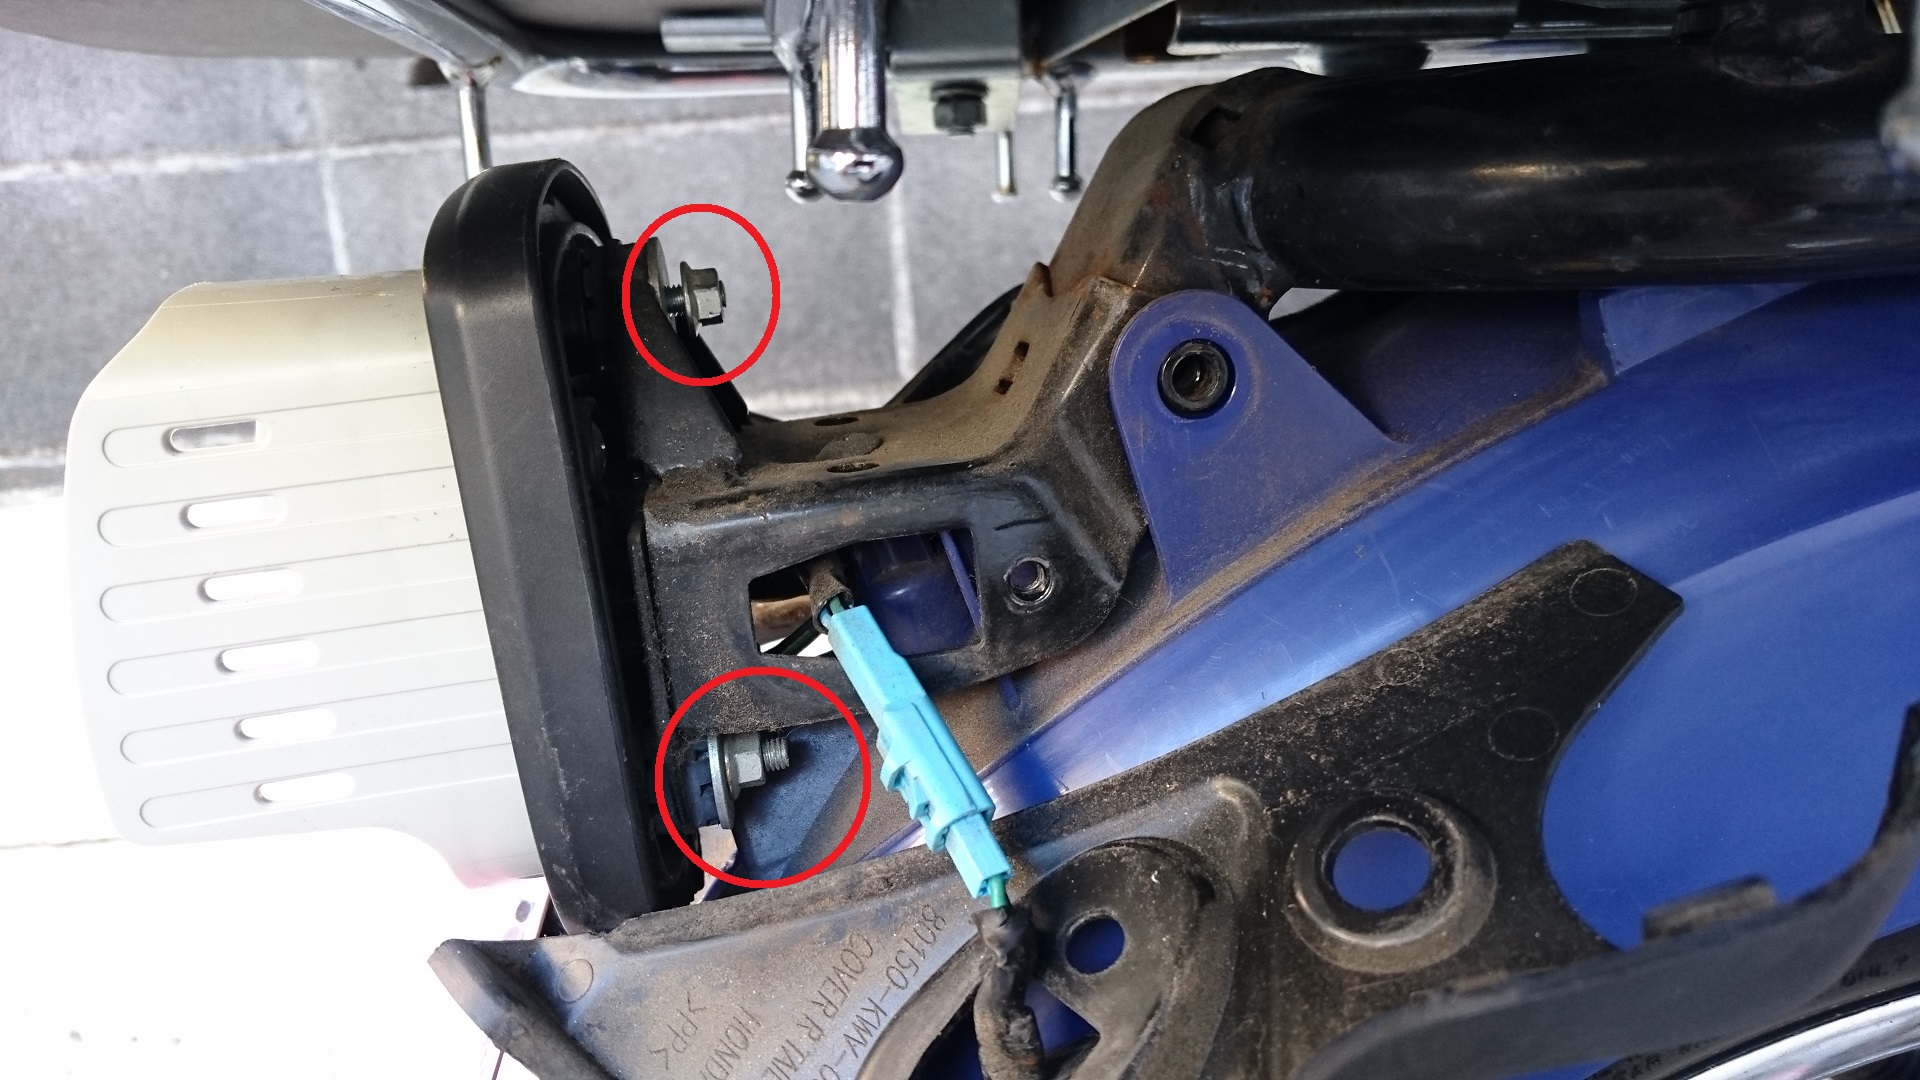
↑It would be easier if I removed the turn signals,
but I couldn’t remove the blue and orange joints, so I’m working with them as they are.
I was able to remove the upper part with a ratchet wrench,
but the lower part…the ratchet wrench I had was too big to fit into the gap.
I used an 8mm wrench, but it still wouldn’t turn.
I don’t have an 8mm box wrench, so that’s all for today.
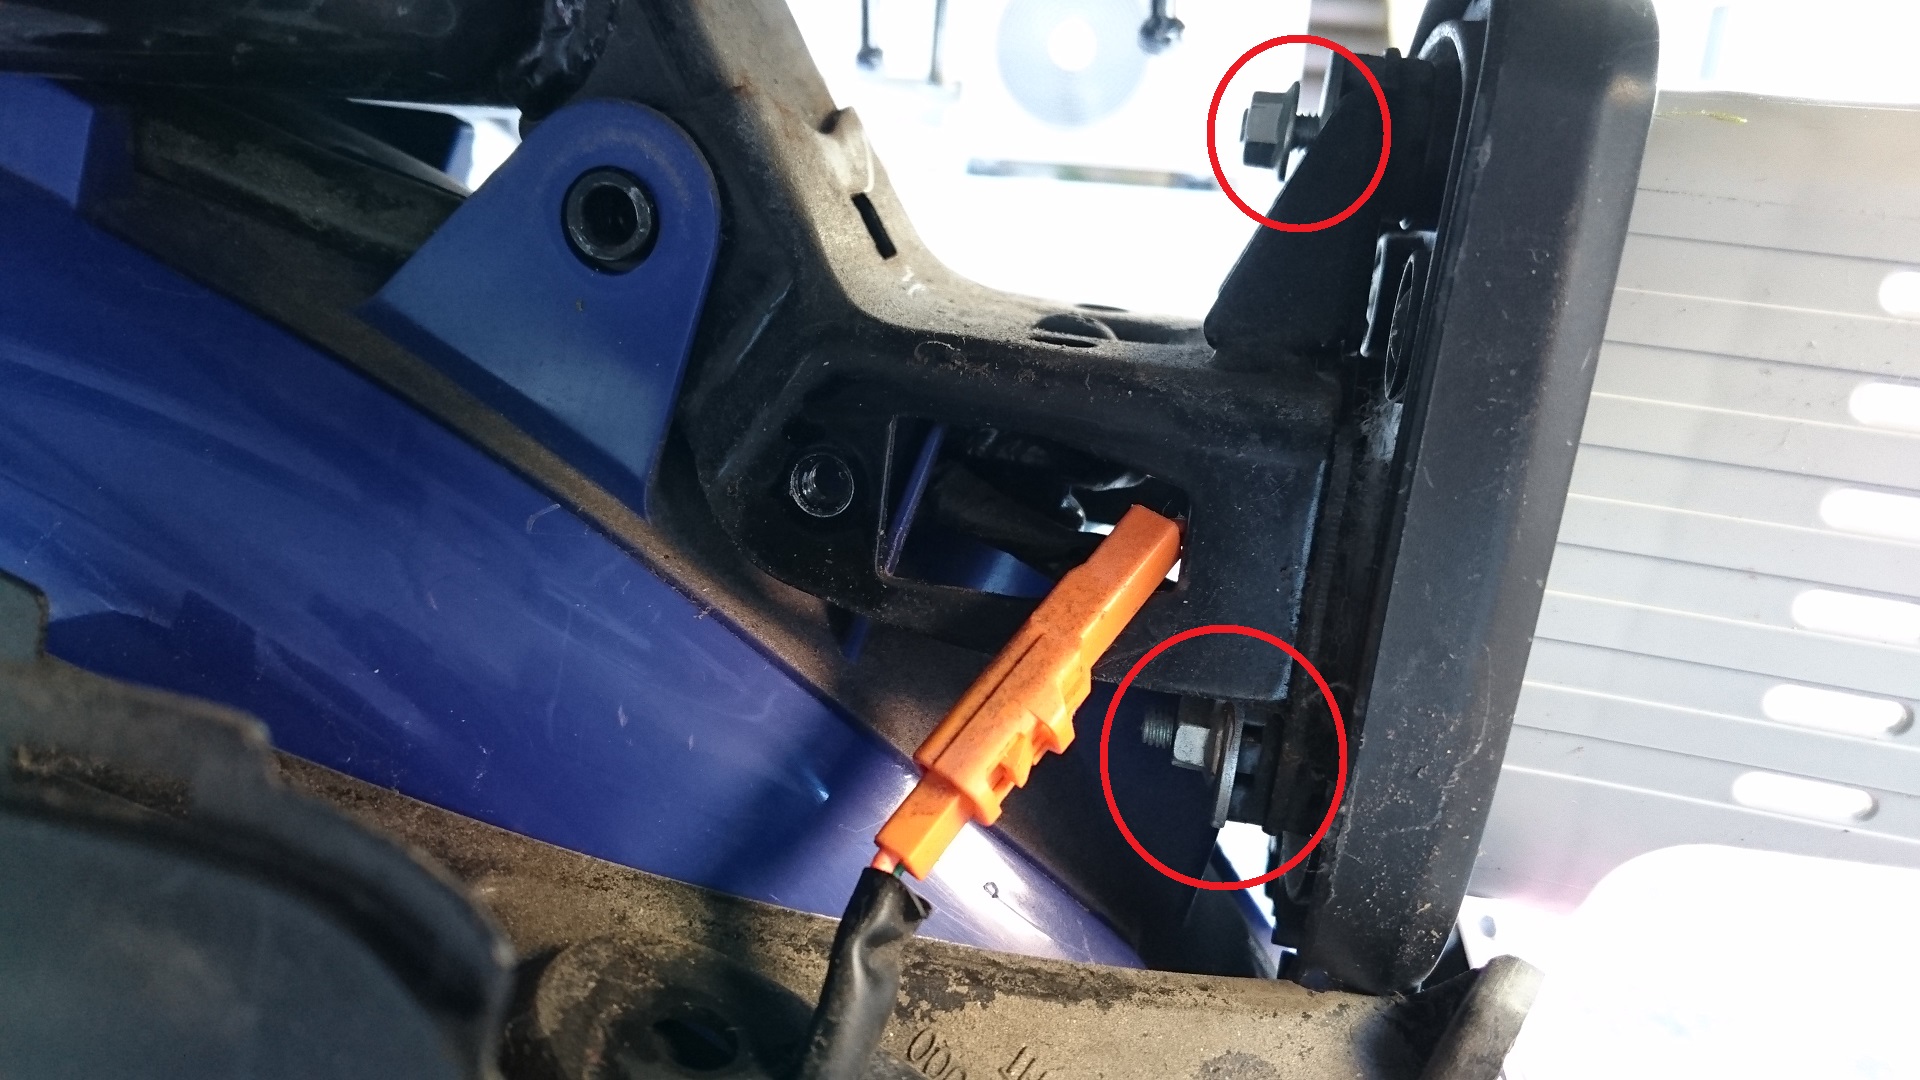
Day 2
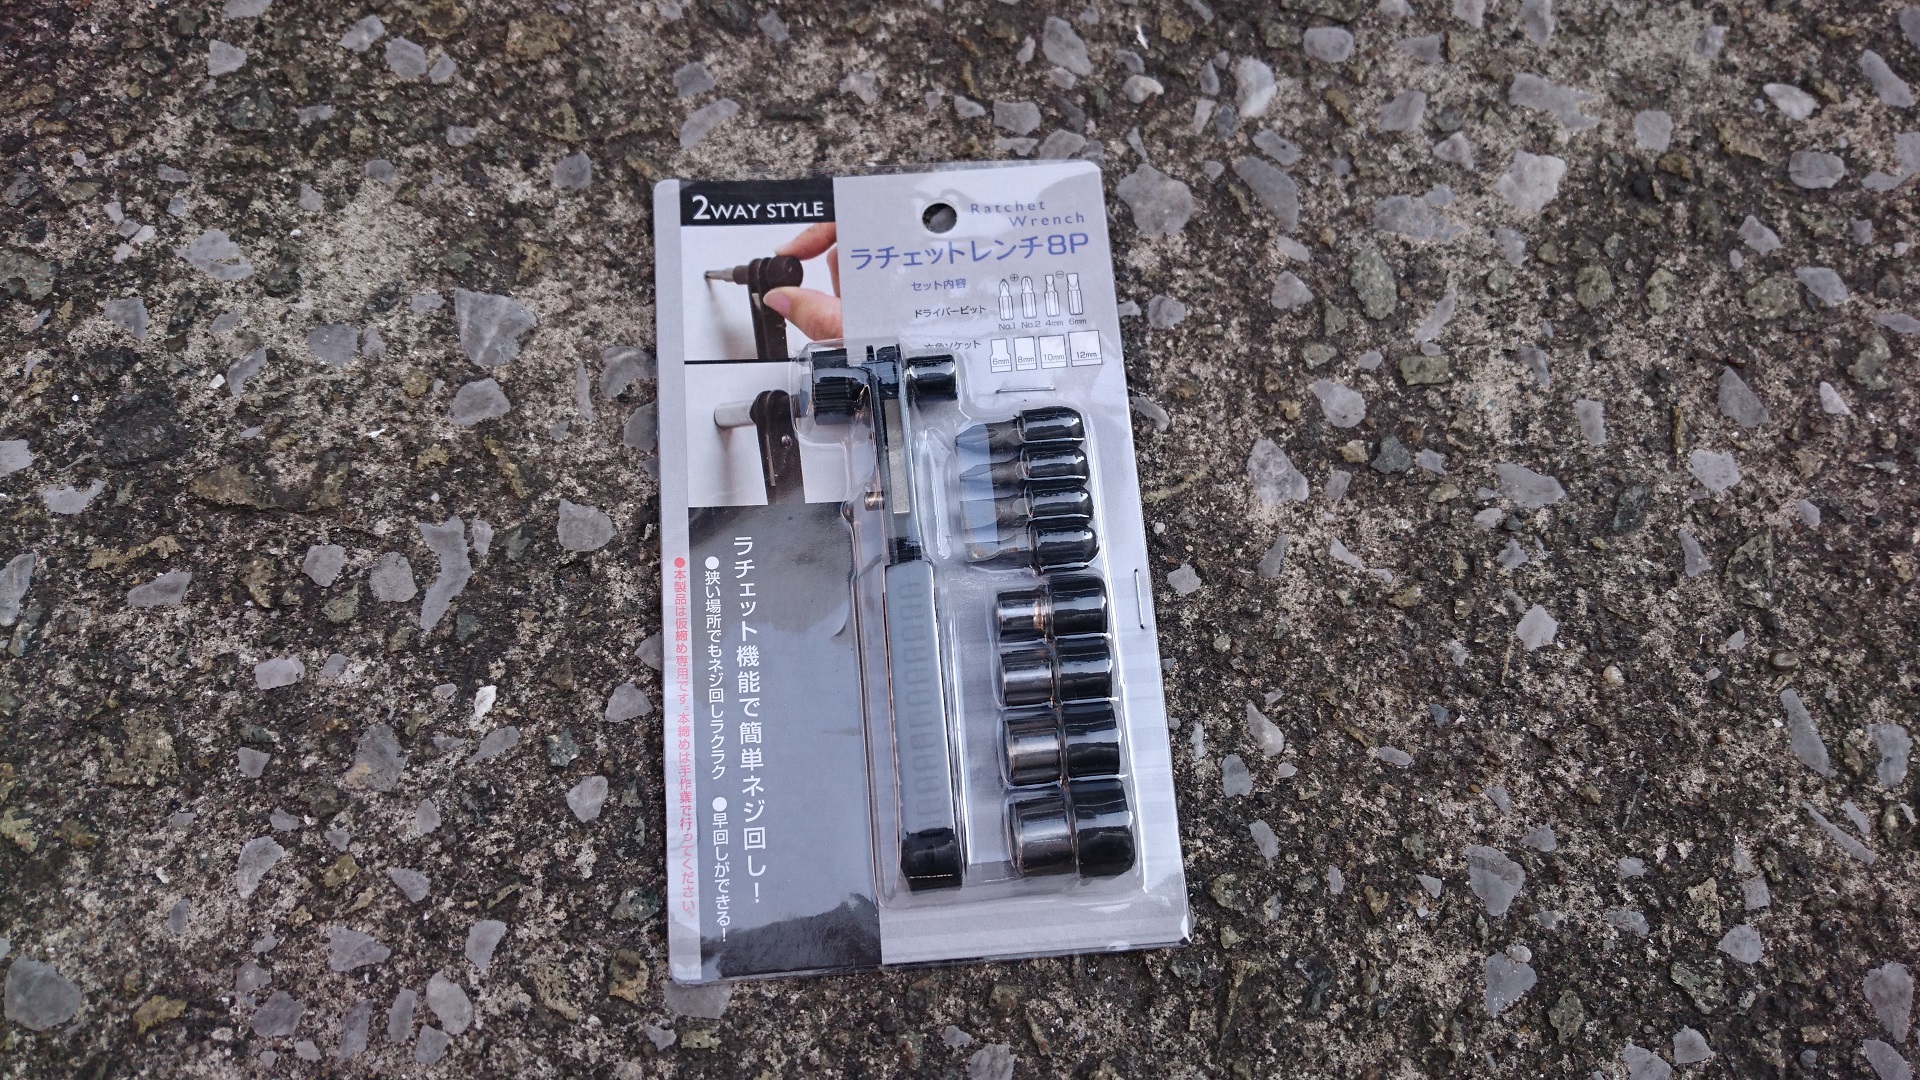
While I was searching for an 8mm wrench that would fit into this narrow gap… I discovered a small ratchet wrench!!
I took it apart up to where I was last time and tried to force the ratchet in.
(The cover got scraped off a bit) I managed to screw it in!
And when I turned it… it clicked
and it turned!!!
I managed to remove the nut!
I thought I could get it with this,
The cord is too short and I can’t pull the tail lamp parts any further.
If you try to force it out and the cord breaks, it will be all for nothing.
In that case,
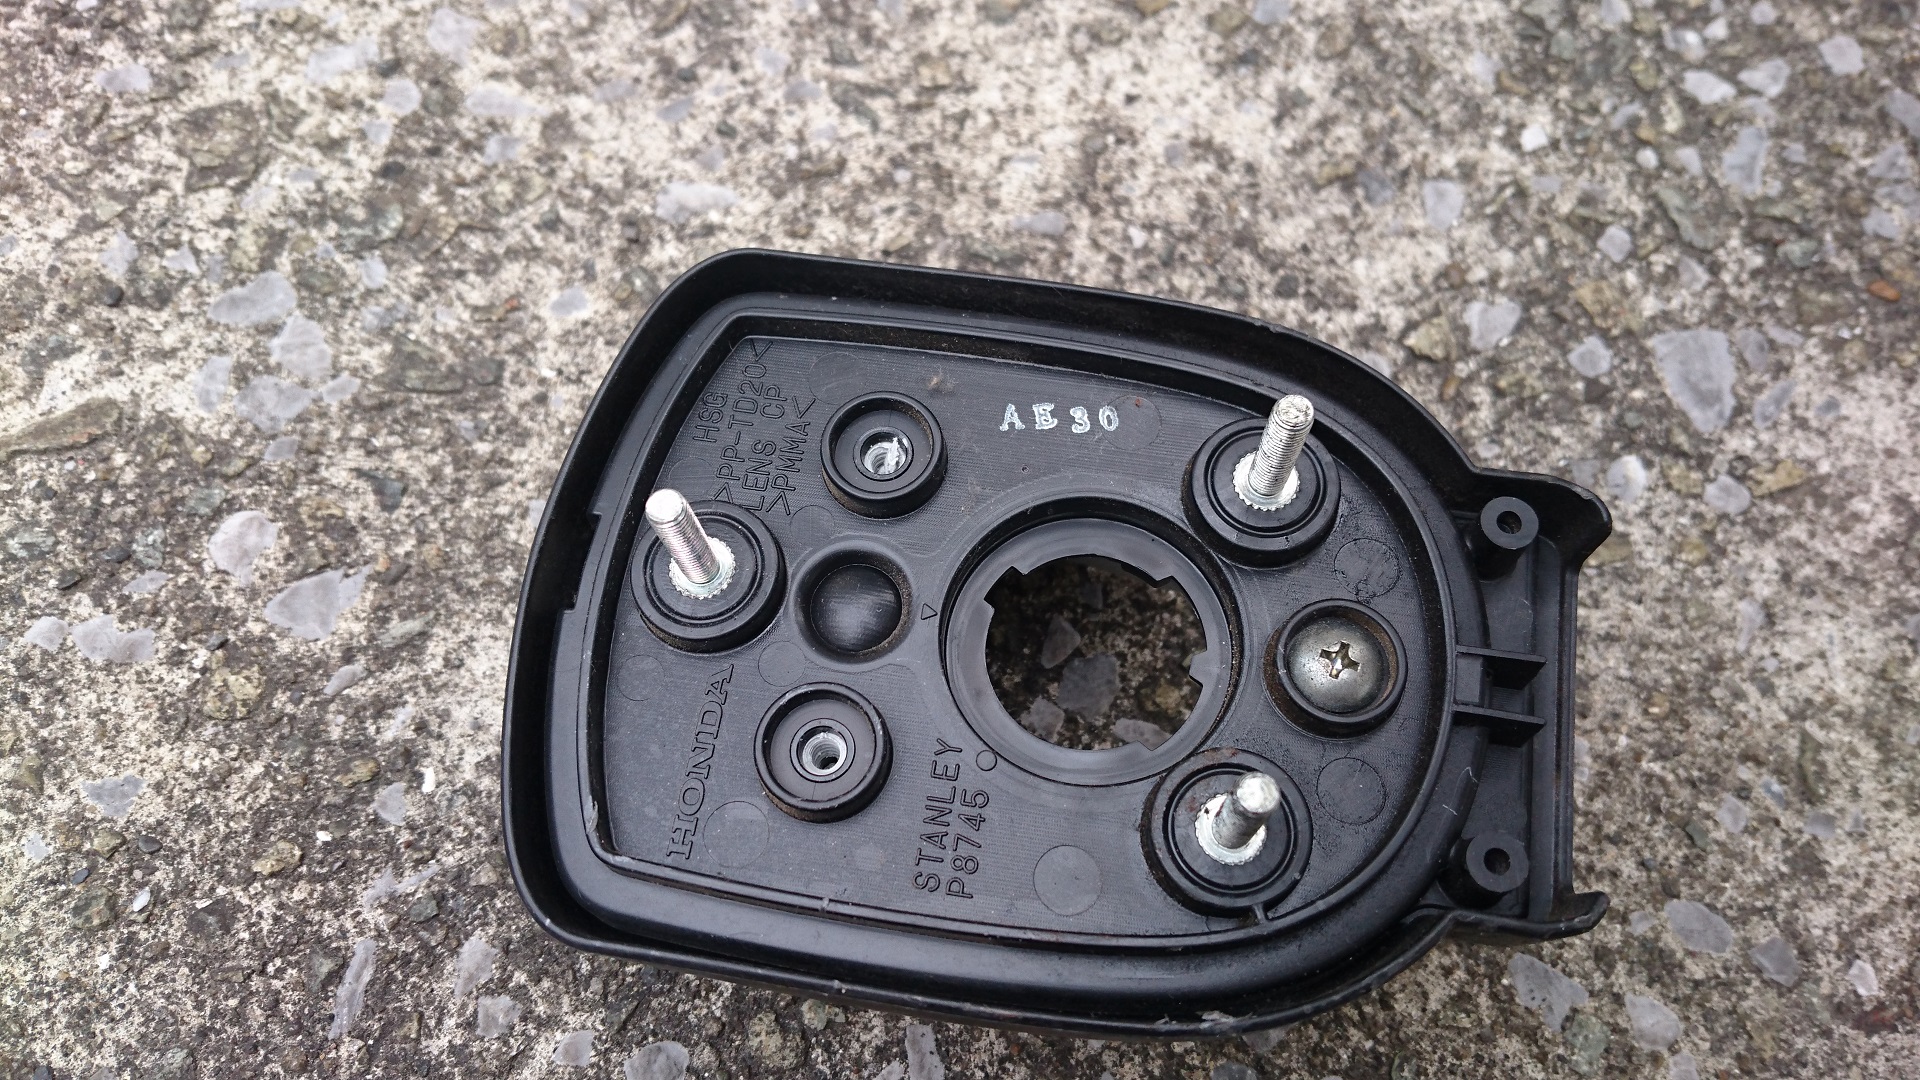
you’ll want to remove this taillight cover.
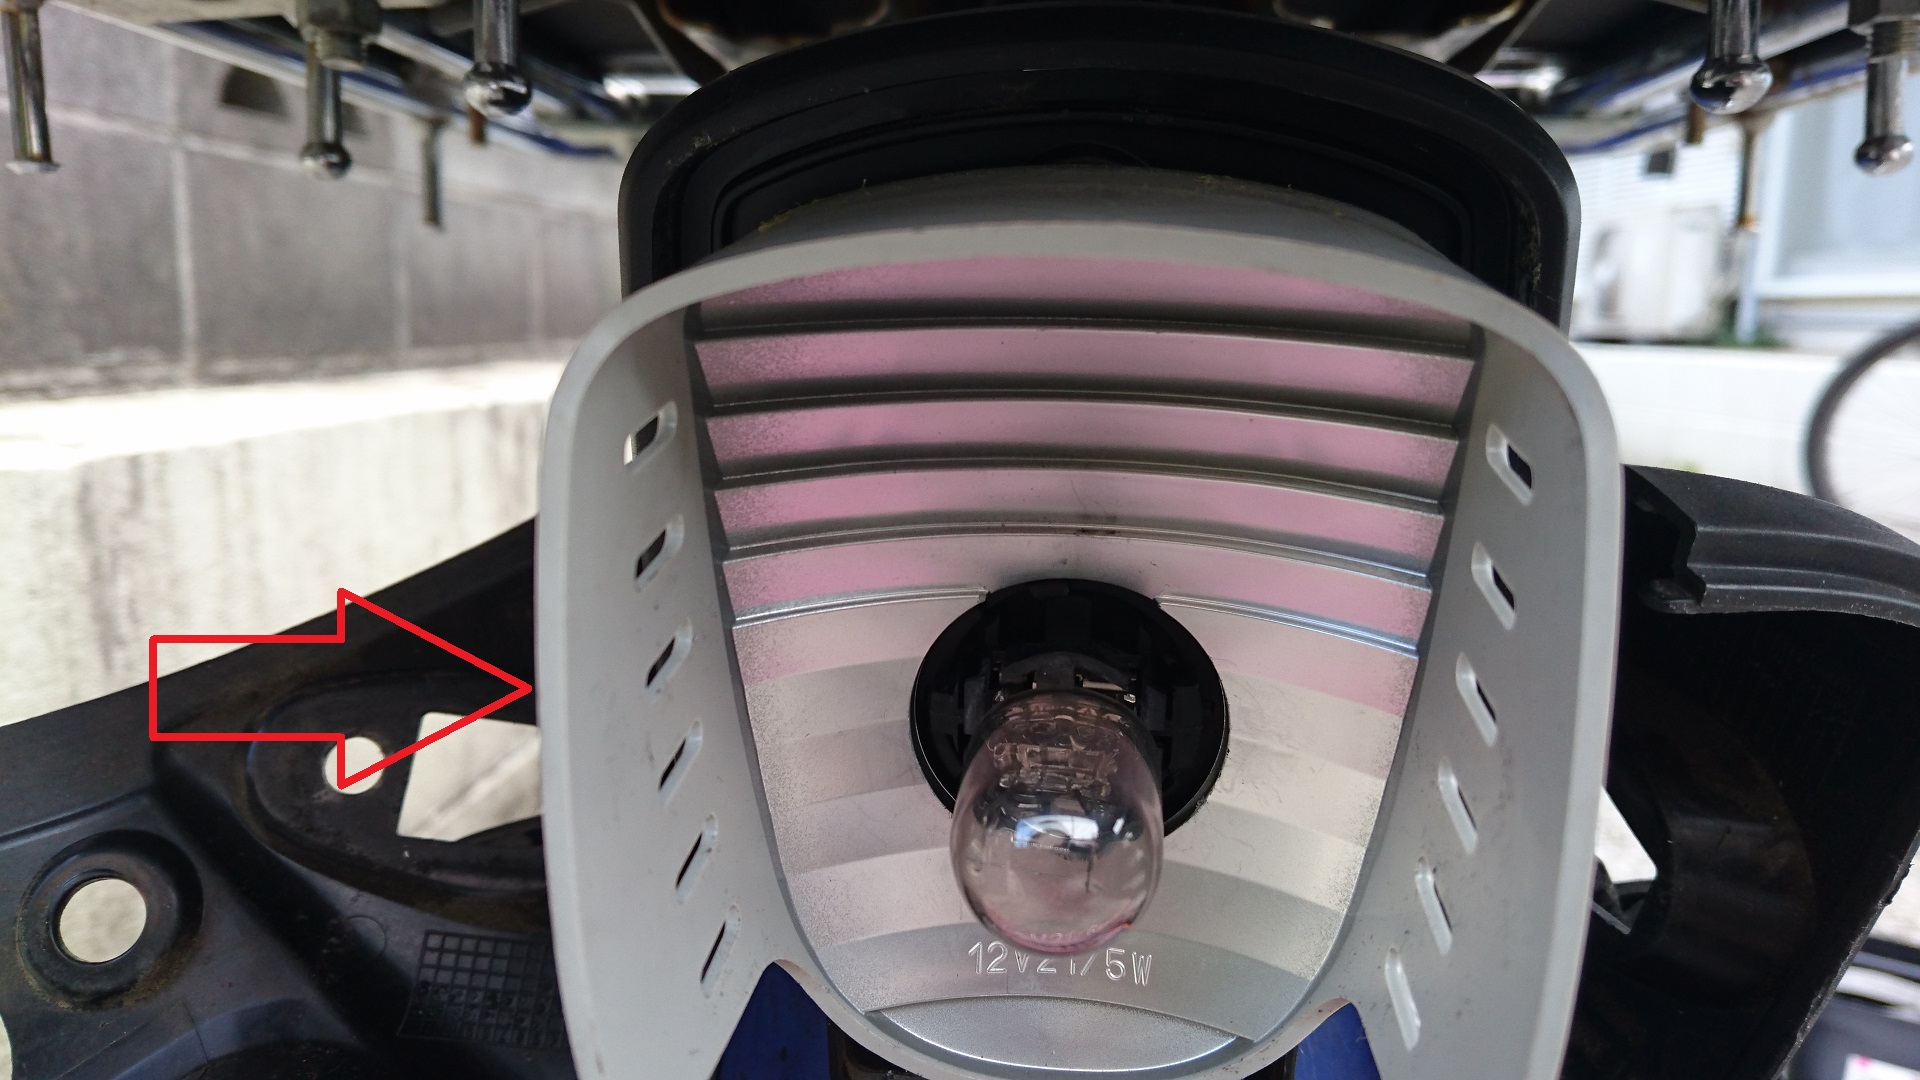
Maybe I just need to separate the “bulb part (the black part in the image above)” and the “cover (the silver and gray part in the image above)”?
After much trial and error, it seems like you can remove it by twisting the base.
It’s a little stiff (is it because it’s stuck together? Is it because it’s rubber?) so I grabbed the base of the back with pliers and turned the silver cover counterclockwise (I guess the black cover should be turned clockwise?)
Something spinning?!
I was careful and managed to get it out!
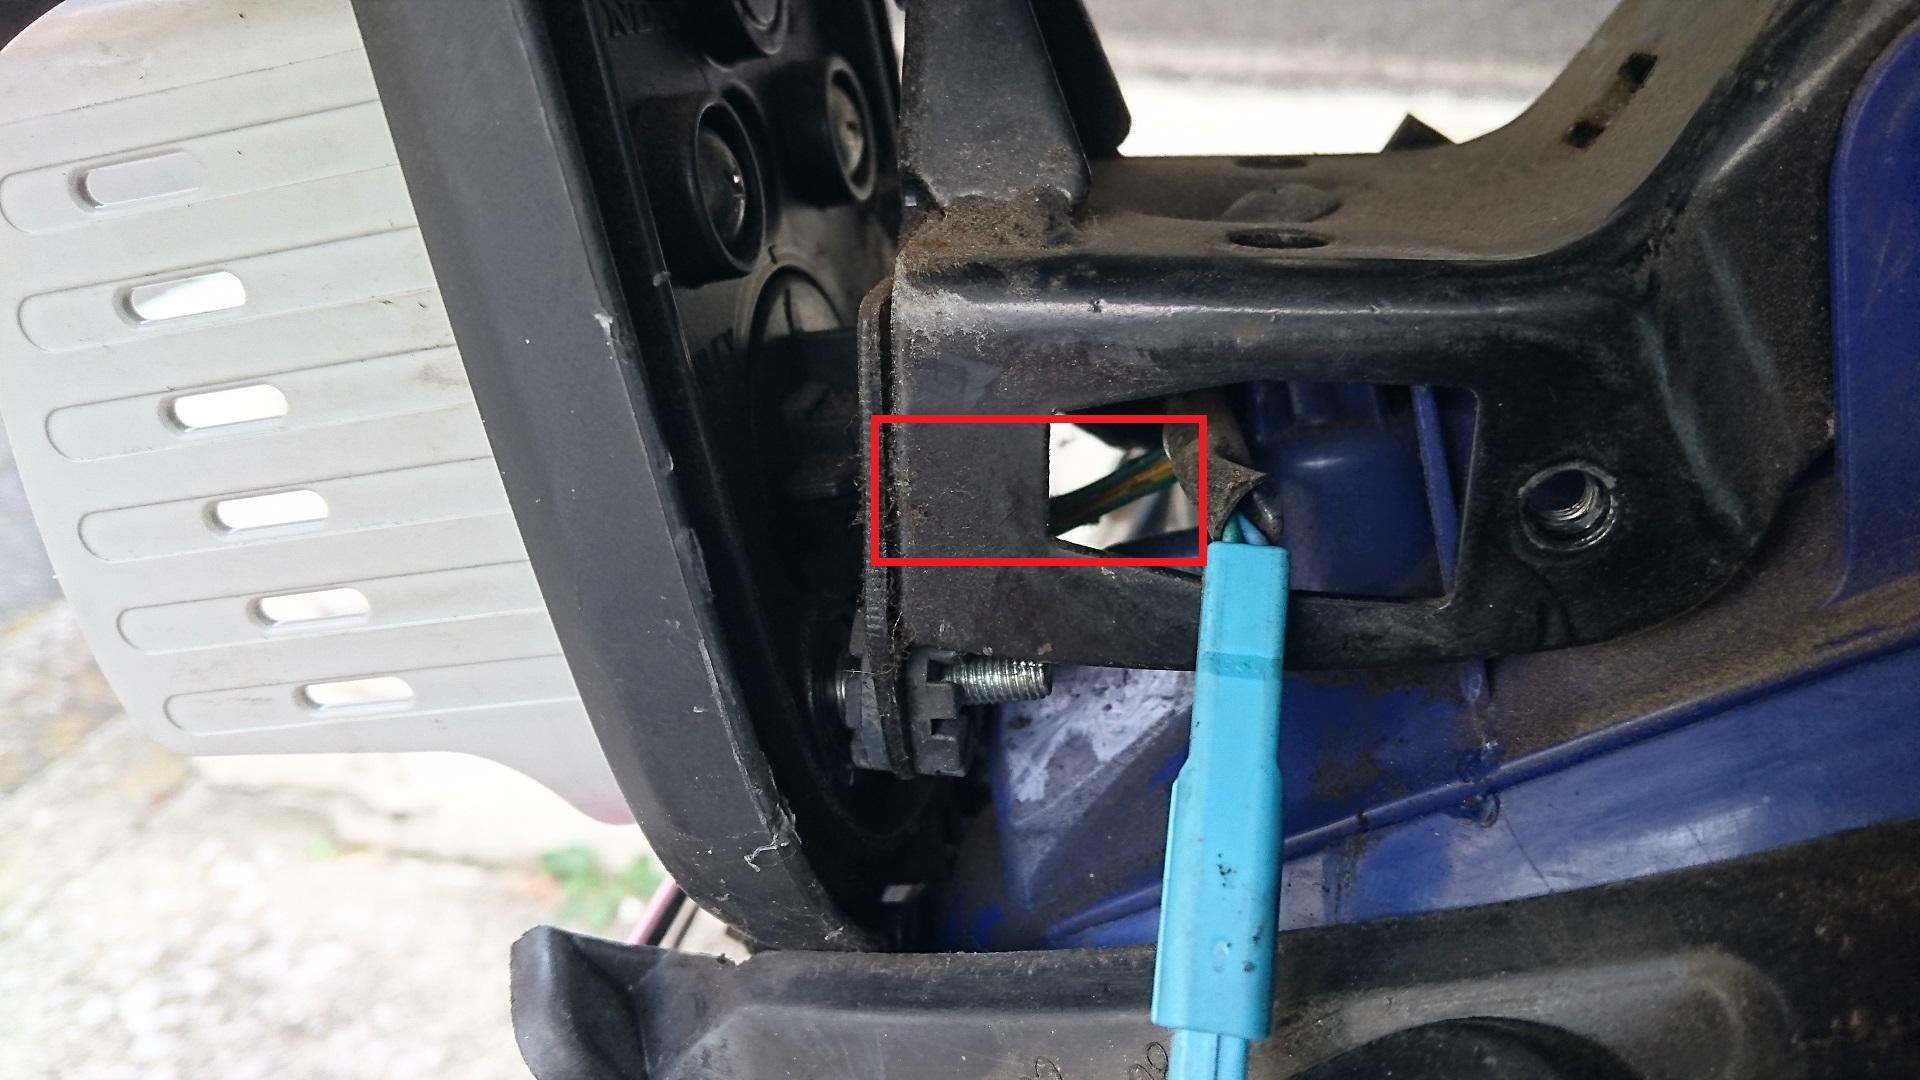
Finally I found the code!!!
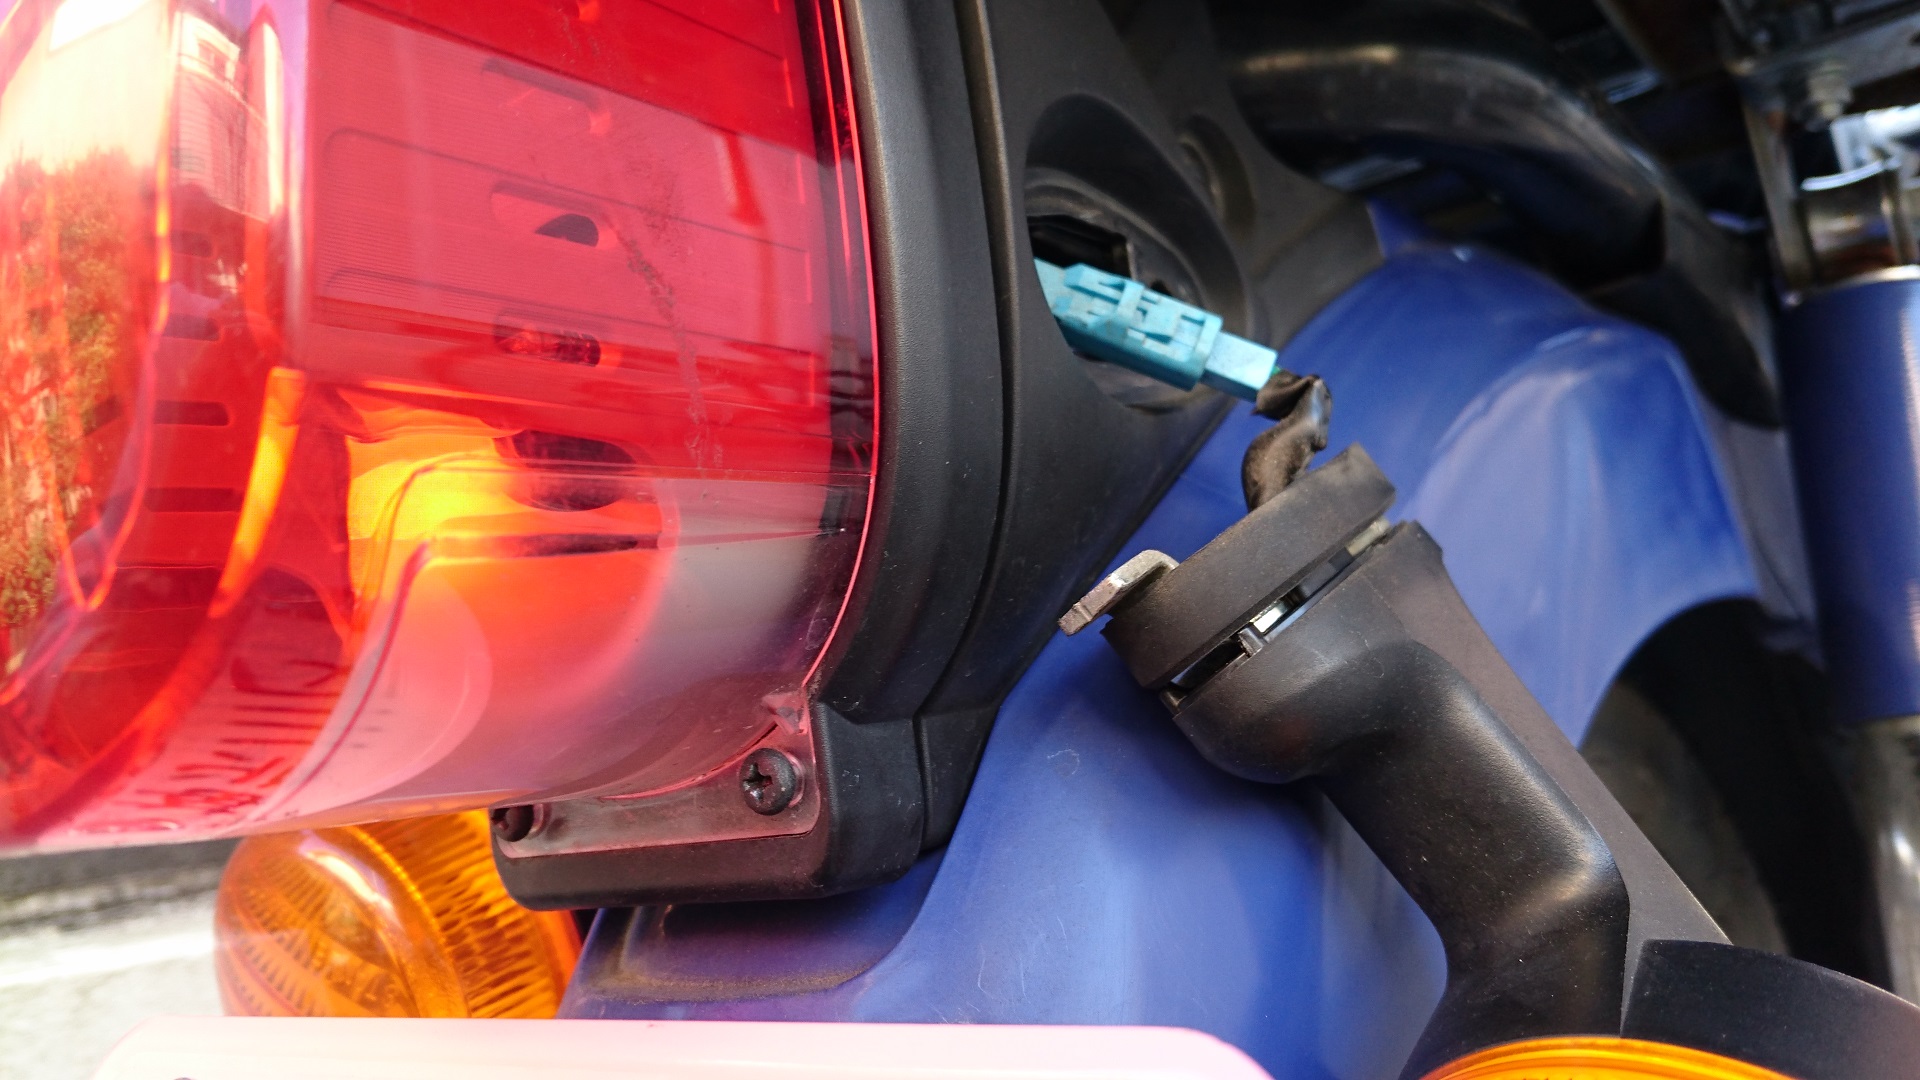
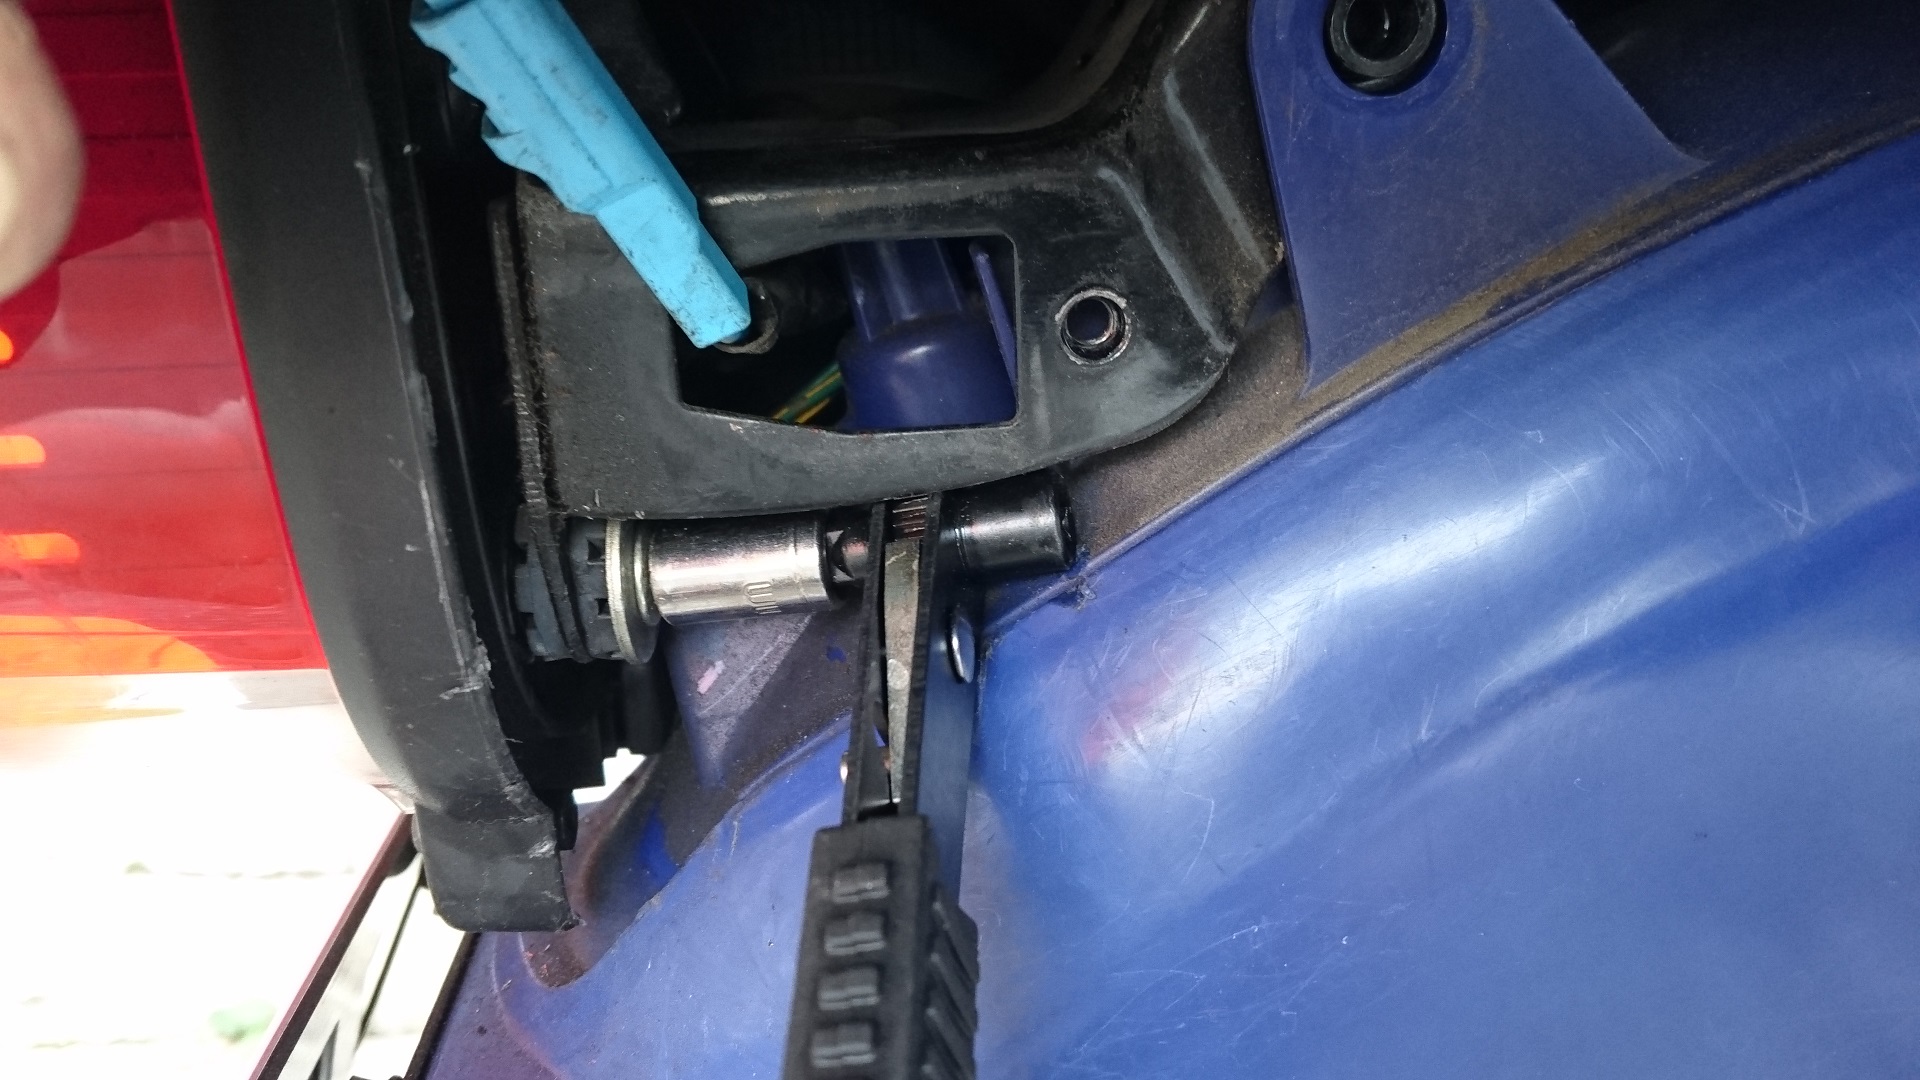
Cord connection
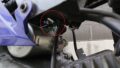
When you remove the connector that holds the tail lamp, it looks like this
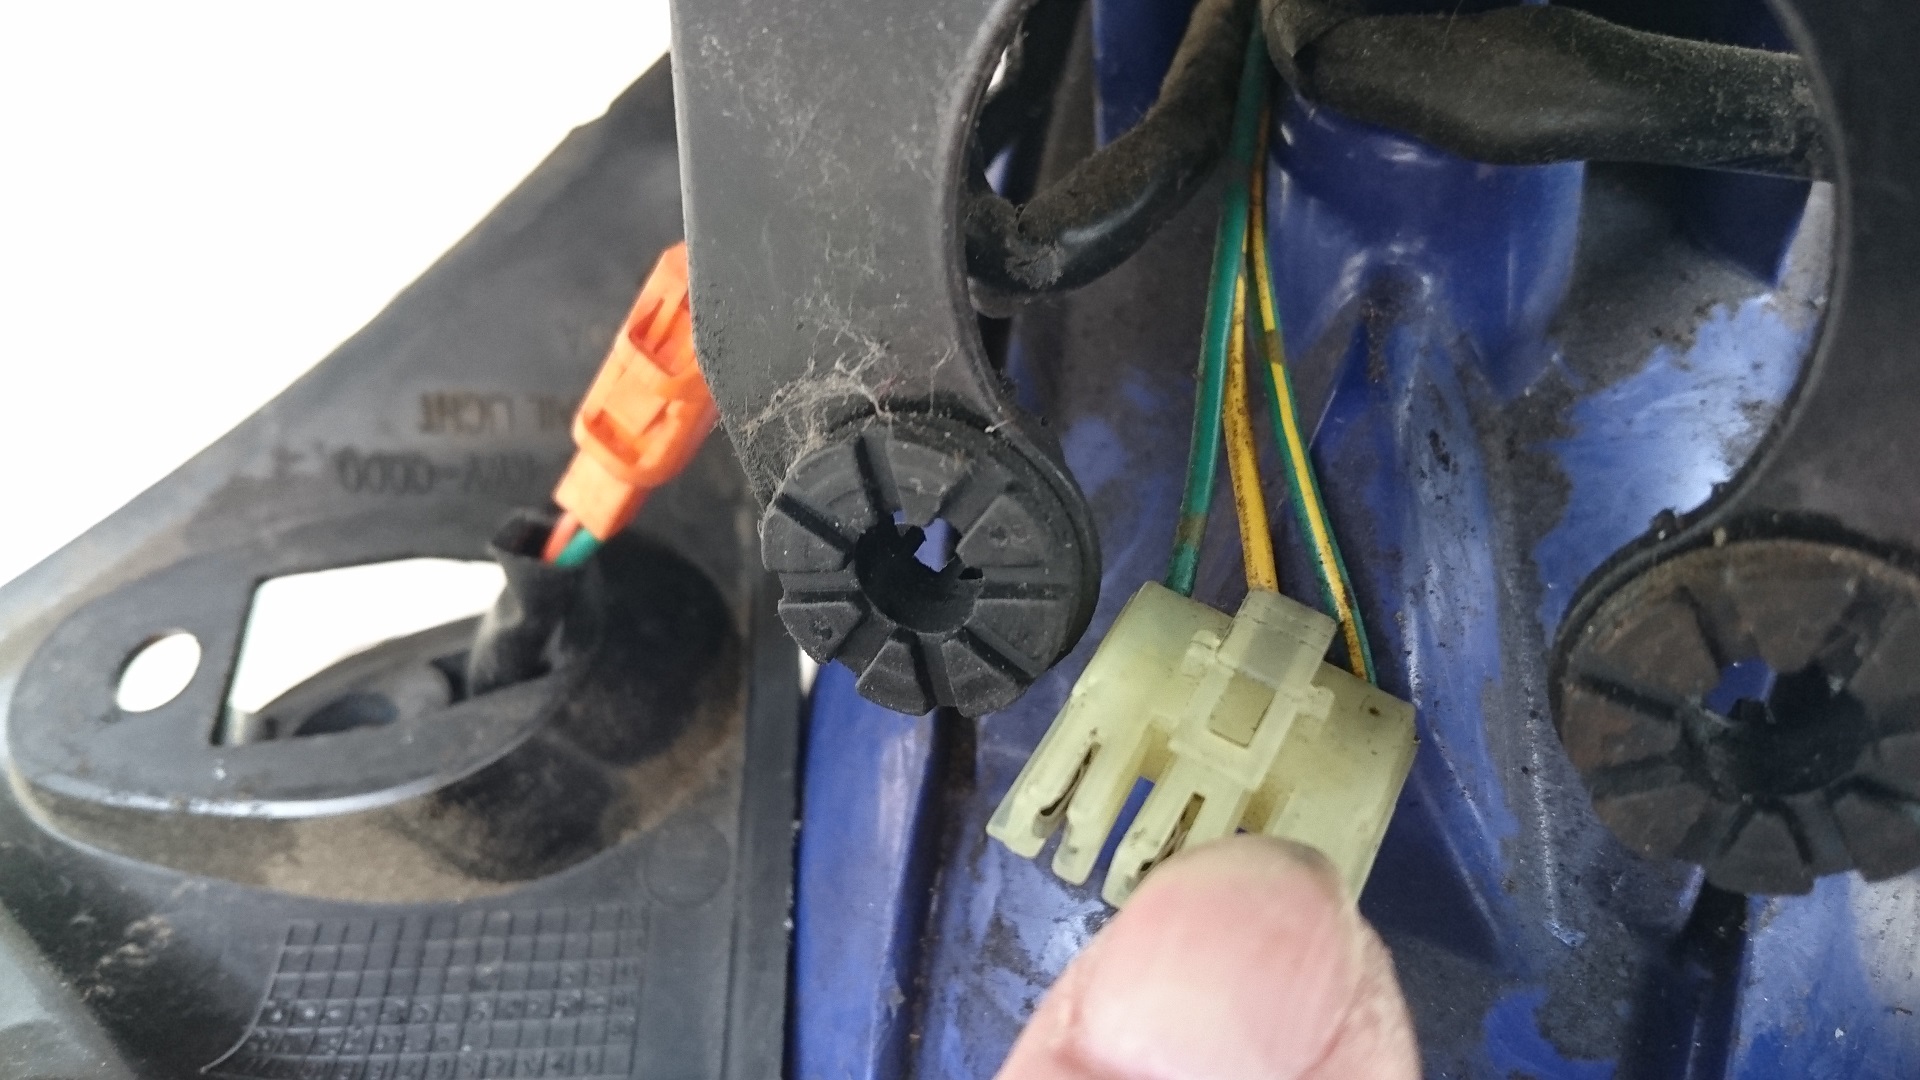
Yellow/Green (right side): Brake light
Yellow (center): Tail light
Green (left side): Negative
Attach the cord coming from the light box to this.
The contact part is short as it is in the image below,
so lightly cut the rubber pipe and expose a bit more copper wire.
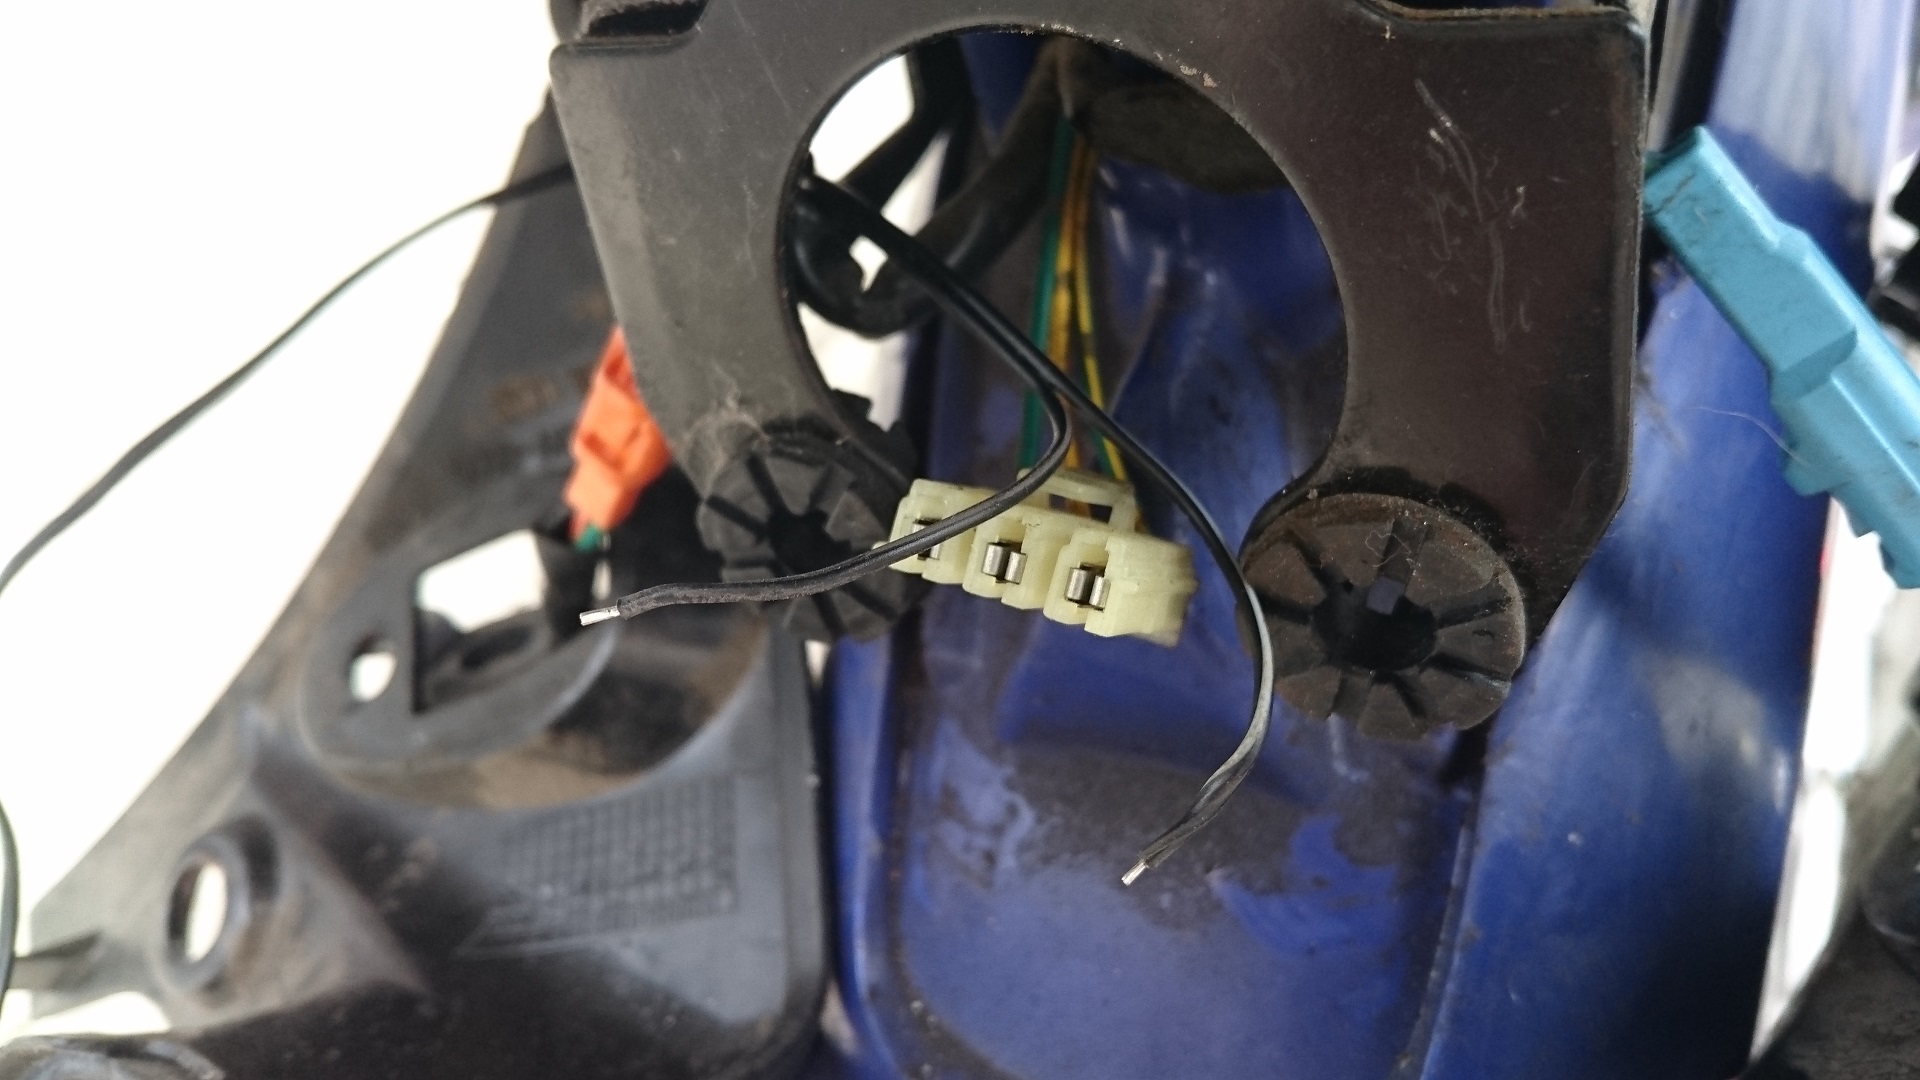
Black (left side): Negative
Attach these correctly and snap the connector into place.
It’s just clamped together with the connector.
No soldering or anything was done to it.
Since it’s linked to the brakes, connect the cord to the brake light (right side).
If it’s linked to the tail light, you’ll probably connect it to the tail light (center) and negative (left side).
Insert the key and step on the brake
It was wonderful! ! ! !

Success! !
Code processing
I found that it was turned on, so I would like to do code processing.
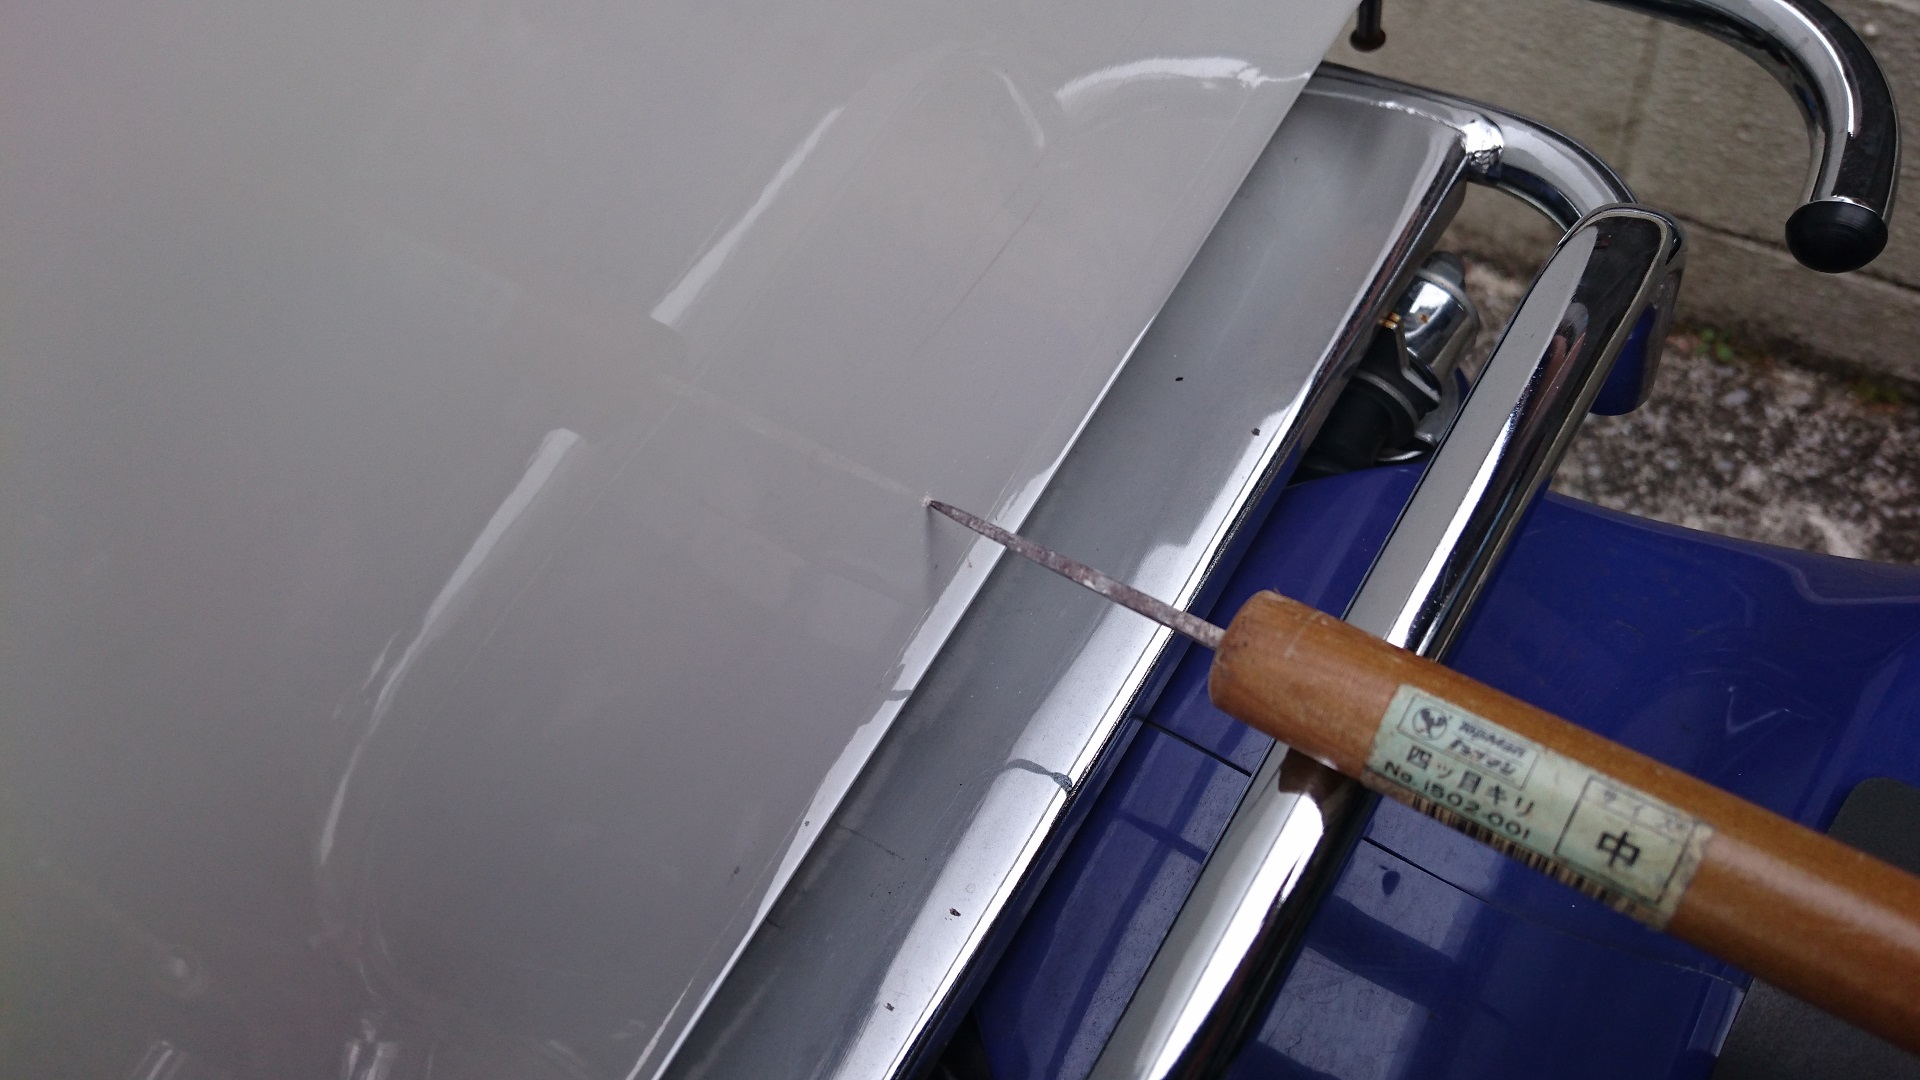
Drill a hole in the box, spread the hole with a stick, and make a hole to pass through the code.
Lightly wrap the code around the pedestal

Bring it to the connector through places that do not interfere

Once again, if you put it in the connector, we will assemble the opposite of the broken procedure. (I will omit the procedure around here)
Finishing
Finally, check again
I will turn it on! !
It shines in the dark
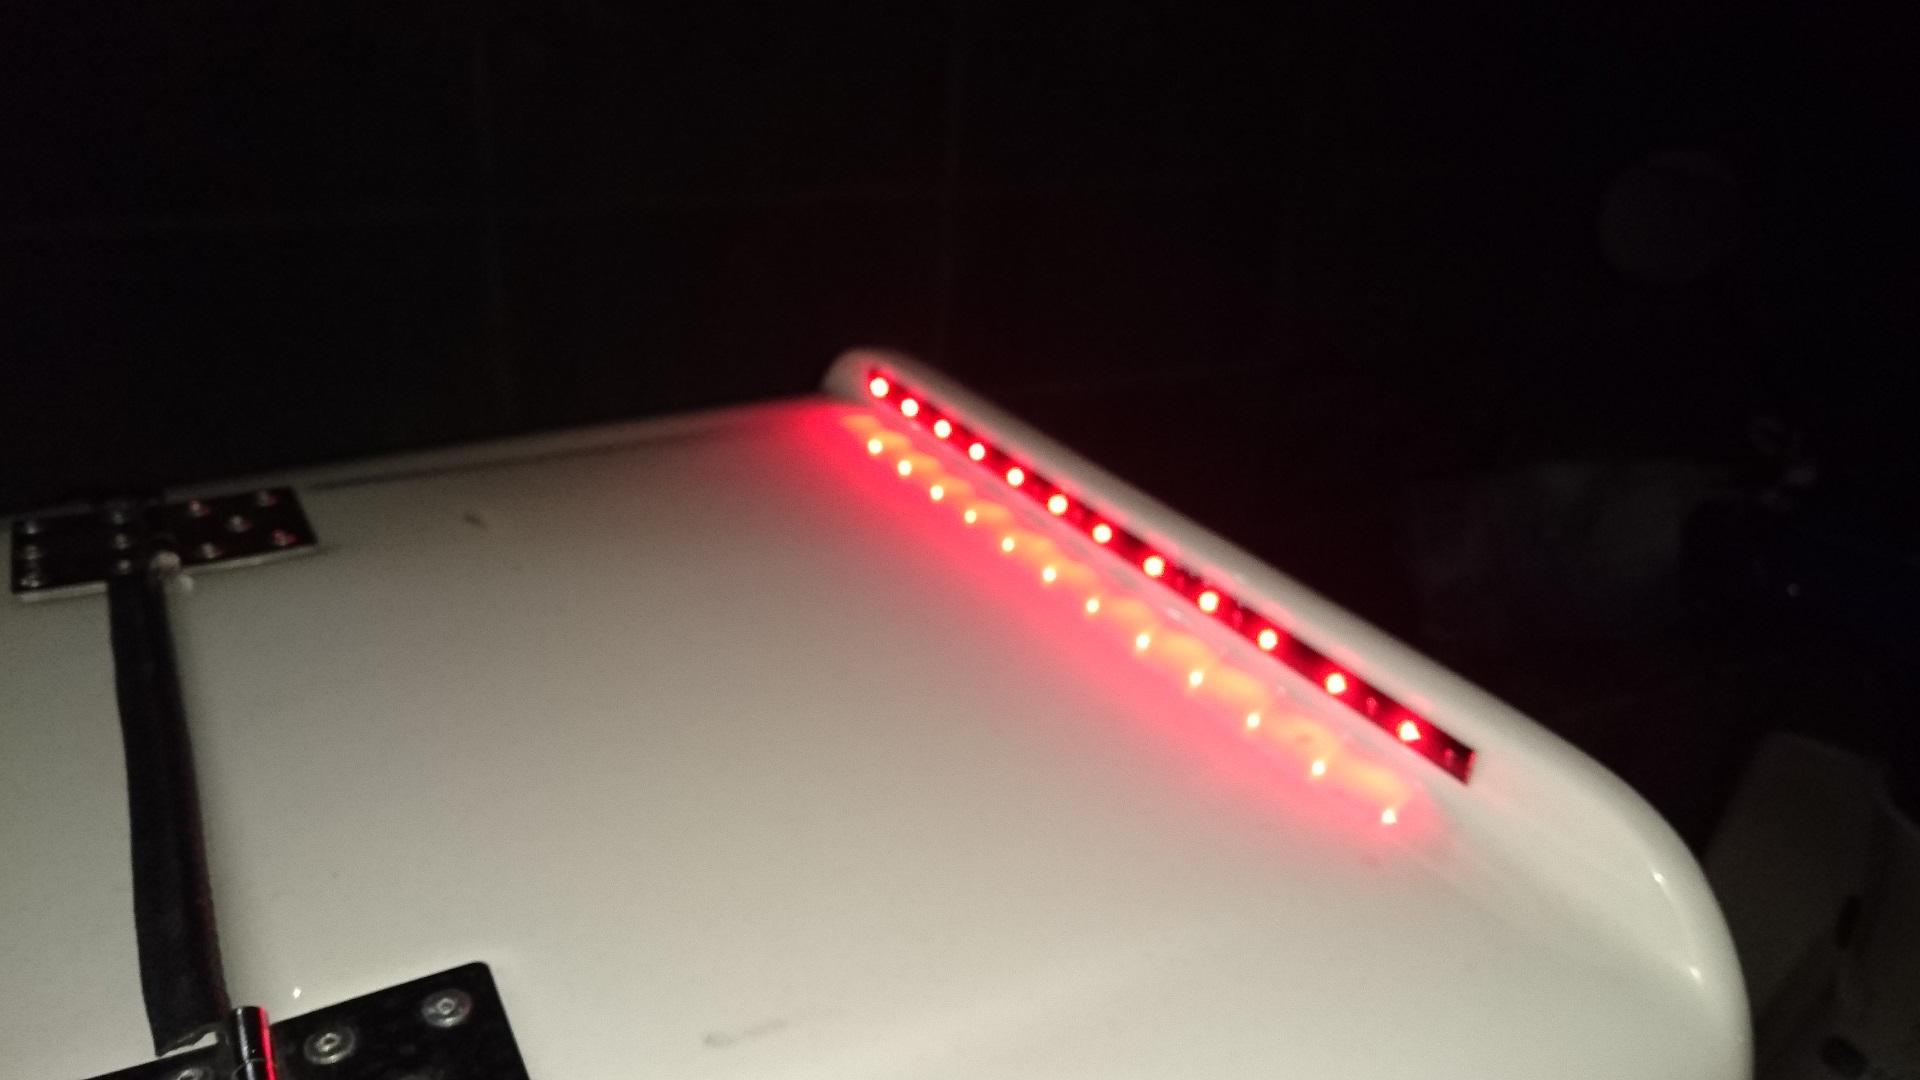
This is done! ! !
The only unfortunate thing is …
Of course,
While running, I don’t know if the brake lamp is on
Maybe it would be better to make a hole in the bottom.
With “code position in the box” or “ease of opening holes at the moment”
I set it to this position.